
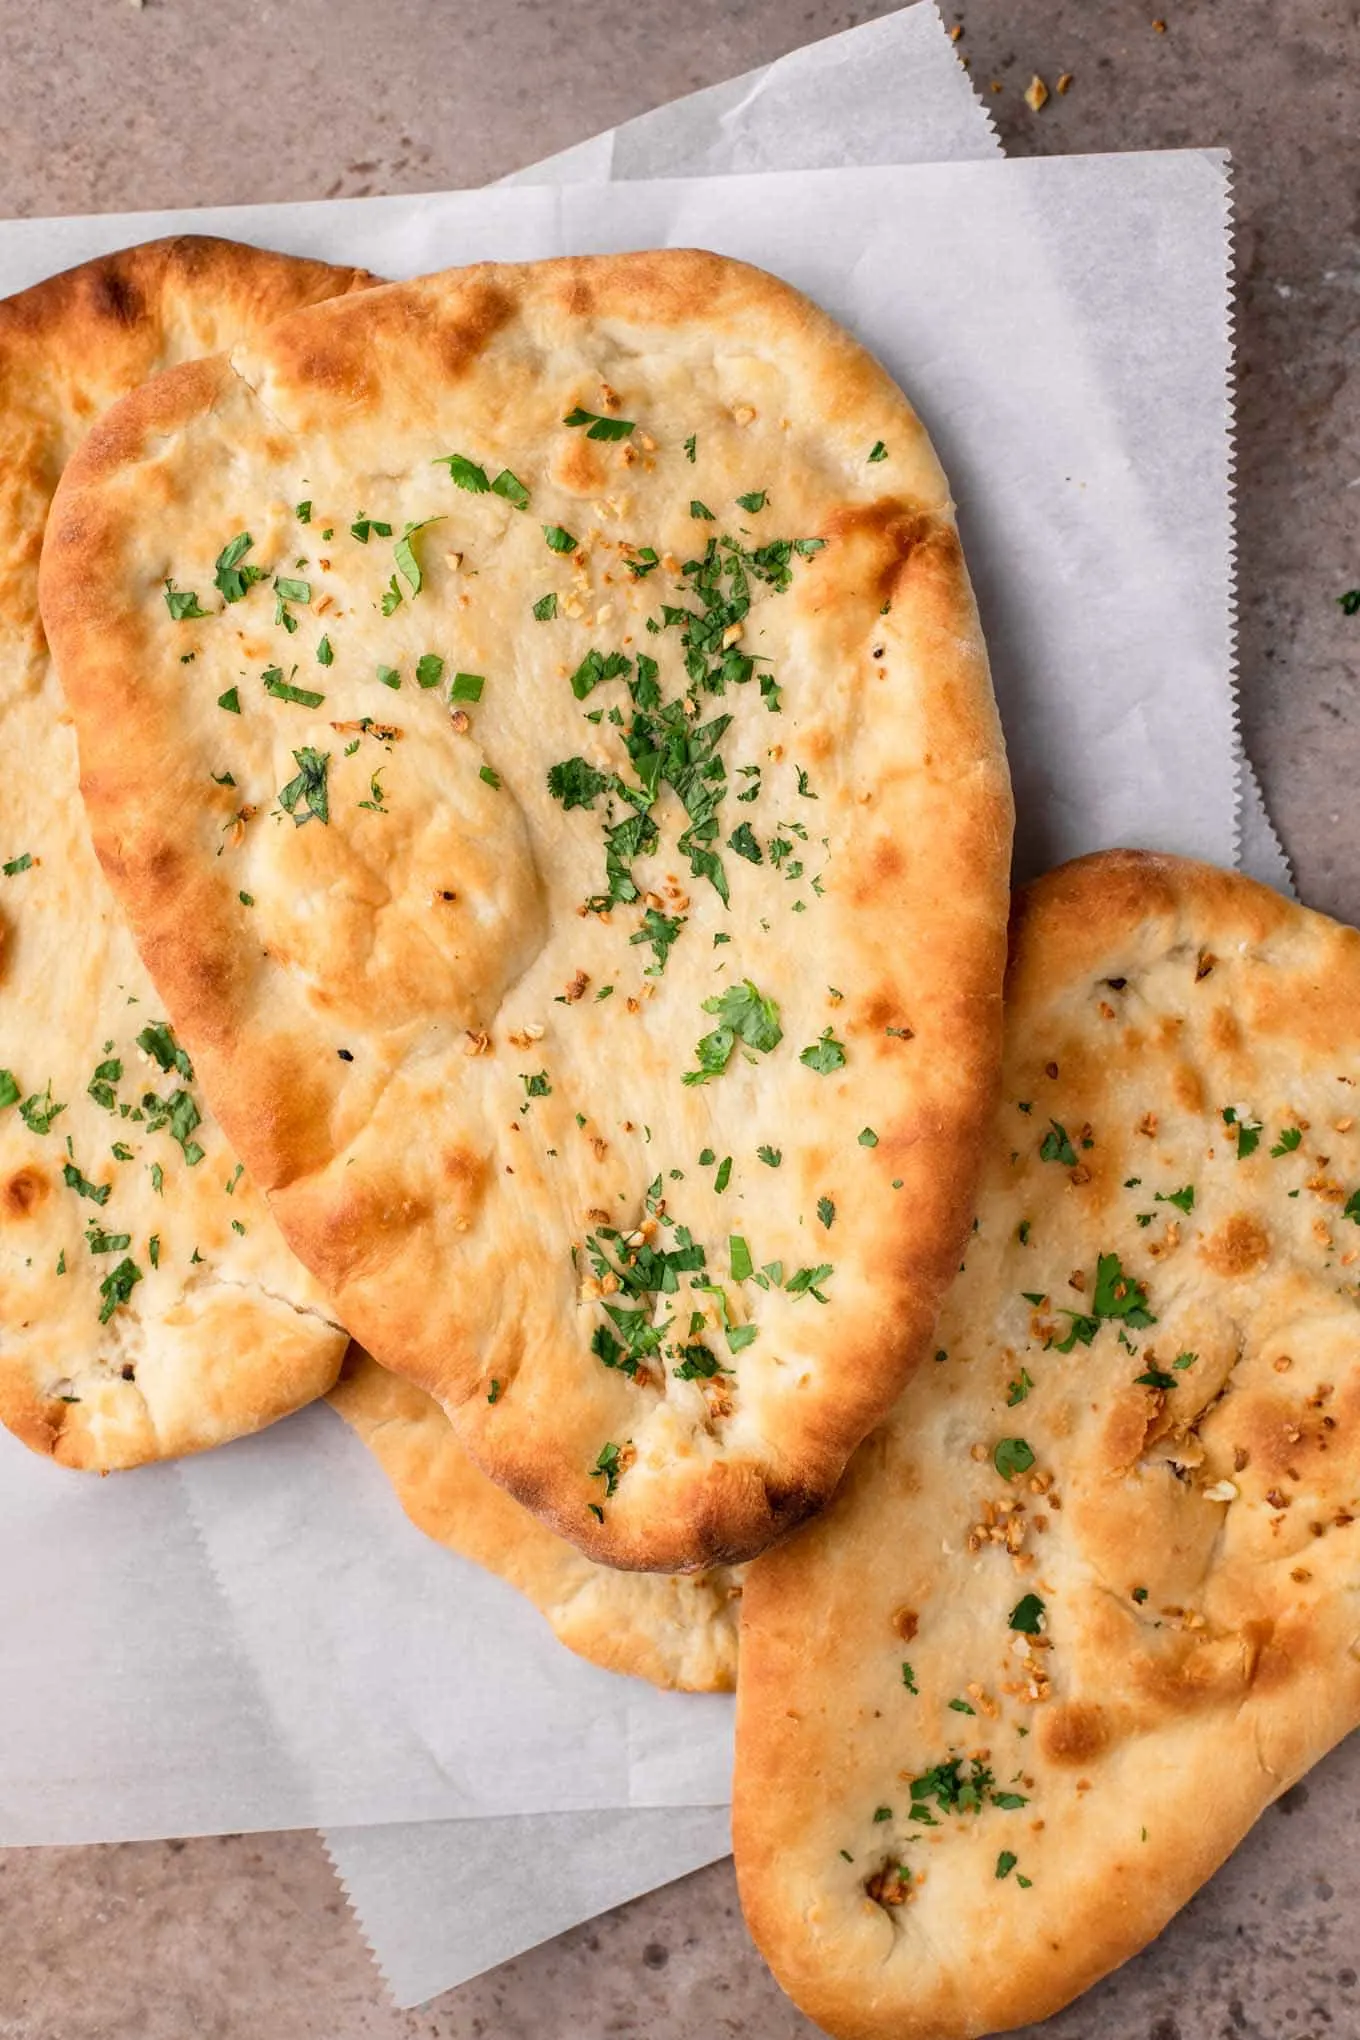
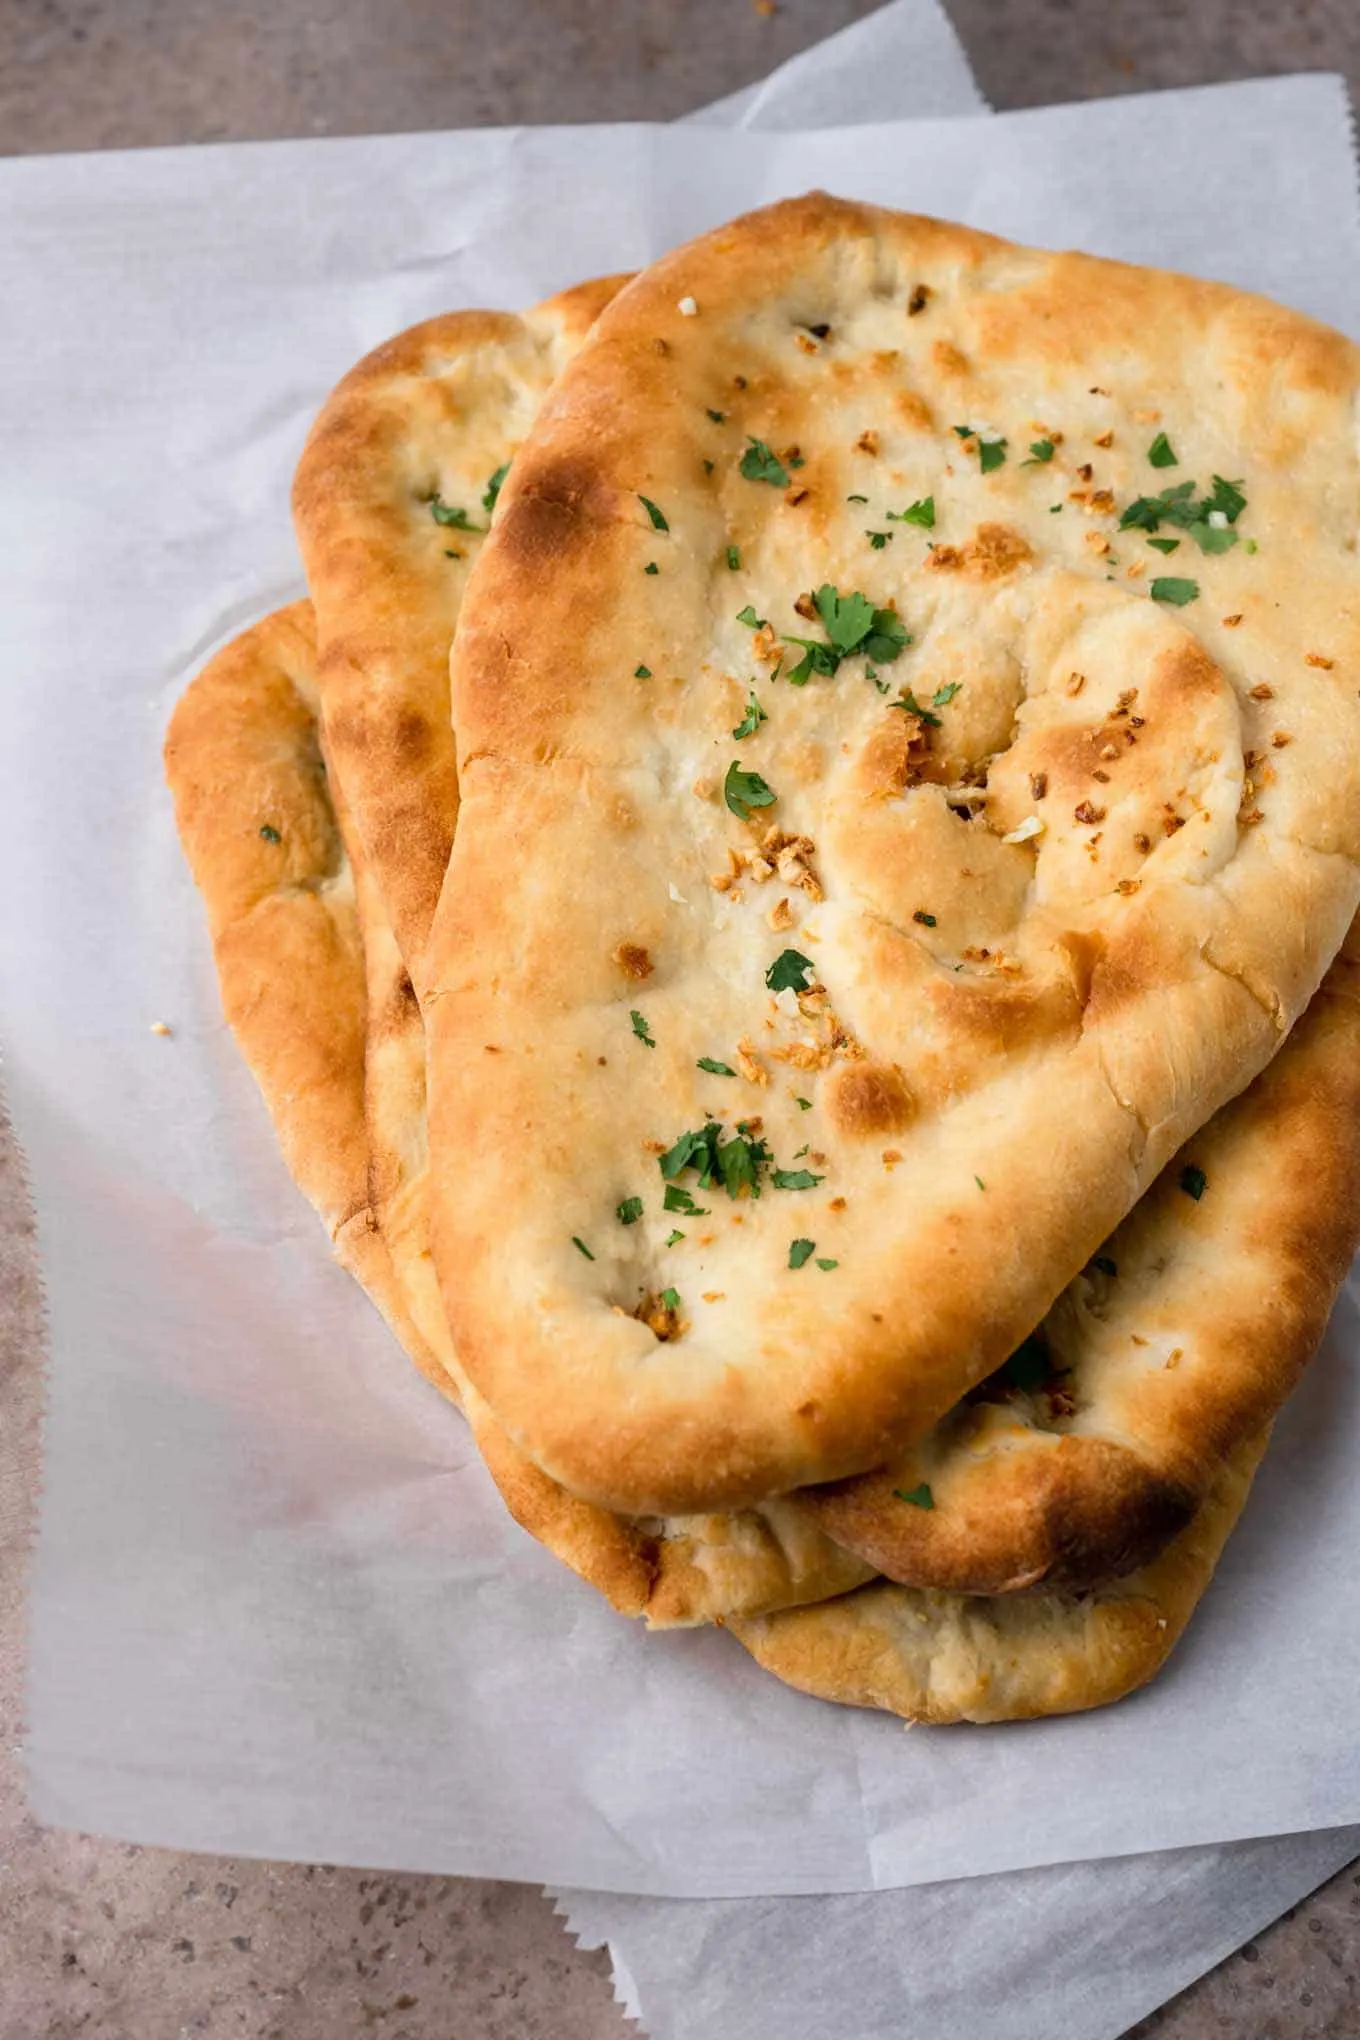
This homemade vegan naan is pillow soft and a must serve bread alongside steaming curries and spicy subzis. I love it topped generously with vegan butter and minced garlic for that restaurant-style garlic naan.
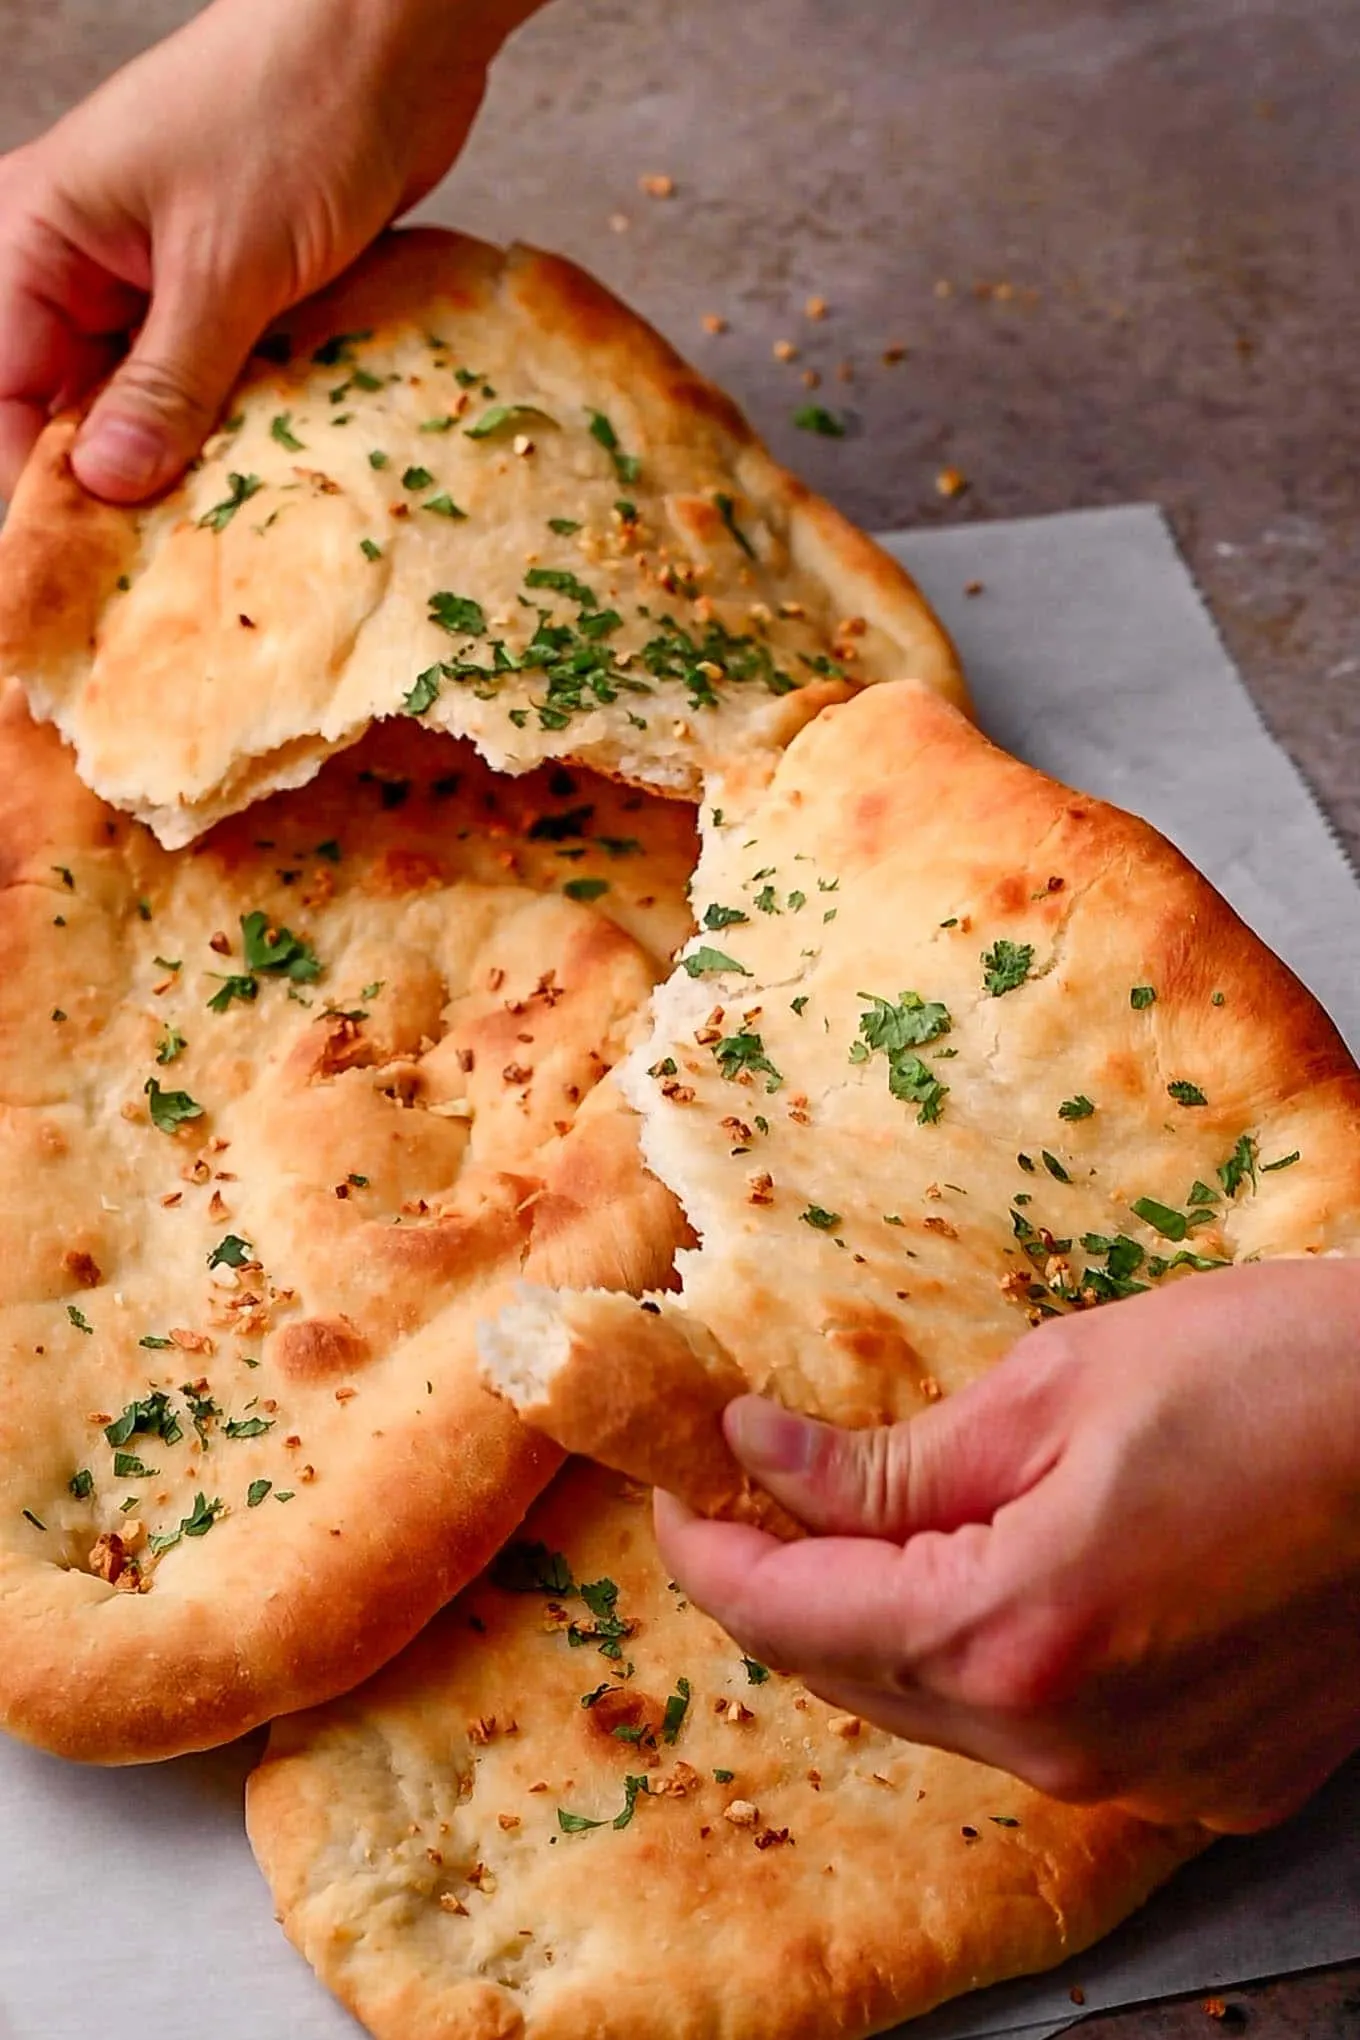
I think everyone loves naan. What’s not to love?! It’s a soft, buttery bread. A perfect vehicle to eat Indian dishes with your hands.
Naan is a traditional Indian flatbread made from a dairy-enriched dough. It typically is made with yogurt or milk, as well as butter or ghee. These ingredients get worked into the dough to make a softer, tender bread.
Luckily it’s easy to make great vegan naan at home! It is traditionally a yeasted bread, but don’t let that scare you! It’s a lot less fussy than your European style leavened breads.
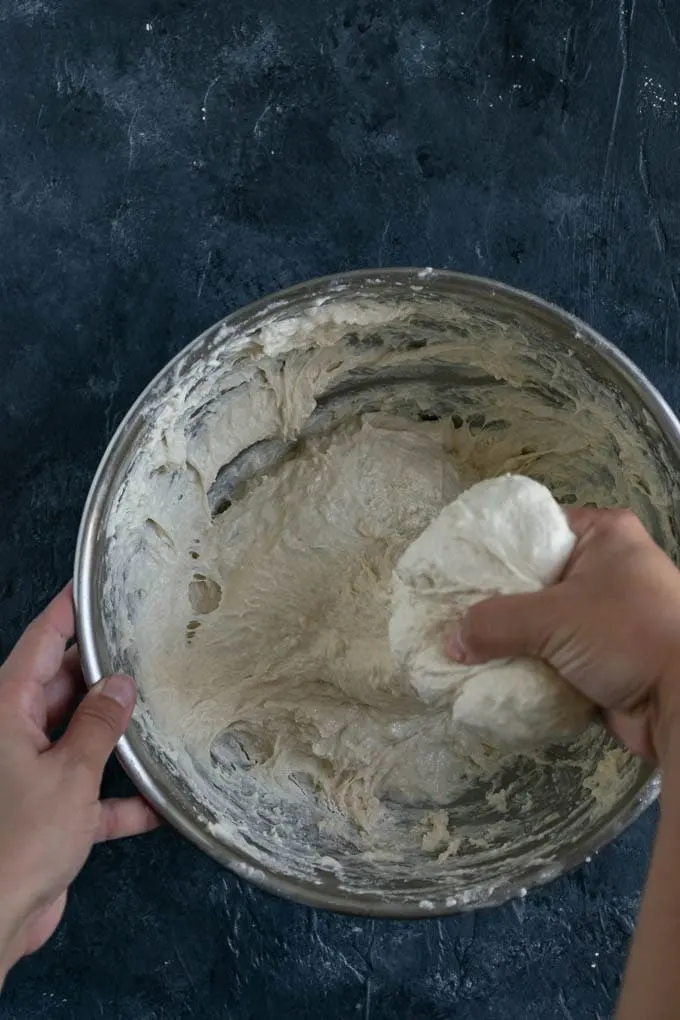
If anything, it’s a bit of a sticky and messy dough, which helps keep the naan super soft when cooked!
Good naan is super flavorful. It’s soft and bubbly, with air pockets and crisped spots on the top and bottom. It’s butteriness is a great temper to spicy Indian dishes, especially when combined with tangy coconut yogurts!
How to make vegan naan:
Naan is a yeasted bread, which means its bubbly texture comes from yeast and not baking soda or baking powder.
Like other breads, you first mix together the dry ingredients: all purpose flour, a spoonful of sugar, salt, and yeast. I like to use instant yeast because you do not need to dissolve it in liquid first and wait for the yeast to prove. Instead you can mix it straight into the dry ingredients.
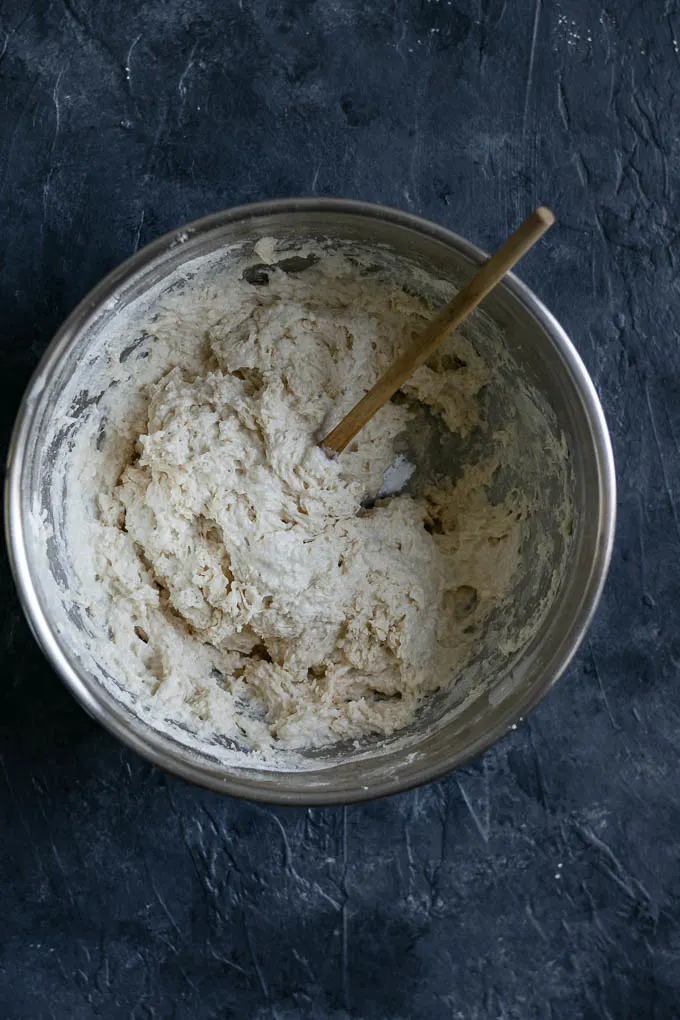
We then add the wet ingredients, working them into the dough until it’s soft and sticky, but not soupy!
The wet ingredients are:
- coconut yogurt
- warm water
- melted vegan butter
The yogurt enriches the dough along with the vegan butter, making for a softer naan that’s less prone to drying out.
-
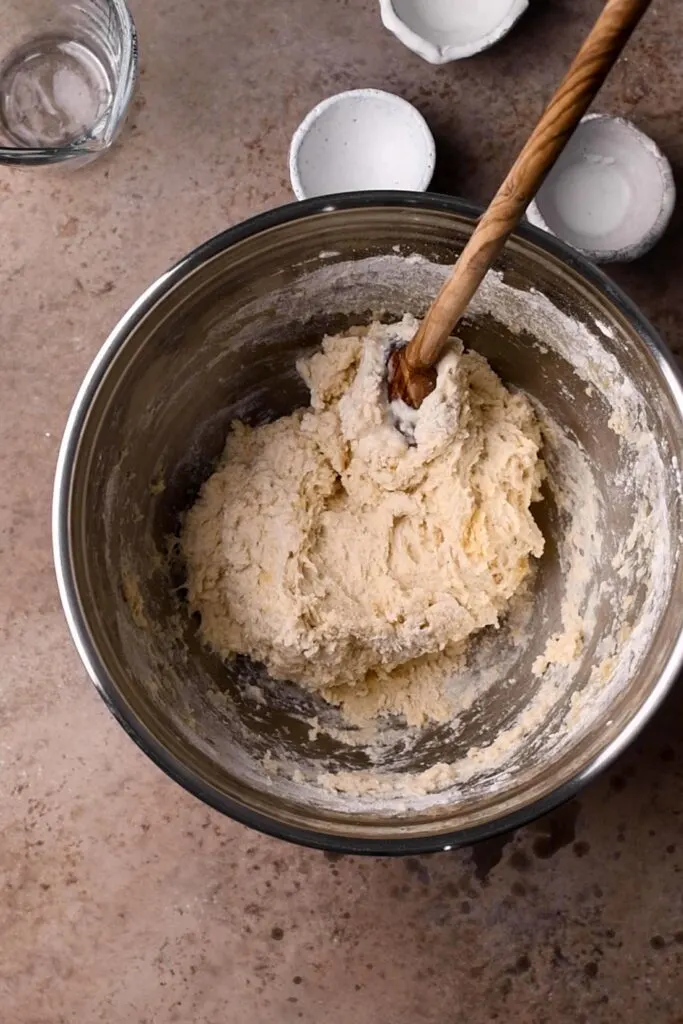
just mixed dough -
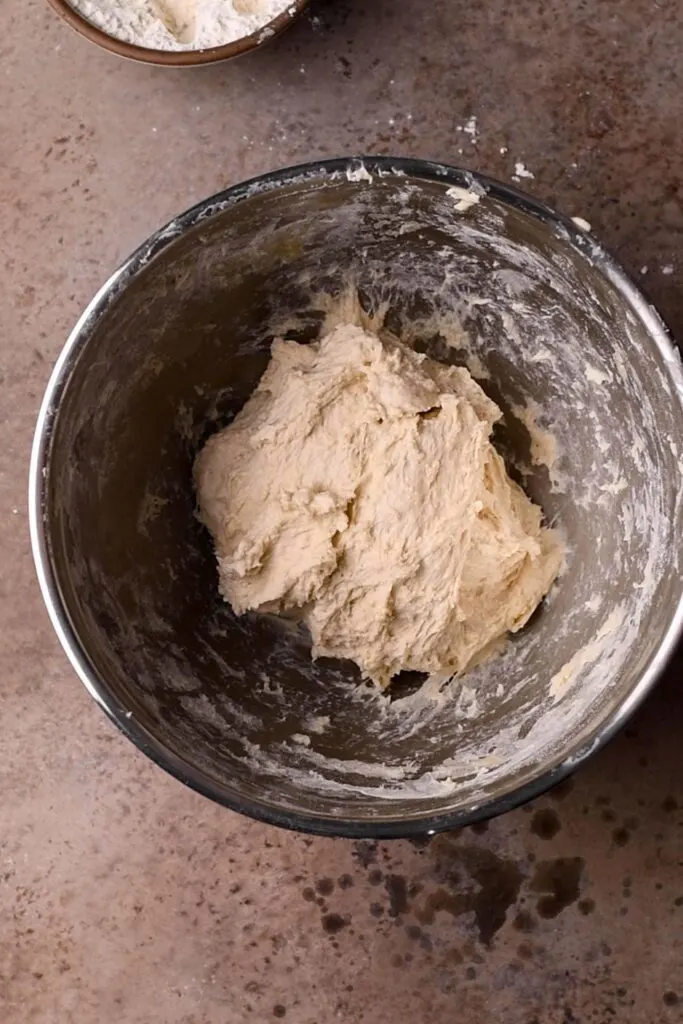
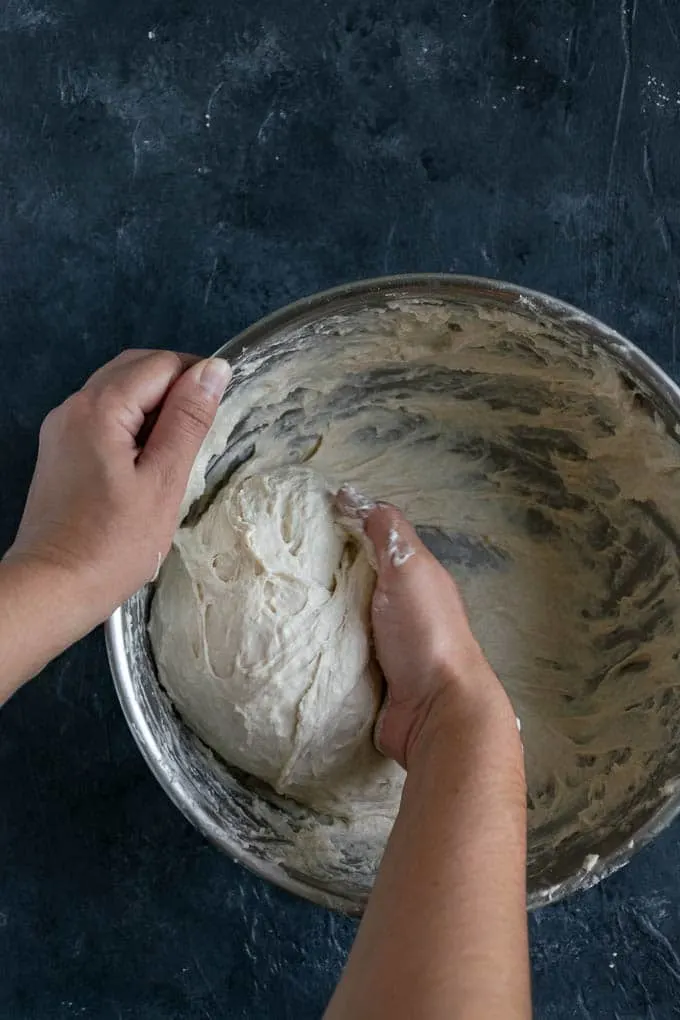
dough after kneading
I like to use unsweetened plain coconut yogurt in the naan. This yogurt tends to be thicker than other plant milk yogurts, and has a nice tanginess that goes really nicely in Indian cuisine. The higher fat content of coconut also makes the bread even more tender!
You can use other types of vegan yogurt, but it may make for a wetter dough. This is ok, just add flour until the dough is workable!
Proving the dough:
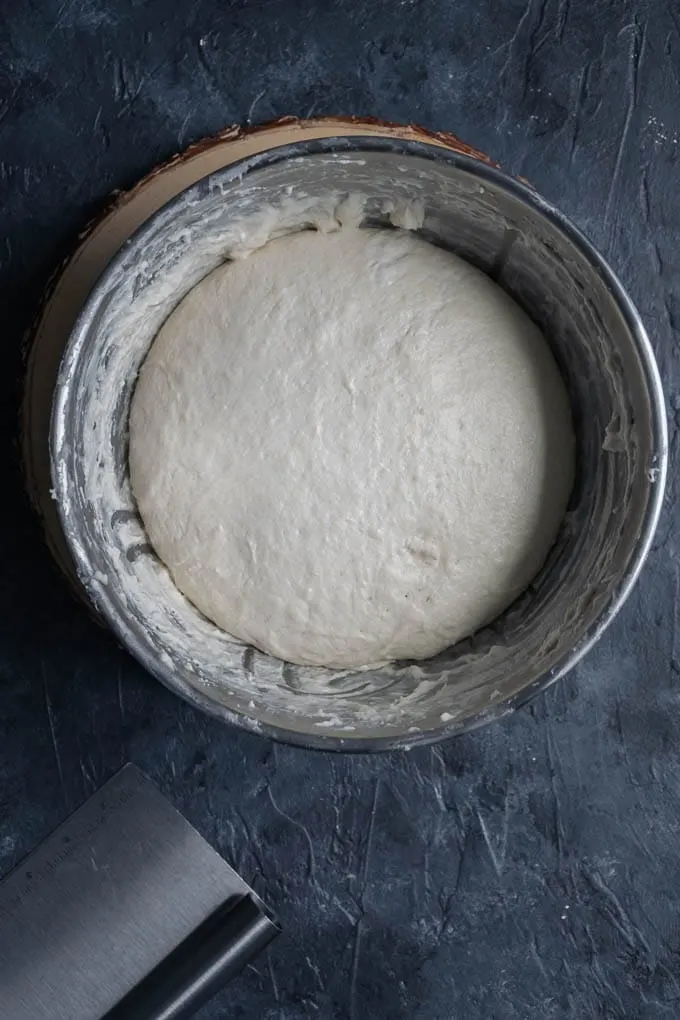
Once the dough has been kneaded together and any additions of flour made to get a workable dough, it rests for at least 45 minutes to rise. It doesn’t need to fully double in size, but expect it to grow about 1.5x in volume. If it’s very cold and drafty in your kitchen it may take longer to rise.
Option: Instead of using the dough right away, stick it in the fridge after kneading it together and use it that evening or anytime over the next 2-3 days! This has the benefit of making the dough easier to work with when it comes to shaping.
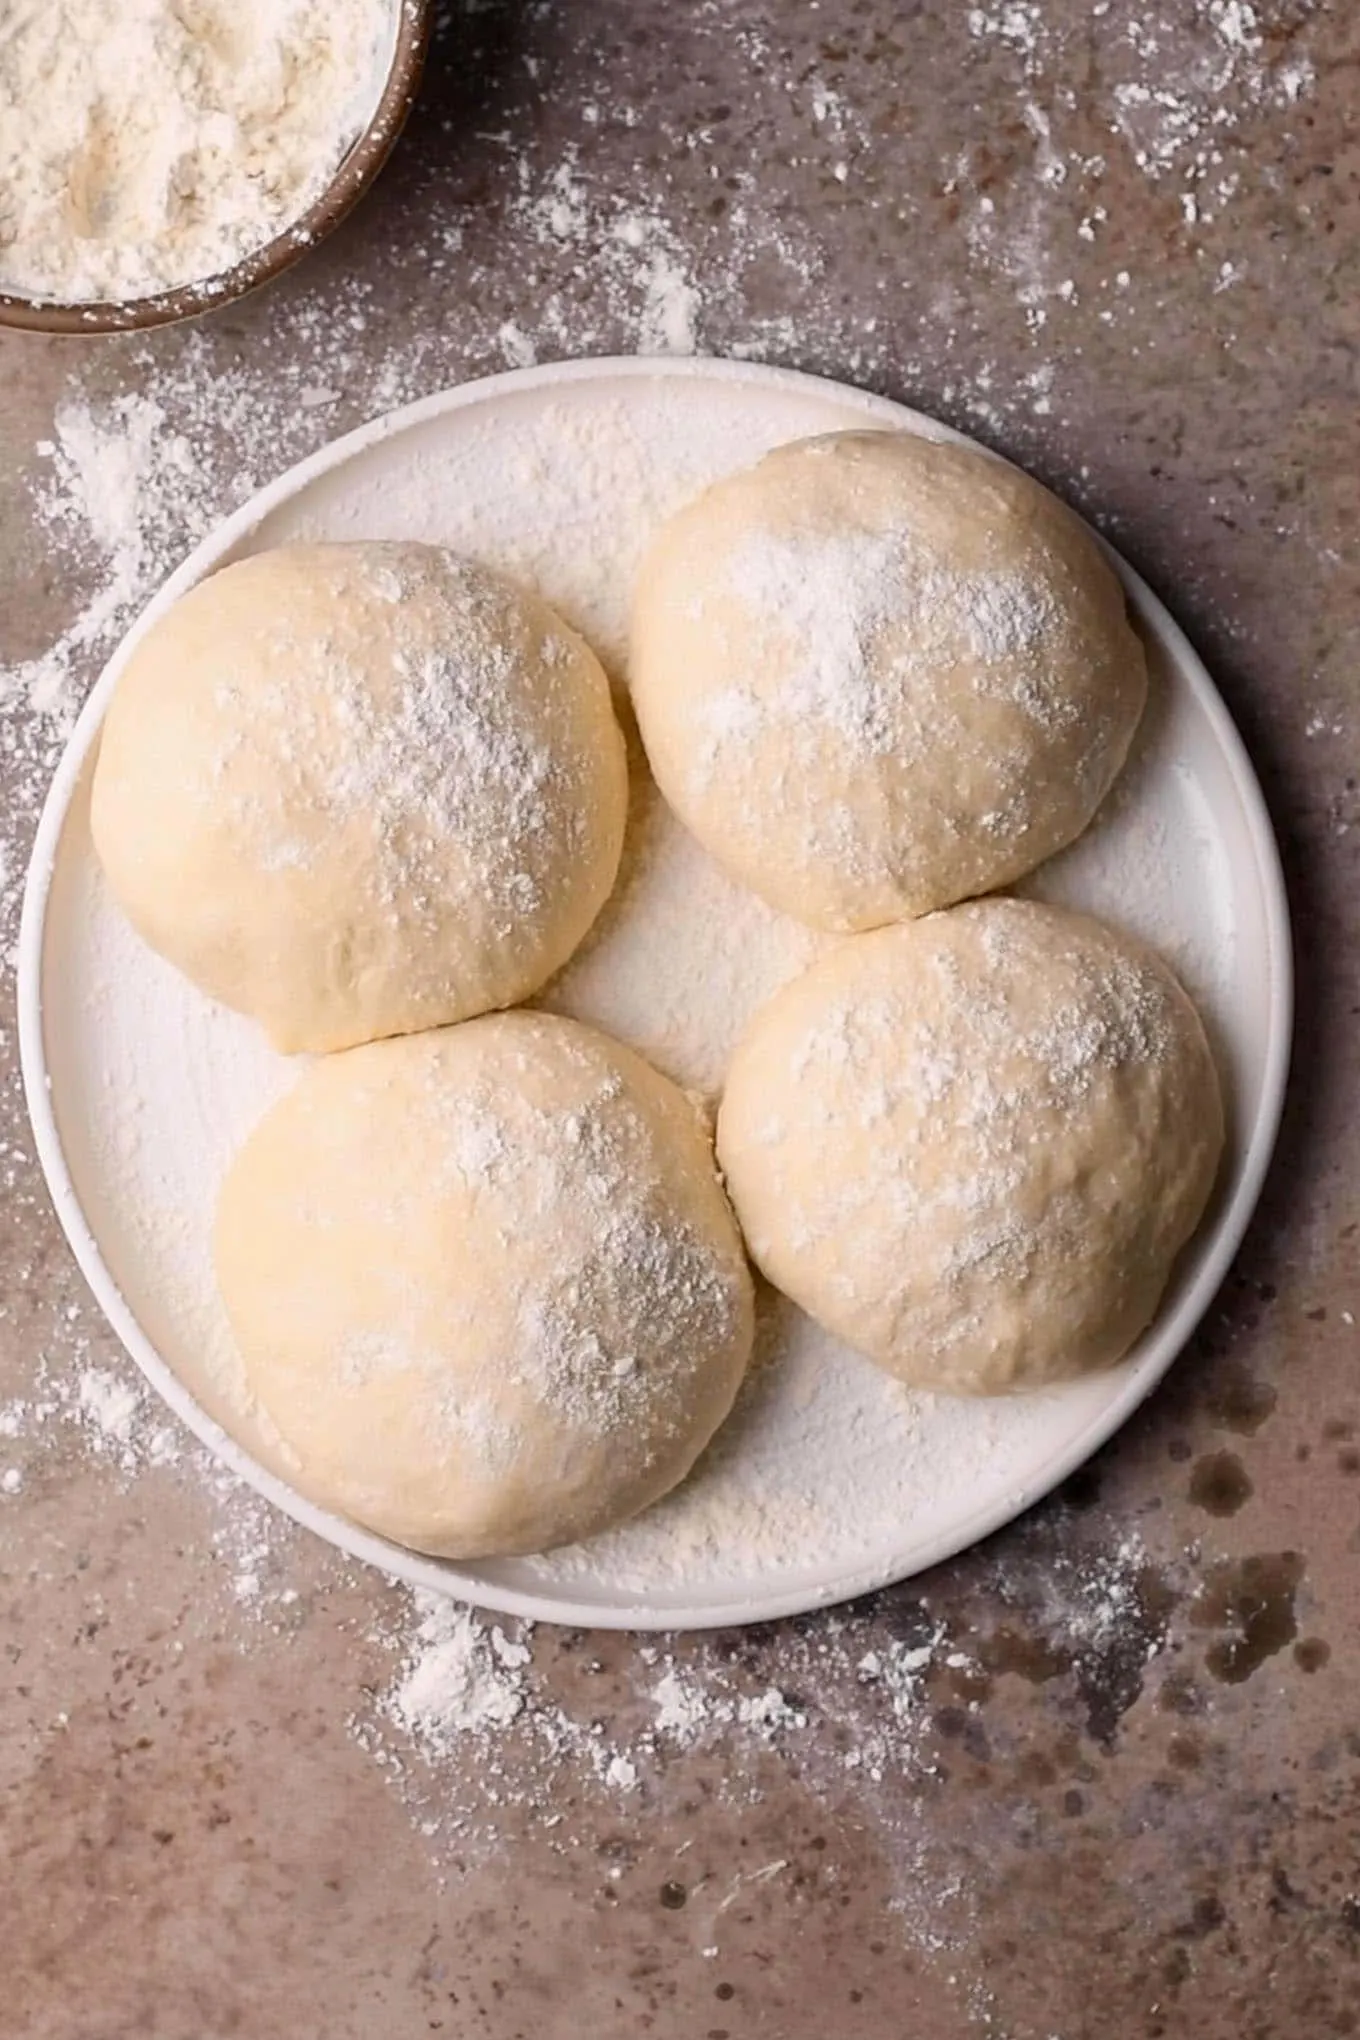
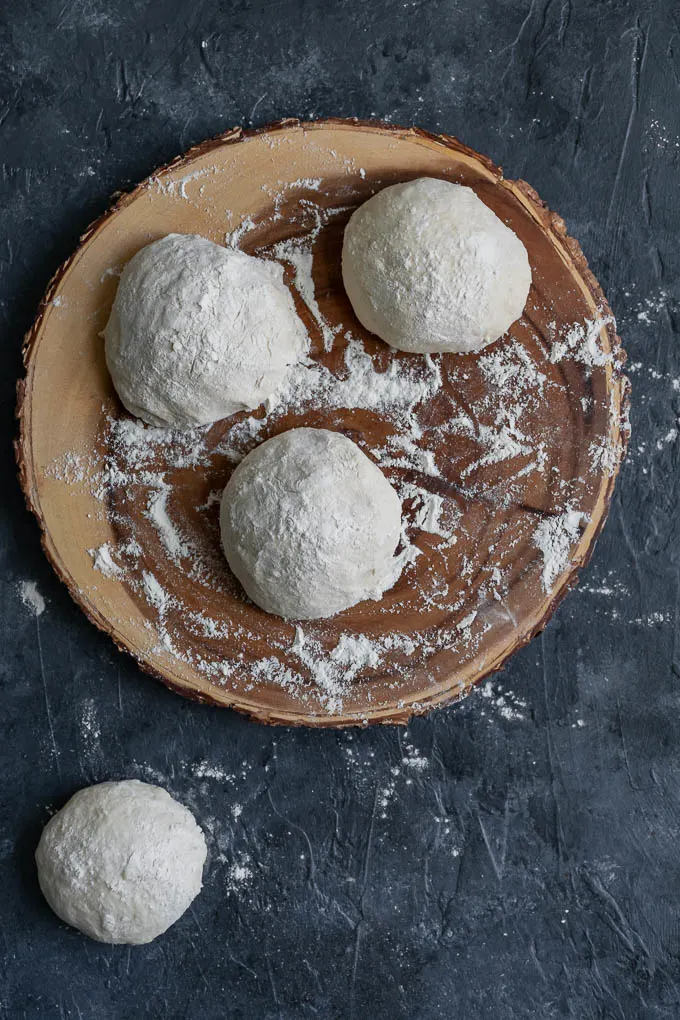
After the initial rise (either at room temperature or in the refrigerator), divide up the dough and shape into balls on a well floured counter. Let rise a second time for about 45 minutes while the oven preheats.
This recipe makes 4 very large naan or 6-8 smaller sized ones. I love the huge naan you sometimes get at restaurants which is why I divide the dough into 4 portions, but smaller naan are more individually portioned. If you are cooking the bread stovetop I recommend you divide into 6 pieces as the larger naan probably won’t fit in your skillet!
How to shape naan:
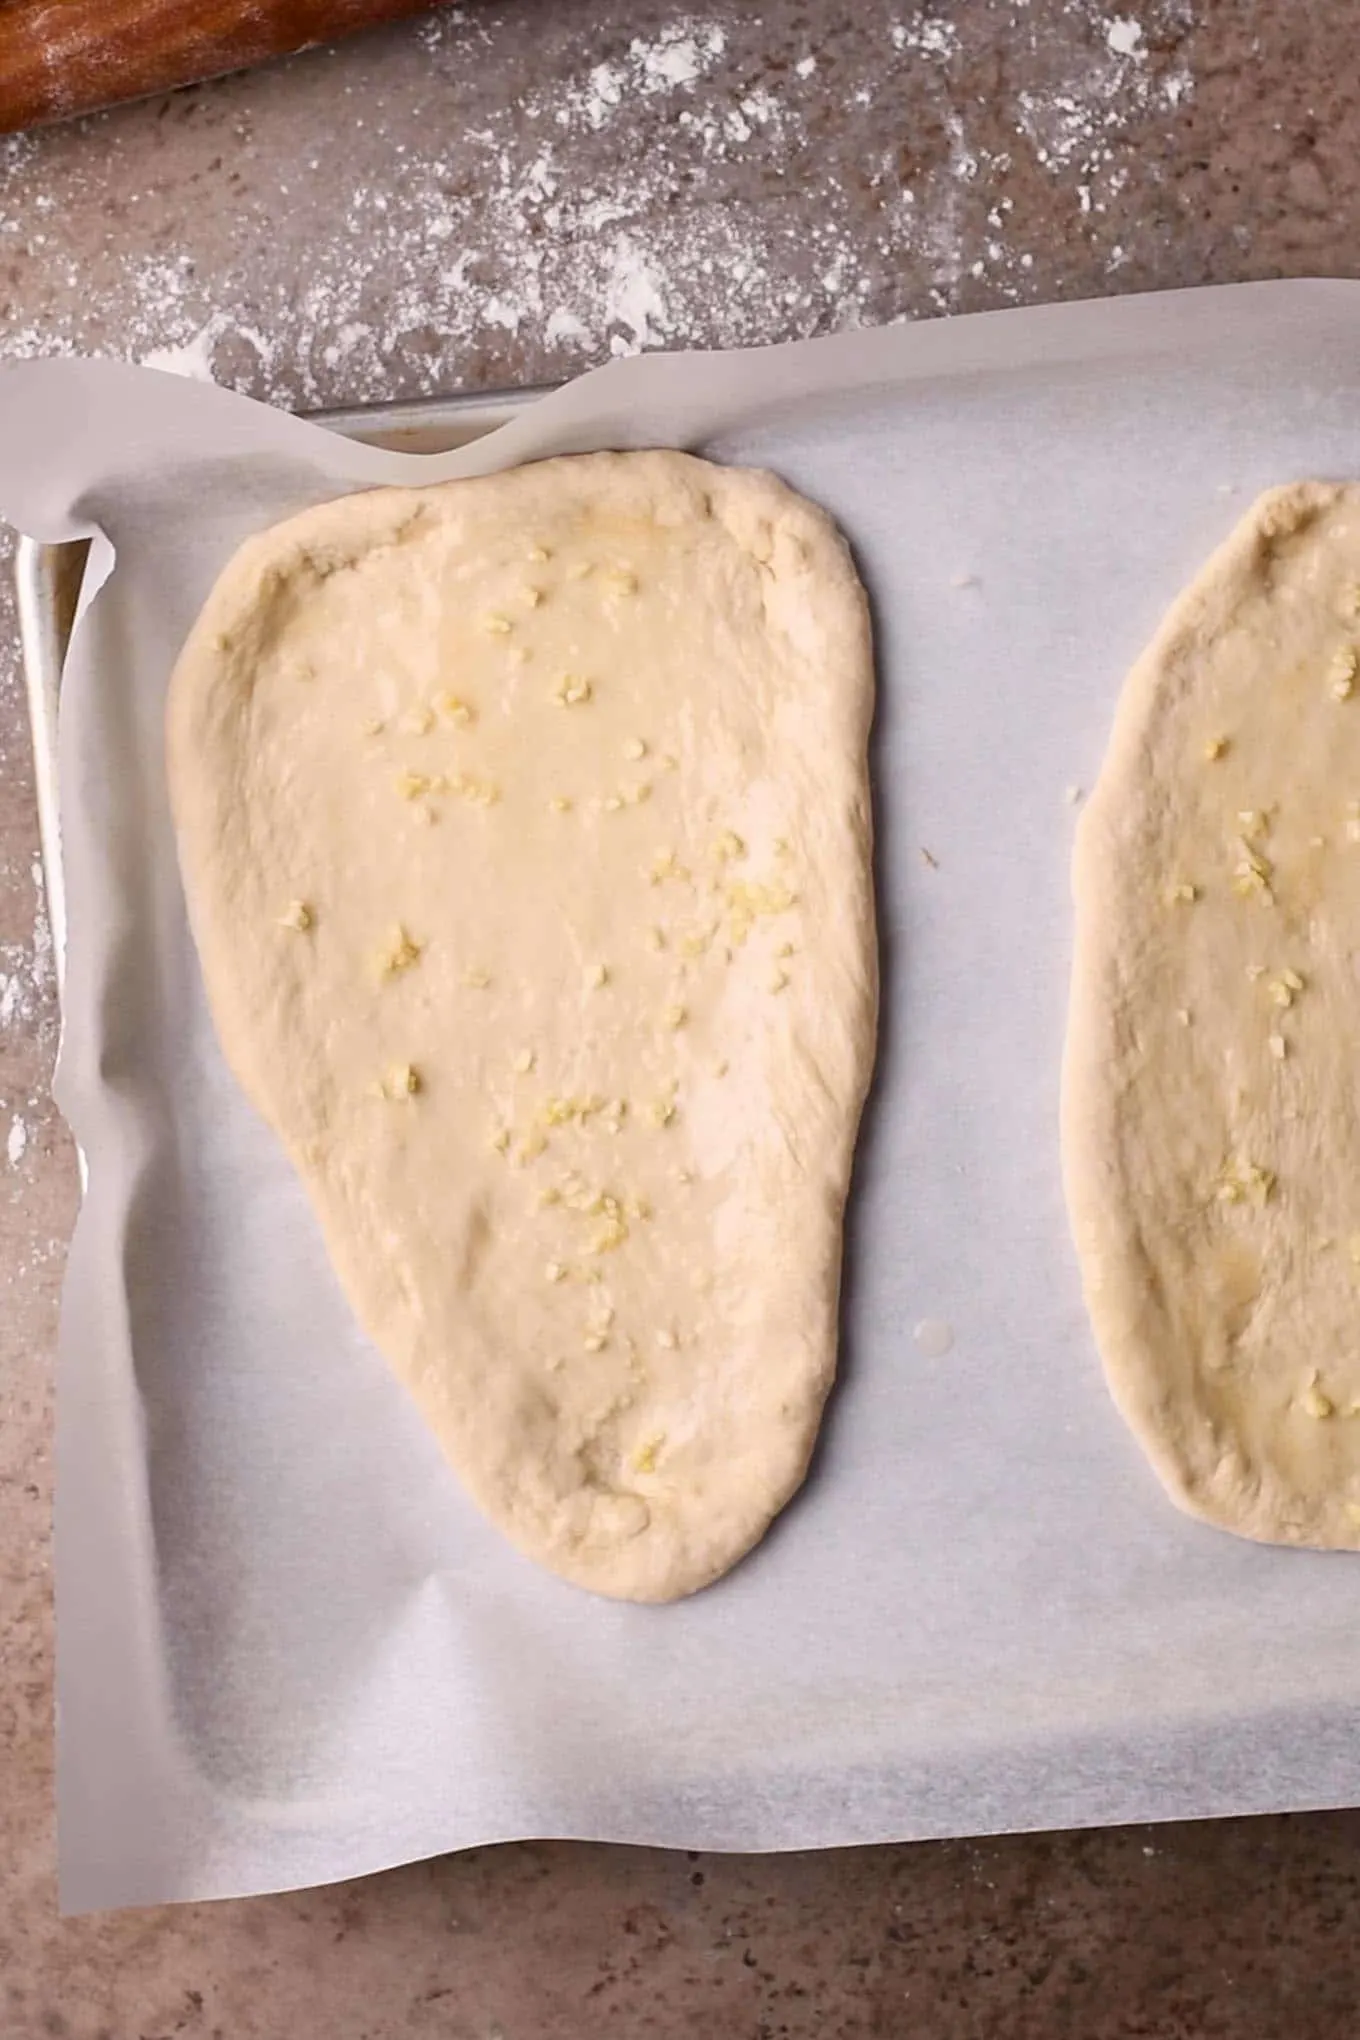
A traditional tandoori naan has a teardrop shape. This is from the method of cooking which slaps the dough on the side of the tandoor (more about that in a moment!). To mimic this shape I first roll out the dough into a rough oval, then stretch or roll one side of the oval to for it into a triangular “teardrop” shape.
You can also just shape it into an oval and cook it that way. 🙂
Before sticking the dough into the oven to cook, brush it with some melted vegan butter and minced garlic or nigella seeds if using!
How to cook naan at home:
Traditionally, naan is cooked in a tandoor oven. You’ll sometimes see it called tandoori naan. This is also where the naming of tandoori roti and tandoori chicken come from. These are cylindrical ovens that open at the top and can be heated to 900 ºF and above!
The naan is slapped against the side of the hot oven, where it sticks until it has cooked through. When cooked it unseals from the side of the oven and can be removed. Before serving it’s brushed with butter or ghee, and topped with some combination of cilantro, garlic, and nigella seeds.
We can’t achieve these same oven conditions at home, but don’t worry, we can still make great naan!
Because the naan is not cooked at the same high temperatures, it will take longer to cook and more moisture will evaporate from the dough. This means you want to start with a wetter dough then a restaurant with a tandoor might need.
This is why the dough is a bit sticky to work with, it’s so at the end of the day you can have nice soft bread!
I like to bake my naan at the highest temperature my oven goes, which is 550 ºF. If your oven only reaches 500 ºF that’s fine too! If you have a pizza stone or baking steel then go ahead and set that up. You can bake directly on the stone or on a parchment lined baking tray set on top of the stone. This will help transfer more heat to the bottom of the bread to get browning on both sides.
Cooking the naan on the stove:
Another popular way to prepare homemade vegan naan is stovetop. You can cook the flatbread on a skillet over medium-high heat, cooking it on both sides until they have developed brown spots. You don’t add any oil to the pan as you cook the bread. Make sure to turn your vent fan on high and open some windows as cooking the bread this way will get smoky.

Serving the naan:
As the hot naan comes out of the oven brush it with more vegan butter, then garnish with fresh minced cilantro.
Serve it right away, or wrap it up in a lint free towel to wait until the rest have been baked. Wrapping it up in a towel while hot traps the steam, and the steam works to soften the naan!
Storing and reheating leftover vegan naan:
For longer storage, wrap the naan in a piece of paper towel and place into a large ziplock bag or reusable silicon bag. You can leave them sealed on the counter at room temperature for up to 2 days. For longer storage, refrigerate or freeze.
To reheat leftover naan, heat a large skillet over medium heat and place the naan on the skillet. Cover with a lid to keep the moisture in, and if the naan is a bit dry then wet your hand and sprinkle some water in with your fingers. The steam will resoften the naan to it’s just baked texture!

If you make these homemade vegan naan, leave a comment below and rate the recipe on the recipe card. And please share your photos with me on Instagram, tag @thecuriouschickpea and #thecuriouschickpea. I love seeing your recreations!
WANT MORE DELICIOUS VEGAN RECIPES?
SIGN UP FOR MY EMAIL NEWSLETTER & FOLLOW ME ON INSTAGRAM, FACEBOOK, AND PINTEREST!
Ingredients
- 3 cups (420g) all purpose flour, extra if needed
- 1 tbsp (16g) sugar
- 1 1/2 tsp (3g) instant yeast*
- 1 1/2 tsp (6g) salt
- 1 cup (225g) plain unsweetened coconut yogurt (or other vegan yogurt)
- 1/2 cup (120g) 110 ºF warm water
- 3 tbsp (42g) melted vegan butter or coconut oil*, extra to bake and serve
- minced garlic, optional
- minced cilantro, optional
Instructions
- In a large mixing bowl whisk together the flour, sugar, salt, and yeast. In a second small mixing bowl combine the yogurt, melted vegan butter (or coconut oil), and warm water until smooth. Add the wet to the dry and combine with a wooden spoon to form a wet dough.
- Knead with your hands for about 1-2 minutes. The dough will be very sticky, if it feels soupy, add a bit more flour until it’s sticky but not runny. Otherwise, you can wet your hands to prevent the dough from sticking too much.
- Shape the kneaded dough into a ball and turn seam-side down. Cover the bowl and place it in a warm spot. Let the dough rise 45 minutes or until swollen 1 1/2 – 2x in size. Alternatively, refrigerate the dough after kneading in a covered mixing bowl and continue 8-48 hours later.
- Dust a clean counter with flour and turn the proved dough out. Divide the dough into 4 to 8 equal pieces and shape into balls, dusting with flour as needed to prevent sticking. Set the dough balls on a floured plate, and sprinkle more flour on top. Cover with a lint free towel and let rise while the oven preheats.
- Preheat the oven to 550 ºF, or as hot as your oven goes with a rack positioned 1/3 of the way down from the top of the oven. If you have one, place a baking steel or baking stone on that rack to preheat. Let the oven preheat for at least 45 minutes to saturate the sides and baking steel or stone (if using) with heat.
- After the second rise, roll the dough with a rolling pin to shape into an oval. To make a teardrop shape grab one side of the oval and stretch it to make a triangular shape.
- Brush the top of the shaped breads with melted butter (or coconut oil) and sprinkle on minced garlic if making garlic naan.
- Bake the naan 2-3 at a time, either on a parchment lined baking tray or directly on a baking stone or steel. If baking on the stone or steel transfer using a pizza peel.
- Bake for 3-5 minutes until there are some golden spots on the bubbled surface. If desired, turn on the broiler for 1-2 minutes after 3-4 minutes of baking. Larger naan will take longer to cook, smaller ones will cook faster, keep an eye on the first batch and adjust cooking times accordingly.
- Repeat with remaining dough. For restaurant style presentation, brush the hot dough with some more vegan butter, the butter will melt on contact. Sprinkle with cilantro to serve.
Notes
*You can substitute active dry yeast for instant yeast. To do so mix the yeast in with the wet ingredients in a separate bowl and let sit and dissolve for 10 minutes before adding to the dry ingredients.
*If using coconut oil, add 1/4 tsp salt to the dough.
Recipe adapted from Vah Reh Vah.
Nutrition Information:
Yield: 6
Serving Size: 1
Amount Per Serving:
Calories: 326Total Fat: 7gSaturated Fat: 4gTrans Fat: 0gUnsaturated Fat: 2gCholesterol: 0mgSodium: 652mgCarbohydrates: 57gFiber: 2gSugar: 9gProtein: 9g
Nutrition is calculated automatically and should be used solely as an estimate.

This recipe was originally published on August 30, 2018 and updated in January 2022 with new photos and a video.