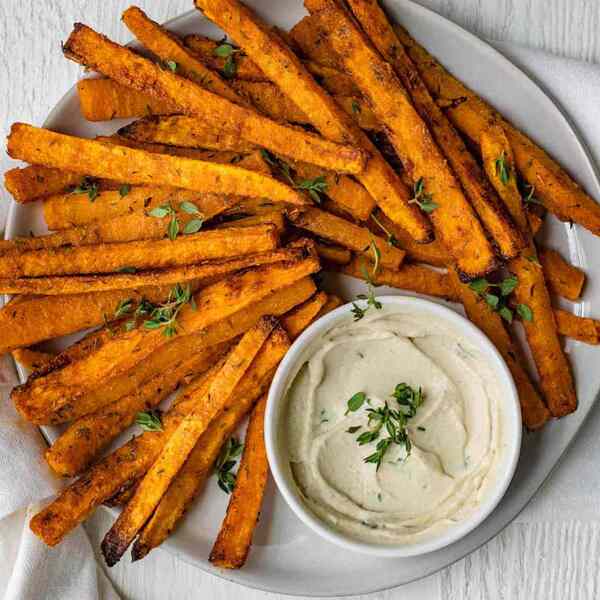
These baked butternut squash fries are a healthy side dish for fish, burgers, or grilled chicken—and they’re super easy to make. And while our love for sweet potatoes (and russets, Yukon Golds, and every other tater option) has no bounds, the nutritional benefits of butternut squash are many.
Yumna Jawad
The resulting fries taste like a deliciously crisp cross between sweet potato and zucchini fries. But these can get a little soggy if you’re not careful. Get the most crispy butternut squash fries with these tips:
Remove all excess moisture from the butternut squash fries before coating them with cornstarch.
Cut the fries as evenly and thinly as possible to help them brown and cook through evenly.
Avoid overcrowding your pan with the cut fries.
Eat these alone or with ketchup, garlic aioli, or whatever dip you’d like.
These fries are best served straight out of the oven so they don’t lose their crispiness. You can prep the butternut squash a few hours before you need to bake them—just keep them covered in the fridge.
Pair briny capers with lemon zest and juicy for an irresistible vegan salad dressing.
Advertisement – Continue Reading Below
1
shallot, finely chopped
2tsp.
fresh lemon zest
2Tbsp.
fresh lemon juice
1/4cup
parsley, finely chopped
2Tbsp.
capers, drained and finely chopped
1
small clove garlic, grated
Kosher salt and pepper
1/4cup
olive oil
Step 1In a medium bowl, combine shallot, lemon zest and juice, parsley, capers, garlic, and ¼ teaspoon each salt and pepper, then gradually whisk in oil.
At Good Housekeeping, we want to make sure that every recipe we share will work in your kitchen. That’s why our team of culinary experts tests each recipe at least three times — and often, several more times after that. During the testing process, we switch up the appliances used (think: gas, electric and induction ranges) as well as the brands of ingredients. Dozens of people taste the dish along the way, helping us to develop the tastiest meals, sides, drinks and desserts.
I developed this recipe this summer when the kitchen I was working in needed to use up a lot of extra cauliflower. Due to our clientele’s dietary needs, it also needed to be low-fat and low-salt and vegan.
Like most soups and stews, this soup tastes even better the next day it also freezes really well. —Savorykitchen
Ingredients
2 tablespoons
olive oil
1
onion, chopped
2
carrots, chopped
2
ribs of celery, chopped
1
cauliflower, cut into florets
1 tablespoon
curry powder
1/4 teaspoon
cayenne
15 ounces
can diced tomatoes
salt and pepper
cream, optional
cilantro, optional
lime, optional
Directions
Heat a large saucepan or stockpot over medium-high heat and add the oil and vegetables. Saute the vegetables until softened and brown. Add the curry powder and cayenne and saute for three more minutes or until fragrant.
Add the diced tomatoes and enough water to the pan to nearly cover the vegetables. Cover the pan and simmer until vegetables are soft.
Puree the soup in a blender or with an immersion stick blender until the soup is smooth. Season with salt and pepper to taste.
Serve hot, garnished with chopped cilantro, a drizzle of cream, and/or a wedge of lime.
These chocolate zucchini muffins are vegan and easily adaptable to be gluten-free. With great ingredients, they are pretty healthy as well as delicious. —carolinescooking
Ingredients
2 ounces
dates, pitted – recommend medjool
1/4 cup
water
1/2 cup
all-purpose flour
3/4 cup
almond flour
2 teaspoons
baking powder
1 teaspoon
baking soda
1/2 teaspoon
cinnamon
1/2 teaspoon
nutmeg
1 1/2 cups
grated zucchini
4 tablespoons
coconut oil
1.5 ounces
unsweetened chocolate (100% cacao)
1 tablespoon
flaxseed meal
3 tablespoons
honey
Directions
Preheat oven to 400F/200C.
Soak dates in water while preparing rest.
Mix together flour, almond flour, baking powder and soda, cinnamon and nutmeg. Add the zucchini.
Melt the coconut oil in a small pan and add the chocolate, stir until melted. Allow to cool slightly.
Blend the dates and water together so smooth. Add the flaxseed meal and mix.
Add the coconut oil/chocolate mix to the dates along with the honey and mix well. Add this mixture to the dry ingredients and zucchini and mix so combined without overmixing.
Put into muffin or mini muffin tray and bake approx 12 min for mini muffin size, around 20 min for larger until a skewer tested in the middle comes out clean.
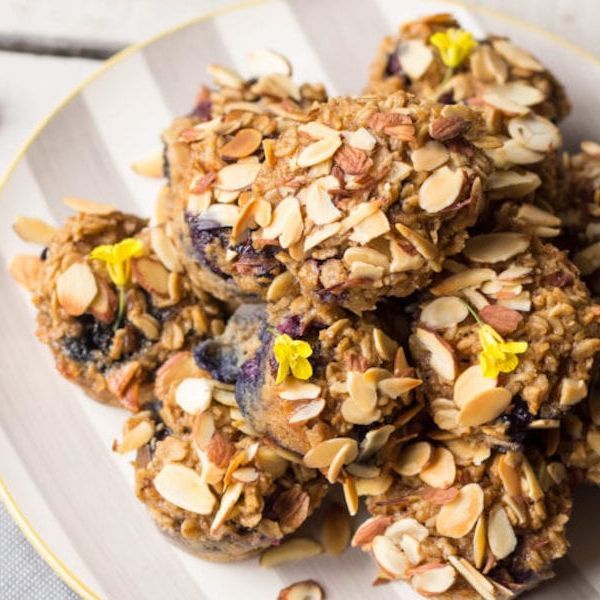
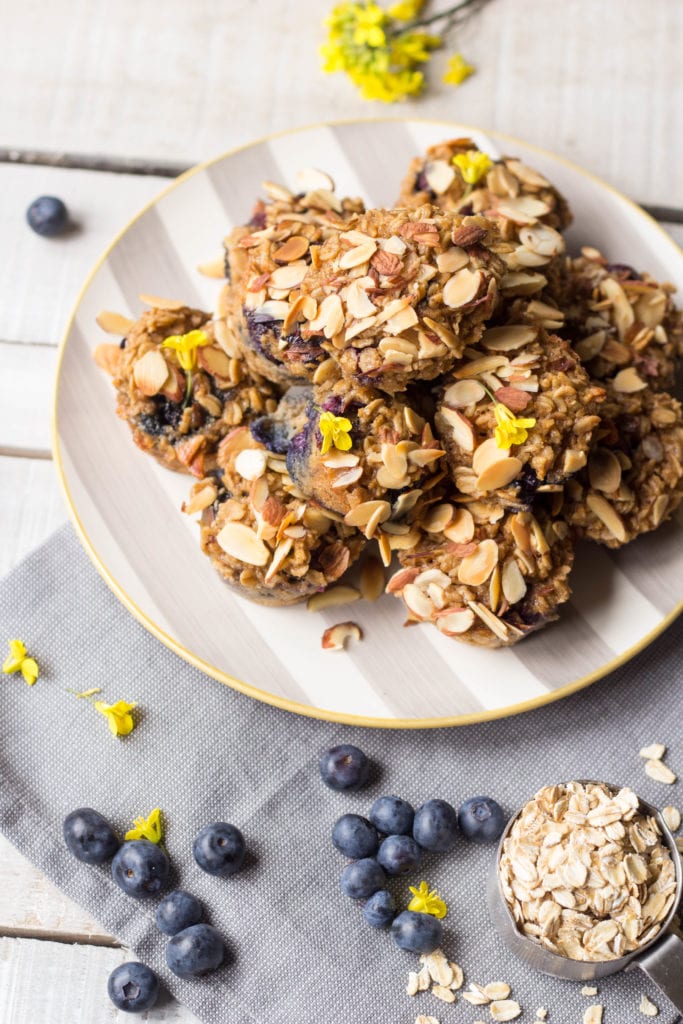
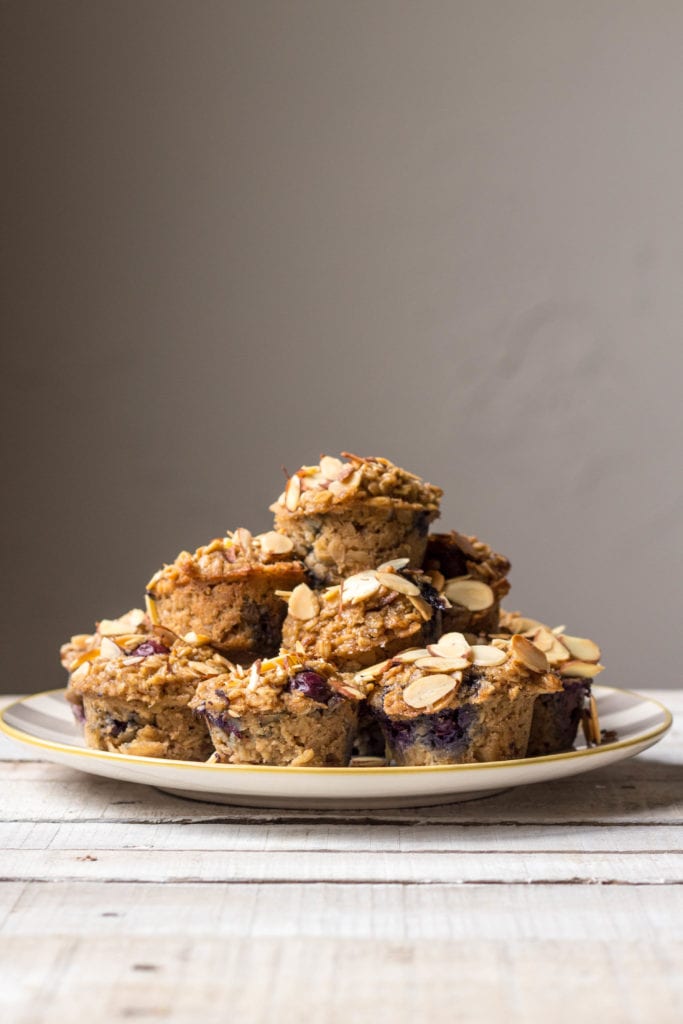
Loaded with plump, fresh blueberries, oats, and cinnamon, these vegan almond muffins are just what your summer mornings are calling for.
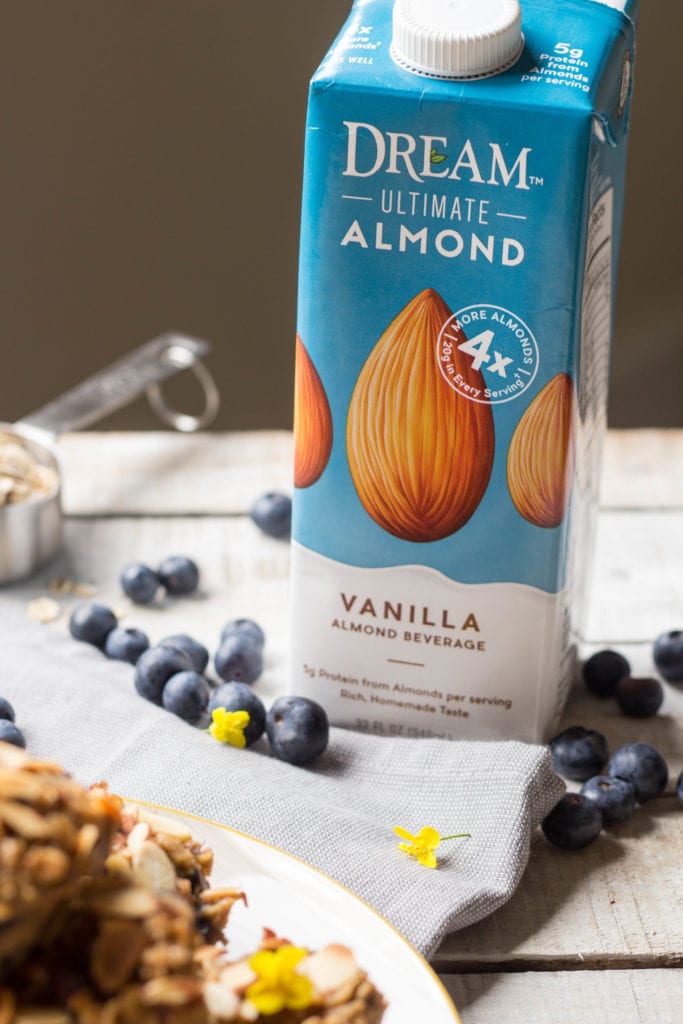
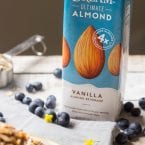
PARTNER POST: Discover how delicious dairy-free sweet and savory cooking can be with DREAM Ultimate Almond.
Loaded with plump, fresh blueberries, oats, and cinnamon, these vegan almond muffins are just what your summer mornings are calling for.
Jersey fresh blueberries just kicked off their season, and I’ve been gobbling up as many as I can get my grubby little paws on. Because of the exceptionally cool and rainy May we had, this year’s crop is plumper, juicier and sweeter than ever. Perfect for snacking, and even better for tucking into your favorite baked goods.
Have you ever tried baked oatmeal before? It’s become a staple in our household. It’s simply oatmeal mixed up with milk, brown sugar, eggs and baked with whatever fruit, nuts and spices you fancy. It’s great served warm, eaten like a dense breakfast cake or muffin (aka, with your hands), or served in a bowl, with a splash of your favorite milk and eaten with a spoon. My favorite milk of the moment? It is definitely Dream Ultimate Almond.
Unlike the usual almond beverages on the market that are watery and bland, Dream Ultimate Almond is made with four times more California almonds in every cup, and you can definitely taste the difference. It’s super rich and creamy, not to mention packed with 5 grams of natural protein from almonds.
Baked oatmeal is a Pennsylvania Dutch tradition. It’s typically made in a pan and cut into squares, but I opted to make little individual portions using mini muffin tins. They’re perfect for taking breakfast on the go, and unlike muffins – which are essentially cake – these babies are packed with fiber, protein, nutrients and happen to be completely dairy and gluten free. You can even go a step further and substitute a flax or chia egg for the real eggs if you’d like to make this totally vegan. It’s a very forgiving recipe.
If you can’t find beautiful, plump local blueberries, this recipe would work nicely with raspberries, strawberries, blackberries, and even peaches or plums. Your best bet is always to use the freshest, ripest and sweetest fruit you can find. You can also try switching up the vanilla extract for almond extract to get an even bigger boost of almondy goodness.
What makes these little baked oatmeal cups even better is that they freeze up beautifully. So you can make up a big batch on a rainy day and have them ready to eat all summer long. Just pop one in the toaster oven for a few minutes, and be on your way. Less time making breakfast means more time for sun basking and ice cream eating, two things we all need to do a little more of for the next three months.
The new DREAM Ultimate Almond beverage can be found now at Whole Foods and soon at your local Sprouts. Click here for a coupon.
For more inspiration, check out this grilled Caesar salad with a dairy-free dressing:
Print
5 Stars 4 Stars 3 Stars 2 Stars 1 Star
No reviews
Author:Nicole Gaffney
Yield:24 muffins 1x
1/2 cup dark brown sugar (packed)
2 eggs
1/2 cup coconut oil (melted, plus more for greasing pans)
3 cups old-fashioned rolled oats
2 teaspoons baking powder
1/2 teaspoon salt
1 teaspoon cinnamon
1 1/2 cups Dream Vanilla Ultimate Almond
1 teaspoon vanilla extract
1 1/2 cups fresh blueberries
1 cup sliced almonds (toasted)
Instructions
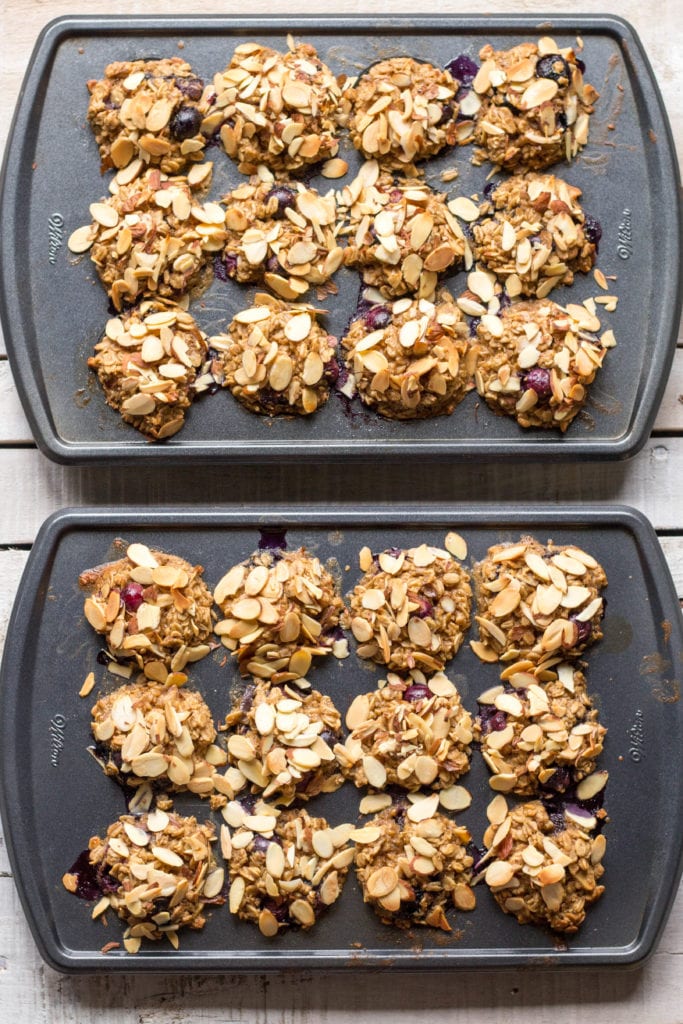
Preheat the oven to 375 degrees. Grease the insides of two 12-cup mini muffin tins, then set aside.
In a large bowl, whisk together the brown sugar, eggs and melted coconut oil. Add the oats, baking powder, salt, cinnamon, Dream Vanilla Ultimate Almond Milk, and vanilla extract, then whisk until combined. Stir in the blueberries and half of the almonds.
Divide the batter evenly amongst the two muffin tins, then top each with the remaining sliced almonds, slightly pressing them into the batter. Bake for about 15-20 minutes, or until browned on the outside and just set on the inside. Allow to cool in the tins, then use a spoon to carefully remove each one. Serve as is, or with a splash of Dream Vanilla Ultimate Almond Milk.
Notes
Notes: Leftovers can be frozen in a zip top bag and reheated in the toaster oven for a quick and easy breakfast on the go.
Carrots replace cocktail wieners in this healthy update of pigs in a blanket. Soaking the carrot “dogs” in a smoky marinade is the key to giving them that hot dog flavor, for a vegan app meat-eaters will love too. Serve with dipping sauces like honey mustard or ranch dressing to take these to the next level.
Updated on April 19, 2024
Additional Time:
5 hrs 15 mins
Total Time:
5 hrs 40 mins
Jump to Nutrition Facts
Cook Mode (Keep screen awake)
Ingredients
24largebaby carrots
1cuplow-sodium vegetable broth
⅓cupcider vinegar
3tablespoonsreduced-sodium soy sauce or tamari
1tablespoonyellow mustard
1teaspoongarlic powder
1teaspoonsmoked paprika
1(8 ounce) packagerefrigerated crescent roll dough, preferably organic
Directions
Bring a couple of inches of water to a boil in a large saucepan fitted with a steamer basket. Add carrots, cover and steam until barely cooked through, 8 to 10 minutes.
Meanwhile, whisk broth, vinegar, soy sauce (or tamari), mustard, garlic powder and smoked paprika in a medium bowl. Add the steamed carrots; cover and refrigerate for at least 5 hours or up to one day.
Preheat oven to 375 degrees F.
Drain the carrots and pat dry. Unroll and separate the crescent rolls; cut each into 3 similar pieces. Place a carrot on a piece of dough and roll up. Place on a rimmed baking sheet. Repeat with the remaining carrots and dough. Bake until golden, 12 to 14 minutes.
Tips
To make ahead: Prepare through Step 2; marinate carrots for up to 1 day.
Originally appeared: EatingWell.com, April 2018
Nutrition Facts (per serving)
39
Calories
1g
Fat
7g
Carbs
1g
Protein
Nutrition Facts
Servings Per Recipe 24
Serving Size 3 rolls
Calories 39
% Daily Value *
Total Carbohydrate
7g
2%
Dietary Fiber
1g
2%
Total Sugars
2g
Added Sugars
1g
2%
Protein
1g
1%
Total Fat
1g
1%
Saturated Fat
1g
3%
Vitamin A
2116IU
42%
Vitamin C
0mg
0%
Folate
5mcg
1%
Sodium
193mg
8%
Calcium
7mg
1%
Iron
0mg
1%
Magnesium
3mg
1%
Potassium
46mg
1%
Nutrition information is calculated by a registered dietitian using an ingredient database but should be considered an estimate.
* Daily Values (DVs) are the recommended amounts of nutrients to consume each day. Percent Daily Value (%DV) found on nutrition labels tells you how much a serving of a particular food or recipe contributes to each of those total recommended amounts. Per the Food and Drug Administration (FDA), the daily value is based on a standard 2,000 calorie diet. Depending on your calorie needs or if you have a health condition, you may need more or less of particular nutrients. (For example, it’s recommended that people following a heart-healthy diet eat less sodium on a daily basis compared to those following a standard diet.)
(-) Information is not currently available for this nutrient. If you are following a special diet for medical reasons, be sure to consult with your primary care provider or a registered dietitian to better understand your personal nutrition needs.
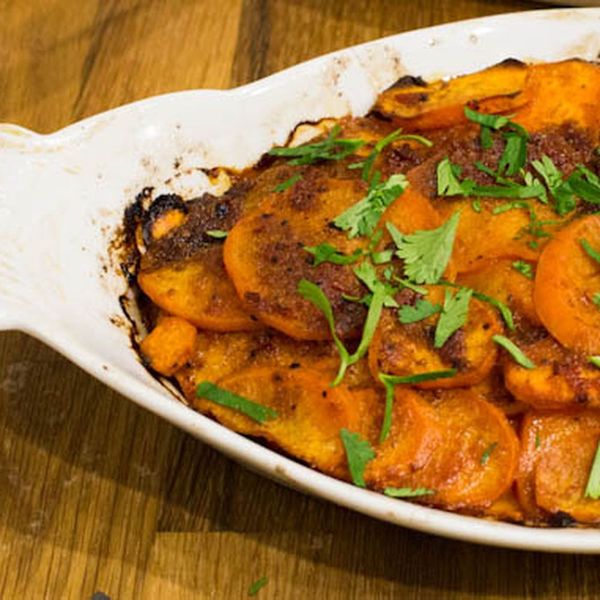
My grandma always made traditional sweet potatoes Anna on Thanksgiving with tablespoons upon tablespoons of butter. I loved it as a kid, and I still love the dish now. This is my twist on her classic recipe.
It can easily be made vegan by substituting additional olive oil for butter. —thebunalsorises
Ingredients
3
medium sweet potatoes, thinly sliced
3 tablespoons
olive oil
2 tablespoons
unsalted butter
1 tablespoon
honey, plus more for drizzle
1 tablespoon
harissa
zest of one meyer lemon
1 1/2 teaspoons
ground cumin
1 teaspoon
ground coriander
1 teaspoon
ground cinnamon, plus additional for sprinkling
salt and pepper
cilantro, chopped for garnish
Directions
Preheat oven to 425 degrees. Place sweet potatoes in a large bowl.
Melt the butter with olive oil and honey in a medium-sized sauce pan over medium heat, whisking until combined. Add harissa, meyer lemon zest, cumin, coriander, and cinnamon. Continue whisking until all ingredients are warmed through and well incorporated.
Pour mixture over sweet potato slices and mix until combined. Season with salt and pepper.
In a small casserole dish or round pie plate, layer the potatoes in a spiral, overlapping slightly at the edges until all the slices are used up. Drizzle any excess sauce over the top of the dish.
Drizzle top with more honey and sprinkle with a dash of extra cinnamon, if desired. Cover tightly with tinfoil and bake, 30 minutes. Uncover dish and bake an additional 20 minutes, or until a knife can easily pierce through the center. If the top is getting too brown, recover with tinfoil. Garnish with cilantro.
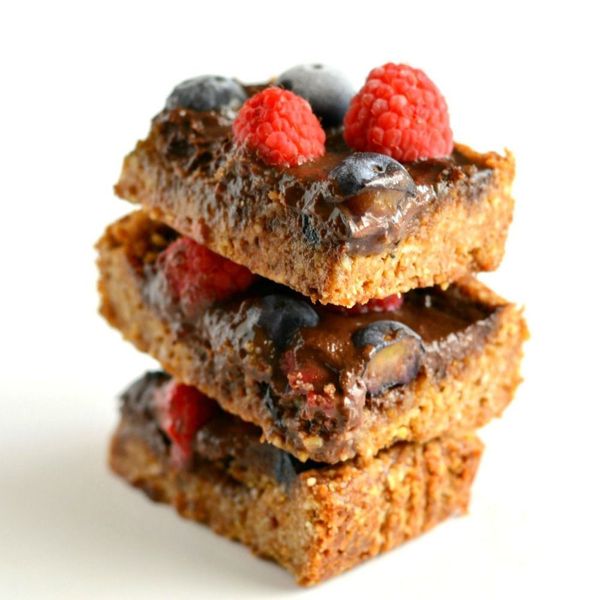
Grain free, paleo, vegan Chocolate Berry Bars made with an almond, coconut crust, generously filled with a luscious chocolate sauce and topped with a garden of fresh berries. This decadent treat is a healthy dessert that will satisfy any sweet tooth! —Megan Olson
Ingredients
2 cups
almond flour
2 teaspoons
coconut flour
4 tablespoons
coconut sugar
1/2 teaspoon
salt
1/2 teaspoon
baking soda
4 tablespoons
reduced sugar maple syrup
1/2 cup
melted coconut oil
1/4 cup
unsweetened almond milk
3 ounces
dark chocolate
2 tablespoons
unsweetened cocoa powder
1 cup
fresh berries
Directions
Preheat oven 350 degrees F and line an 8×8 square baking dish with parchment paper.
In a large bowl, combine almond flour, coconut flour, coconut sugar, salt and baking soda. I combined mine with a fork to breakup any clumps of flour.
Add the maple syrup and coconut oil to the flour mixture. It will be sticky, somewhat runny mixture.
Place the mixture in the prepared baking dish, pressing it evenly throughout the pan with your hand. Bake 15-18 minutes until golden brown.
Remove from the oven and let the mixture cool completely about 1 hour.
To a small saucepan, add almond milk and bring to a boil. Once boiling, add cocoa powder and chocolate and reduce to medium-low. Stir continuously for 10-12 minutes until a thick chocolatey mixture appears. The chocolate should be a little runny like a glaze. If it is too runny, add a little extra cocoa powder to thicken.
Pour the chocolate mixture over the crust, spreading evenly throughout with a baking spatula.
Arrange berries on the top of the chocolate, pressing slightly into the chocolate.
Place the bars in the freezer 2-3 hours until set. Then cut into 16 bars.
Store bars in the freezer until gone. They will go quickly!
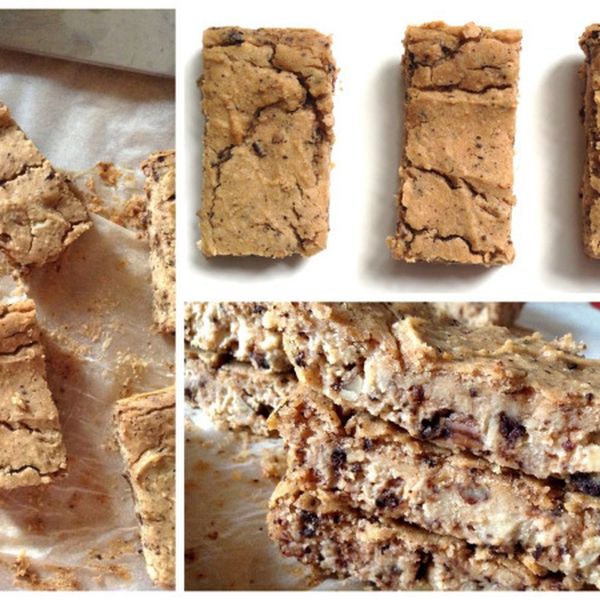
Chickpeas and Tahini are not just for hummus. I generally try to avoid flour as much as I can and since I don’t eat dairy or sugar, it’s almost impossible to find a dessert I can eat. So, I’ve learned to make my own decadent and sweet treats, my way. Let me introduce you to these Chewy Chickpea Bars; gluten-free, flourless, sugar-free and vegan. They are moist, chewy and unbelievable nutritious. They are easy to make and so delicious that no one will ever believe they’re healthy! The perfect guilt-free sweet treat! I hope you enjoy them as much as I do.
Note: Since I don’t eat sugar, 3 tablespoons of Maple Syrup is more than enough for my palette. If you prefer things on the sweeter side, you can add up to 2 additional tablespoons of Maple Syrup, but reduce the rice milk accordingly as you don’t want a runny batter. In place of rice milk, you can use any other non dairy milk to keep it vegan, but I generally prefer rice milk as it is ligher than almond milk or soy milk. —Nissrine @ Harmony à la Carte
Whiz all the ingredients together in a food processor until well combined, smooth and creamy. The batter should be a bit less dense than a cookie batter, but not runny.
Poor batter into a parchment paper lined oven-safe dish and bake for about 30 minutes on 180 C (356 F).
Remove from oven and let cool 1 hour before slicing. It will seem a bit undercooked when you take it out from the oven, but that’s just because it needs time to set and firm up. 30 minutes in the oven is more than enough, any longer and it might harden too much much once cooled.


/513fa5d0-8534-4be9-bfc6-c5f0674a7858--Curried_Cauliflower_Soup-04433.jpg)


/47b1575a-f830-475f-912c-0c37023f42f4--P5014536-1.jpg)


/2653cc40-bca8-4d15-a937-1be8bbaecf35--image_MG_4365.jpg)

/1d99853b-b48a-408b-97e3-8ba79fb2d586--chocolate-berry-bars-1340.jpg)


/84257af7-5074-4ca1-be63-0652671966c3--IMG_1446_1.jpg)

/29fc8ed1-1203-4e69-b95b-32f0bfa7d9d4--Chewy_Chickpea_Bars.jpg)