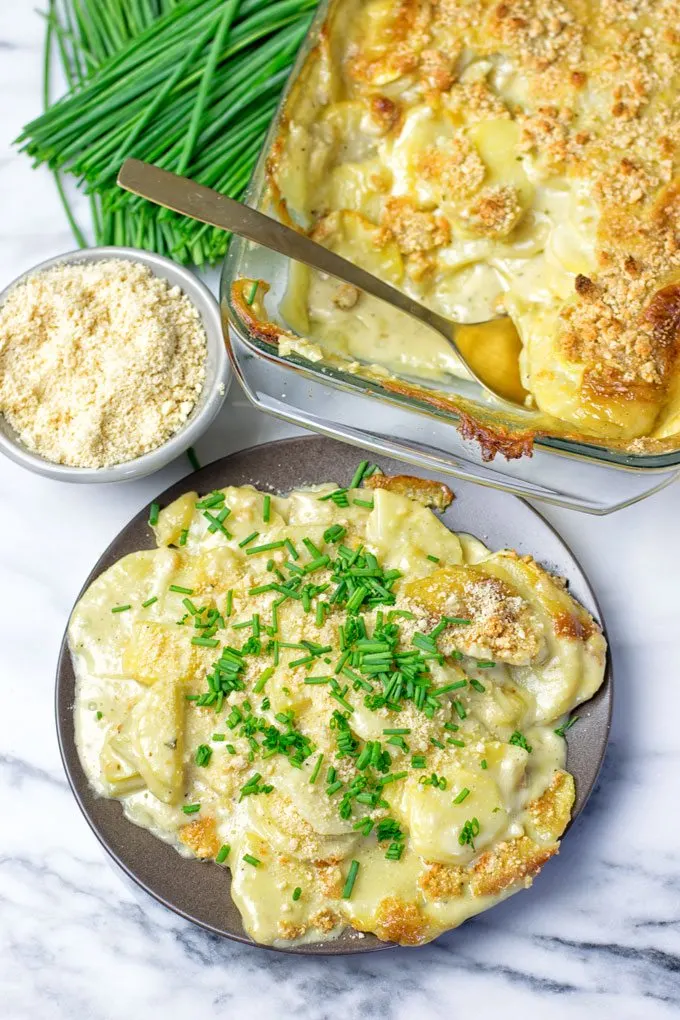
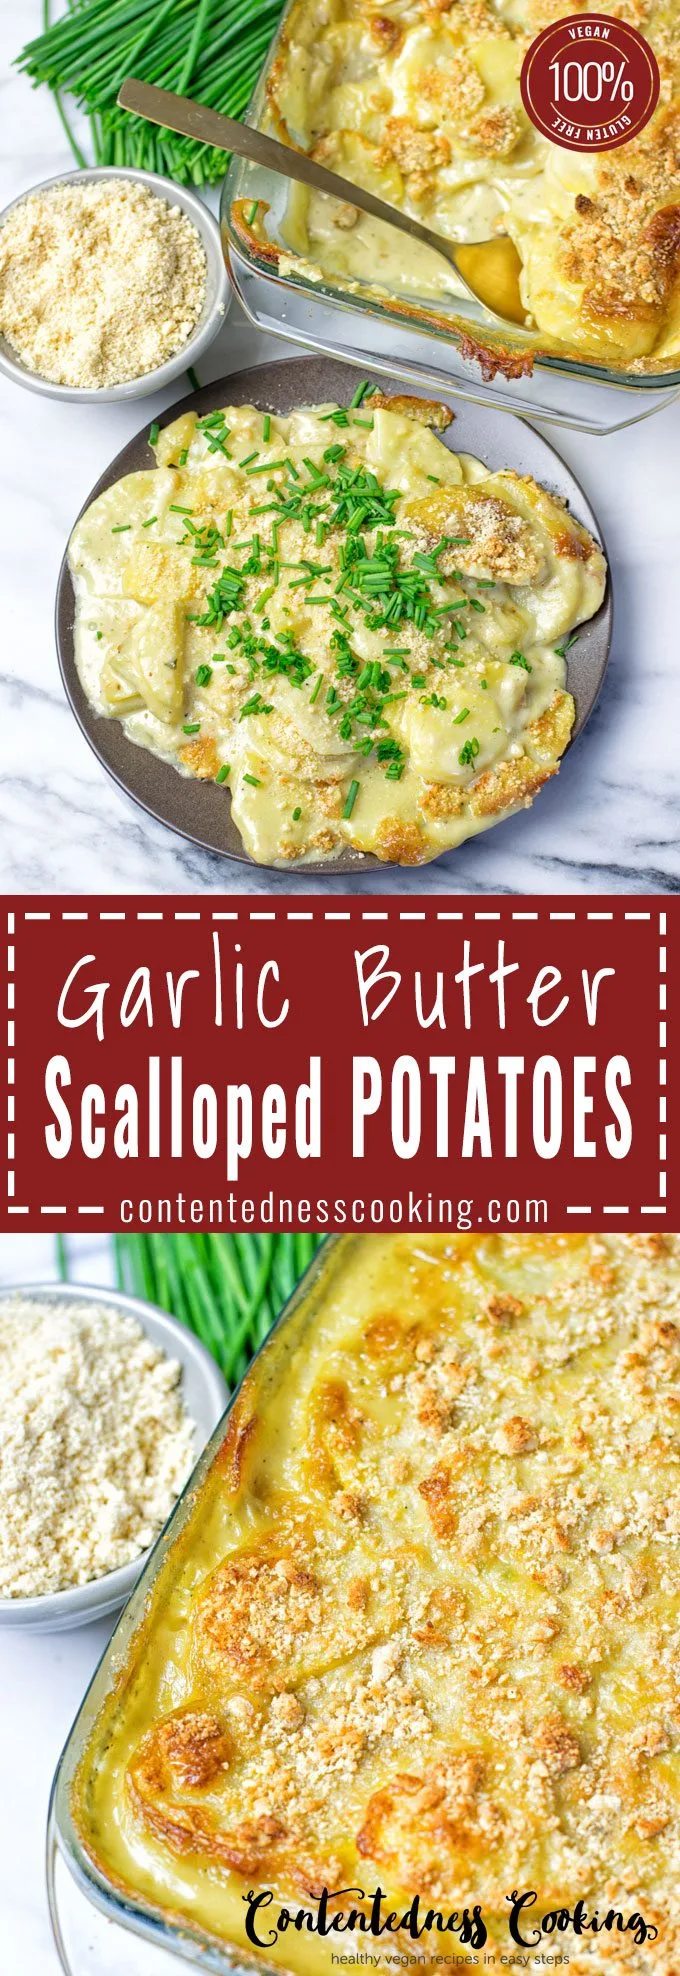
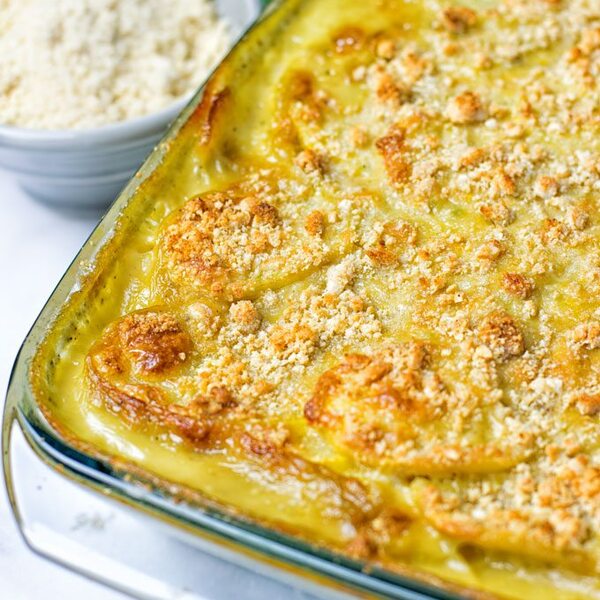
My Garlic Butter Scalloped Potatoes are so incredibly easy and delicious. With just 5 ingredients you are ready to enjoy a gluten free and vegan potato recipe that you won’t forget.

Before vegan days one of my favorite dishes was scalloped potatoes. It was super easy to make so even I could manage to get it done at time when I didn’t know much about cooking.
Even without much cooking experience it was not complicated. Of course, it wasn’t vegan or gluten free but made with a lot of cheese, butter, and cream.
Now I realized that it was too long since I ate a real scalloped potato dish. High time for me to recreate one of my favorites in a plant based way.
It’s always a big challenge to see if I can do this and if it will taste like the the real deal.
I promise you: mission accomplished. These Garlic Butter Scalloped Potatoes turned out so great, it’s unreal. Better than the classic stuff.
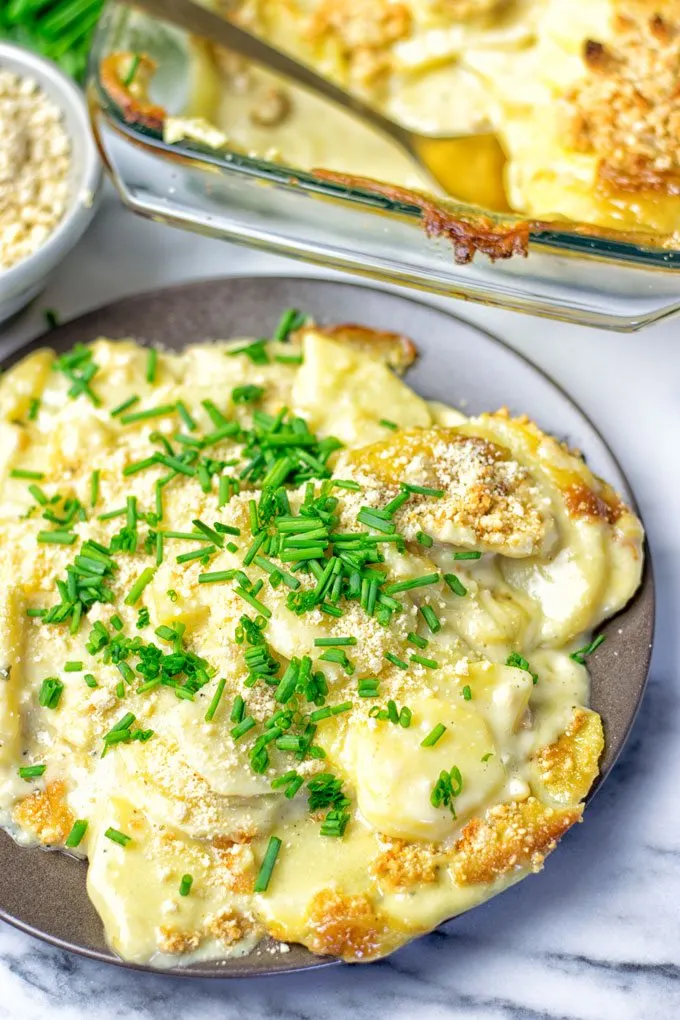
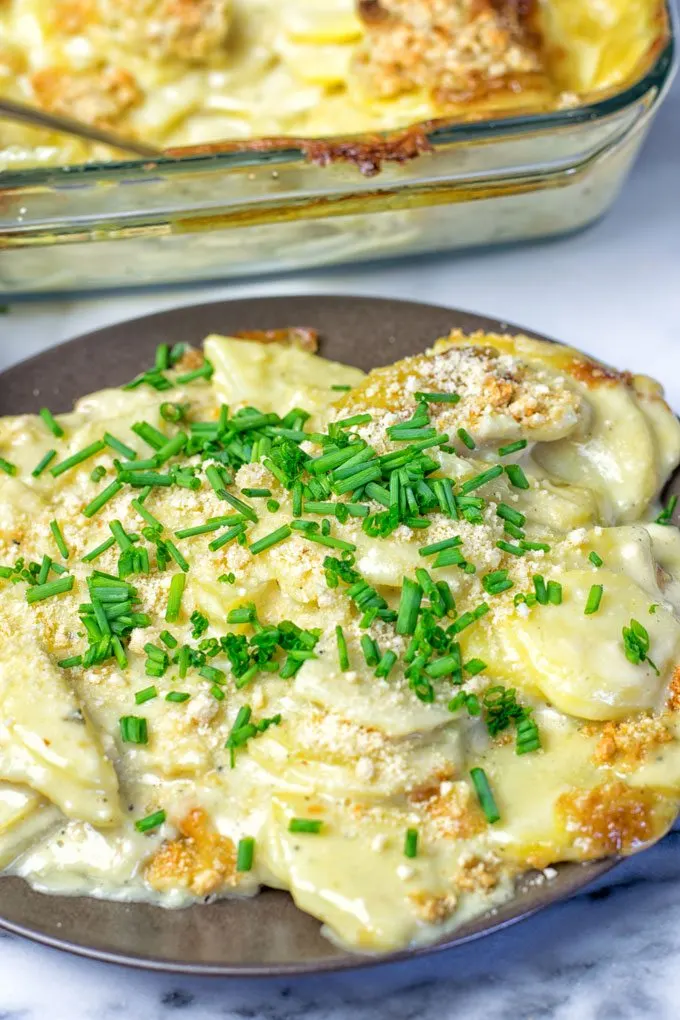
I hope you’re ready for one of my favorite recipes before vegan days. My Garlic Butter Scalloped Potatoes are simple, garlicky, cheesy, creamy, satisfying, drool-worthy, addicting, and amazing alone or to complete every meal.
Shall we? Come on bard and let’s do this! Heat a sauce pan and melt the cacao butter.
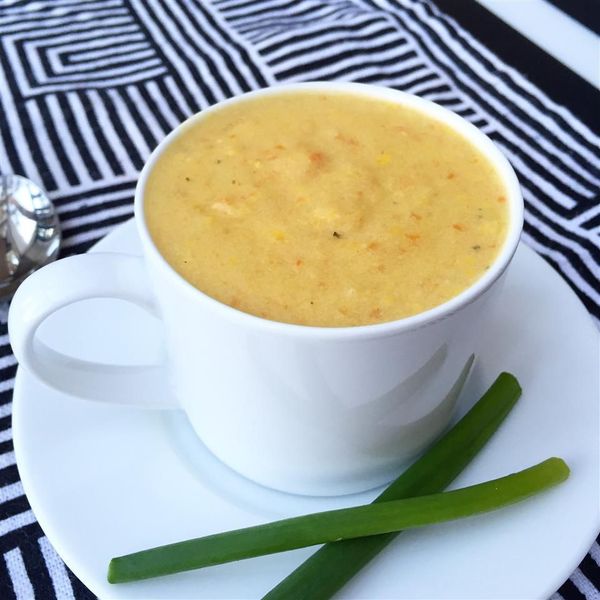
Add garlic to the pan and simmer until golden but be careful not to burn it. Turn the heat off, add oat cream, garlic, vegan Parmesan to that same pot. Season with salt and pepper and mix all well.
This way we don’t need an extra bowl.
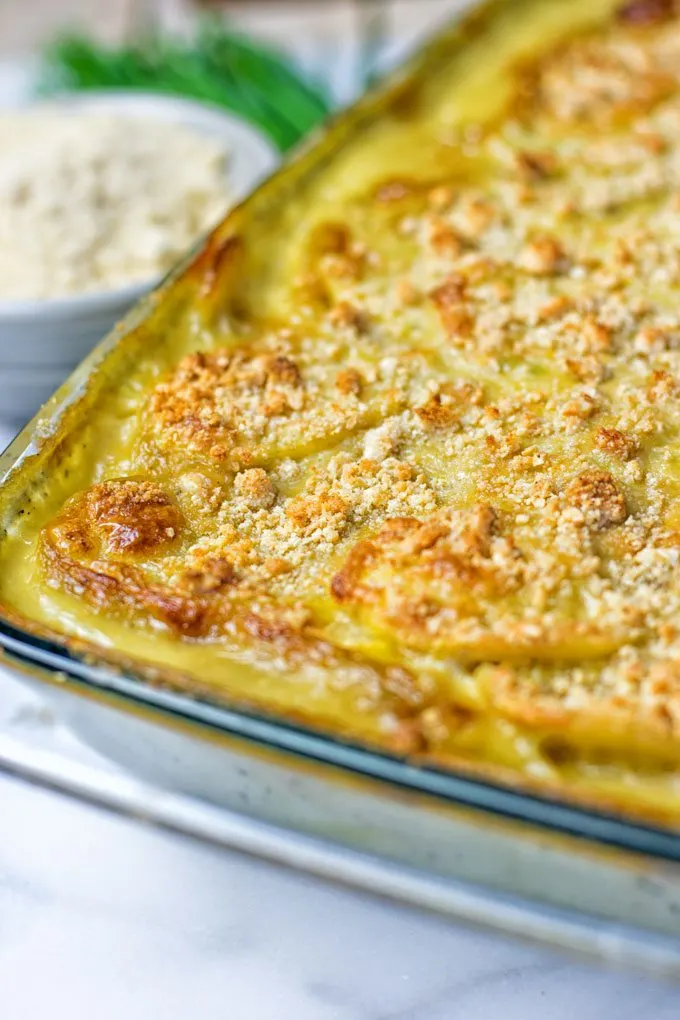
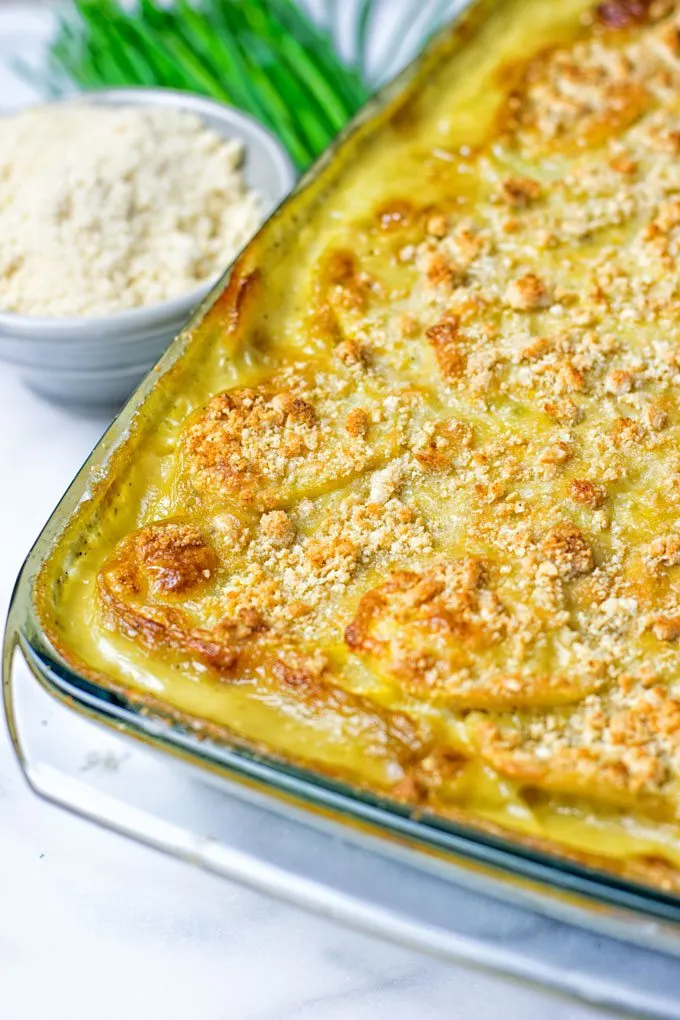
Next fill a casserole dish with the potato slices. Give the sauce on top and mix well. Sprinkle with some vegan Parmesan on top again, covered dish with aluminum foil. Bake for around 1 hour at 400°F.
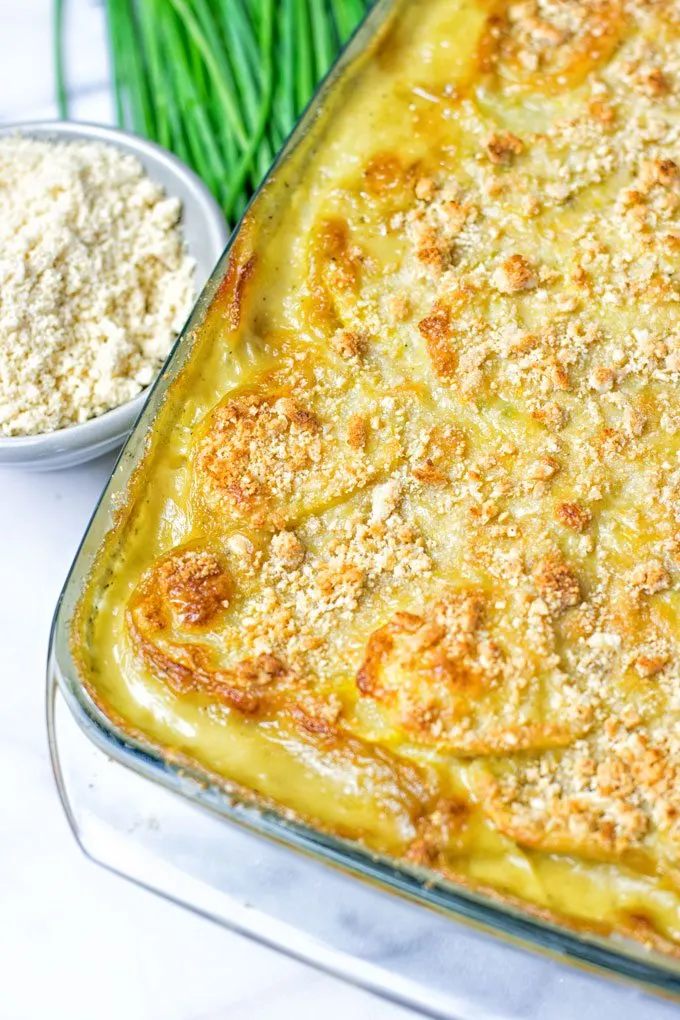
Please note: when you bake this without the aluminum foil cover, the vegan Parmesan on top will likely burnt, we don’t want that. This will be really sad.
I tried this recipe without roasting the garlic. It was good but honestly roasting the garlic takes it to another level. So don’t skip this step, it’s worth it and will add so much flavor.
As you can see, I don’t use any starch or flour in this recipe, which is always helpful when you want to get a thick sauce. But we don’t need any starch or flour, thanks to the potatoes which are full of it.
It will naturally thicken when baking without any extras.
All right if you ever make this and plan to dive right into it, you will recognize a delicious and fantastic smell of creamy garlic.
Seriously this is the smell you can’t get enough of. Believe me your mouth will water just while you have this in your oven.
It is delicious on it’s own or serve it as a side. For example it will be amazing with my Thai Green Curry Meatballs or the White Bean Meatballs Italian Style for are really filling and complete meal.
Enjoy my Garlic Butter Scalloped Potatoes with amazing cool benefits for you
These Garlic Butter Scalloped Potatoes not only delicious, these are actually good for you:
Garlic is high in nutrients but low in calories. Think of vitamins C and B6, manganese, selenium, and fiber. These little show stars can also lower blood pressure, good for bone health, full of antioxidants.
Next on out list is cacao butter: a health booster, amazing for skin health, can reduce inflammation, also high in antioxidants.
Nutritional yeast is an amazing source of vitamin B12, which is important for the production of red blood cells. It’s often found in animal sources and with nutritional yeast you can get all the nutrients in a plant based way.
Makes it valuable for all vegans and vegetarians.
High in protein, too. I know this is the question which we hear all the time: where do we get protein, right? No worries, it’s here! Also high in fiber, which is important to regulate blood sugar levels.
Last but not least, we use cashews in the vegan Parmesan. They protect eyes, are also amazing for the skin, high in antioxidants, zinc, magnesium, phosphorus and a fantastic source of phytochemicals, and proteins.
Wanna know more? It’s here: “7 Incredible Cashew Nut Benefits: From Heart Health to Gorgeous Hair“.
If you give this a try let me know. Serve this and impress your sweetheart, at potlucks, get togethers, or enjoy it just for yourself. You deserve the best so make it now.
Tag me on Instagram and Facebook, snap a picture and enjoy. Cheers, friends and happy cooking.
Ingredients
-
1 lb potatoes, peeled and thinly sliced
-
5 tbs cacao butter
-
2 cups oat or rice cream
-
vegan parmesan
-
10 cloves garlic
-
salt, pepper to taste
Instructions
- Heat a sauce pan and melt the cacao butter. Add garlic to the pan and simmer until golden but be careful not to burn it. Turn the heat off, add oat cream, garlic, vegan Parmesan to that same pot. Season with salt and pepper and mix all well. This way we don’t need an extra bowl.
- Next fill a casserole dish with the potato slices. Give the sauce on top and mix well. Sprinkle with some vegan Parmesan on top again, covered dish with aluminum foil. Bake for around 1 hour at 400°F.
Nutrition Information:
Yield: 18
Serving Size: 1 cup
Amount Per Serving:
Calories: 216Total Fat: 9gSaturated Fat: 5.5gTrans Fat: 0gUnsaturated Fat: 2.9gCholesterol: 0mgSodium: 821mgCarbohydrates: 26gFiber: 4.7gSugar: 0gProtein: 7g


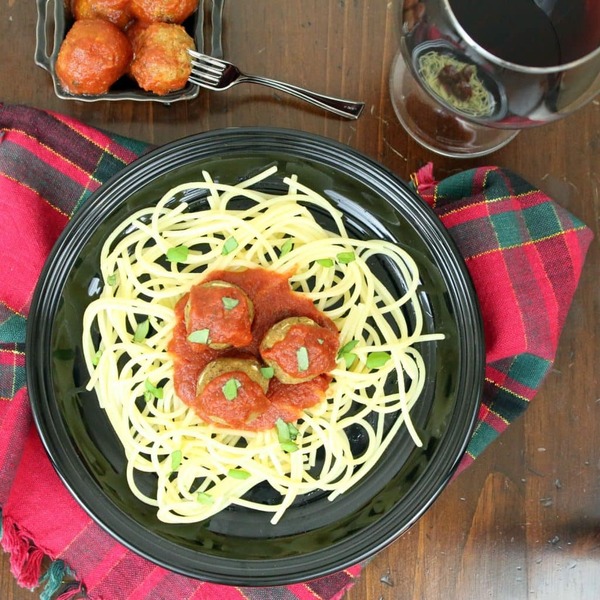


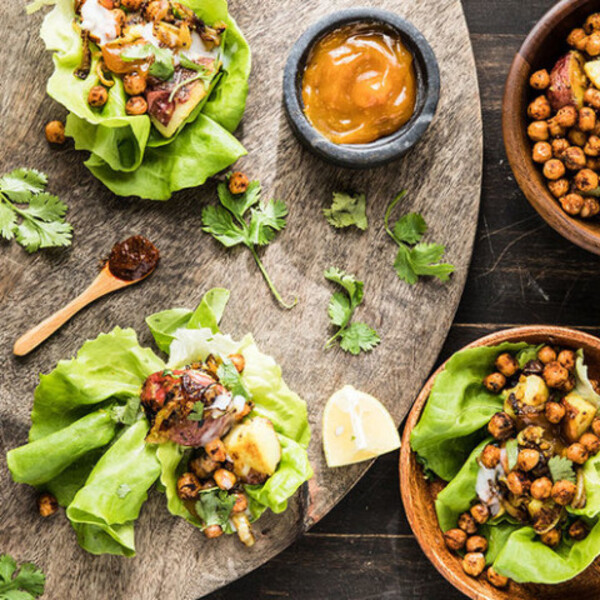


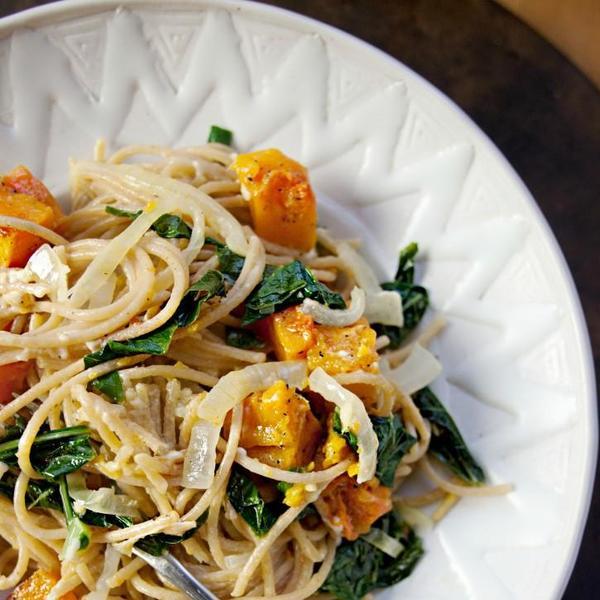


 I literally pranced around the kitchen like a little kid on Christmas morning when I tasted this bangin’ pasta. In case you don’t know, that is part of some song. I don’t know what song, if you know what song, let me know. That’s the only part I can recite. Anyways, new favorite dish alert! Gah, this pasta dish is so delicious I could never do it justice just talking about it. You’ll just have to go make it, I’m sorry.


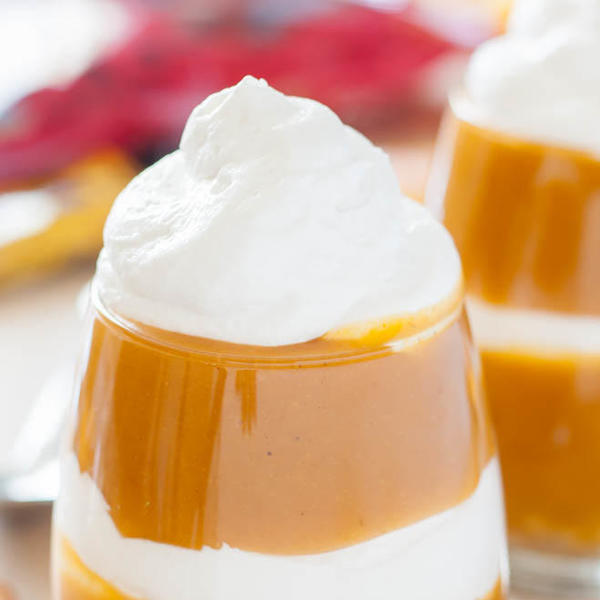
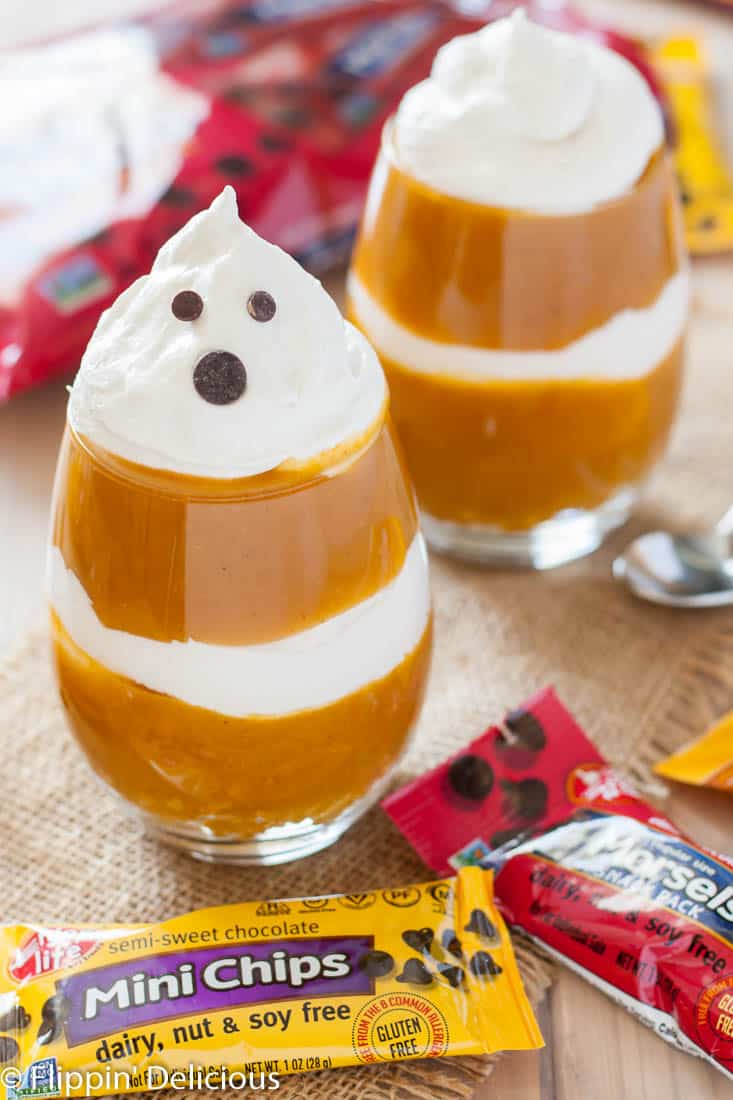
 Save yourself some money (and calories) by making your own pumpkin spice latte at home! It’s not only easy, but it contains just a few wholesome ingredients, many of which you already have on hand!
  While I don’t mind splurging on fancy coffee shop drinks once in a while, $5–6 everyday begins to add up really quickly! That’s why I prefer to make my own coffee at home. It’s much cheaper and you also know exactly what’s in it!
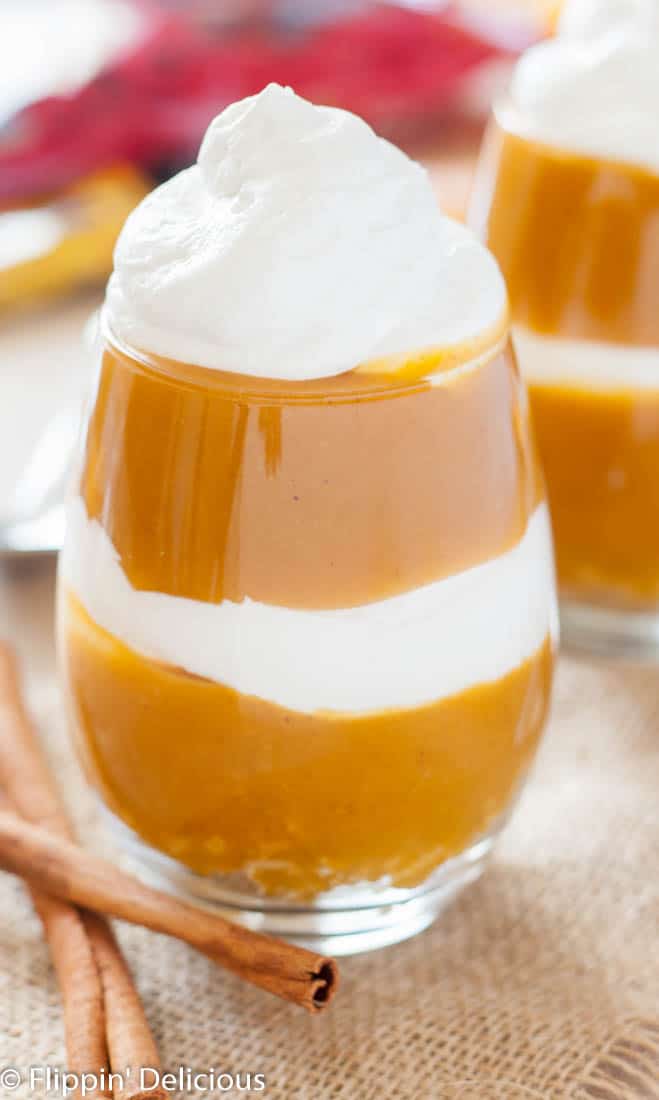
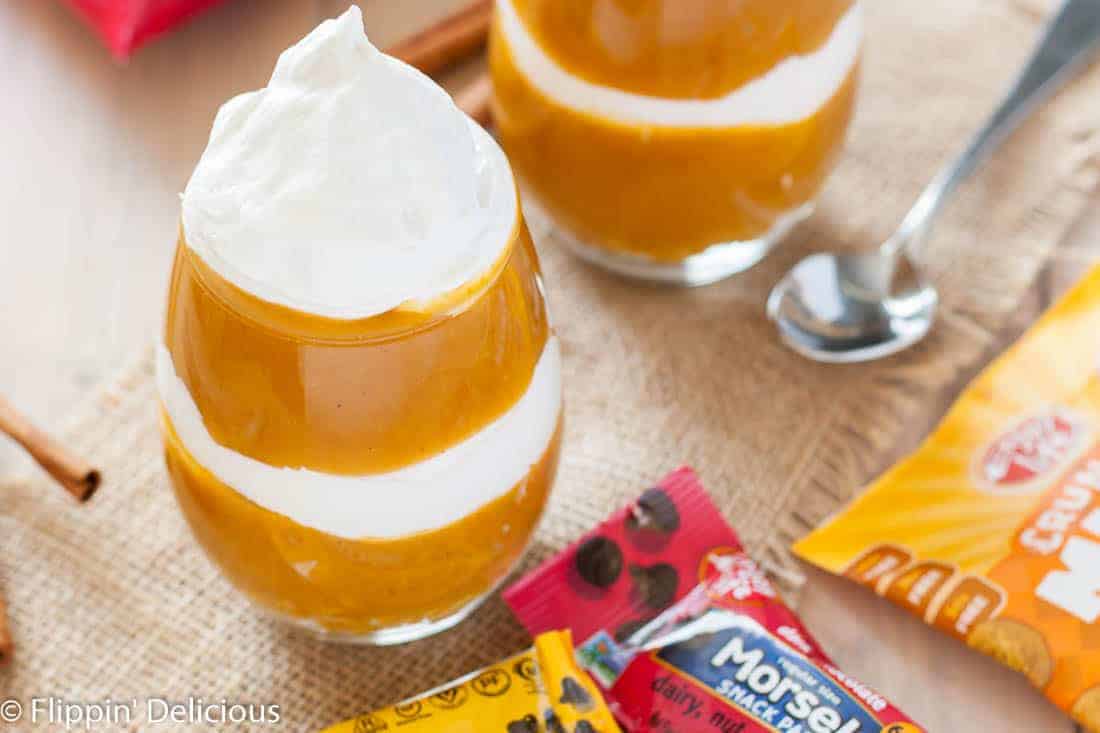
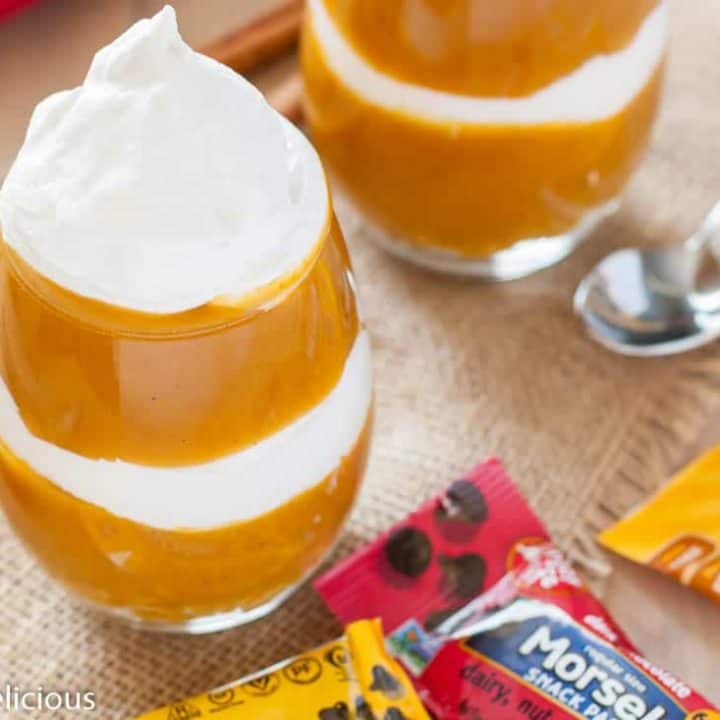
 This pumpkin spice latte is quick to make and so delicious. The perfect drink to enjoy on a brisk, autumn day!


