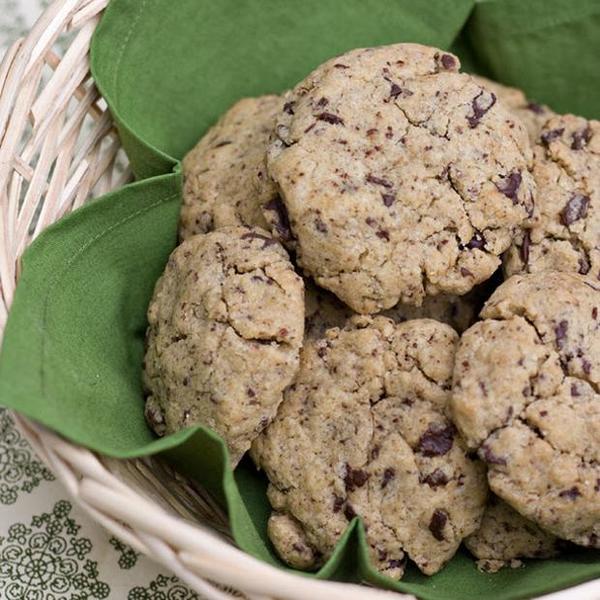

My husband is responsible for introducing me to all sorts of addictive foods. It wasn’t until I met him that I tried Cool Ranch Doritos for the first time, and he’s also responsible for introducing me to these irresistible cookies.
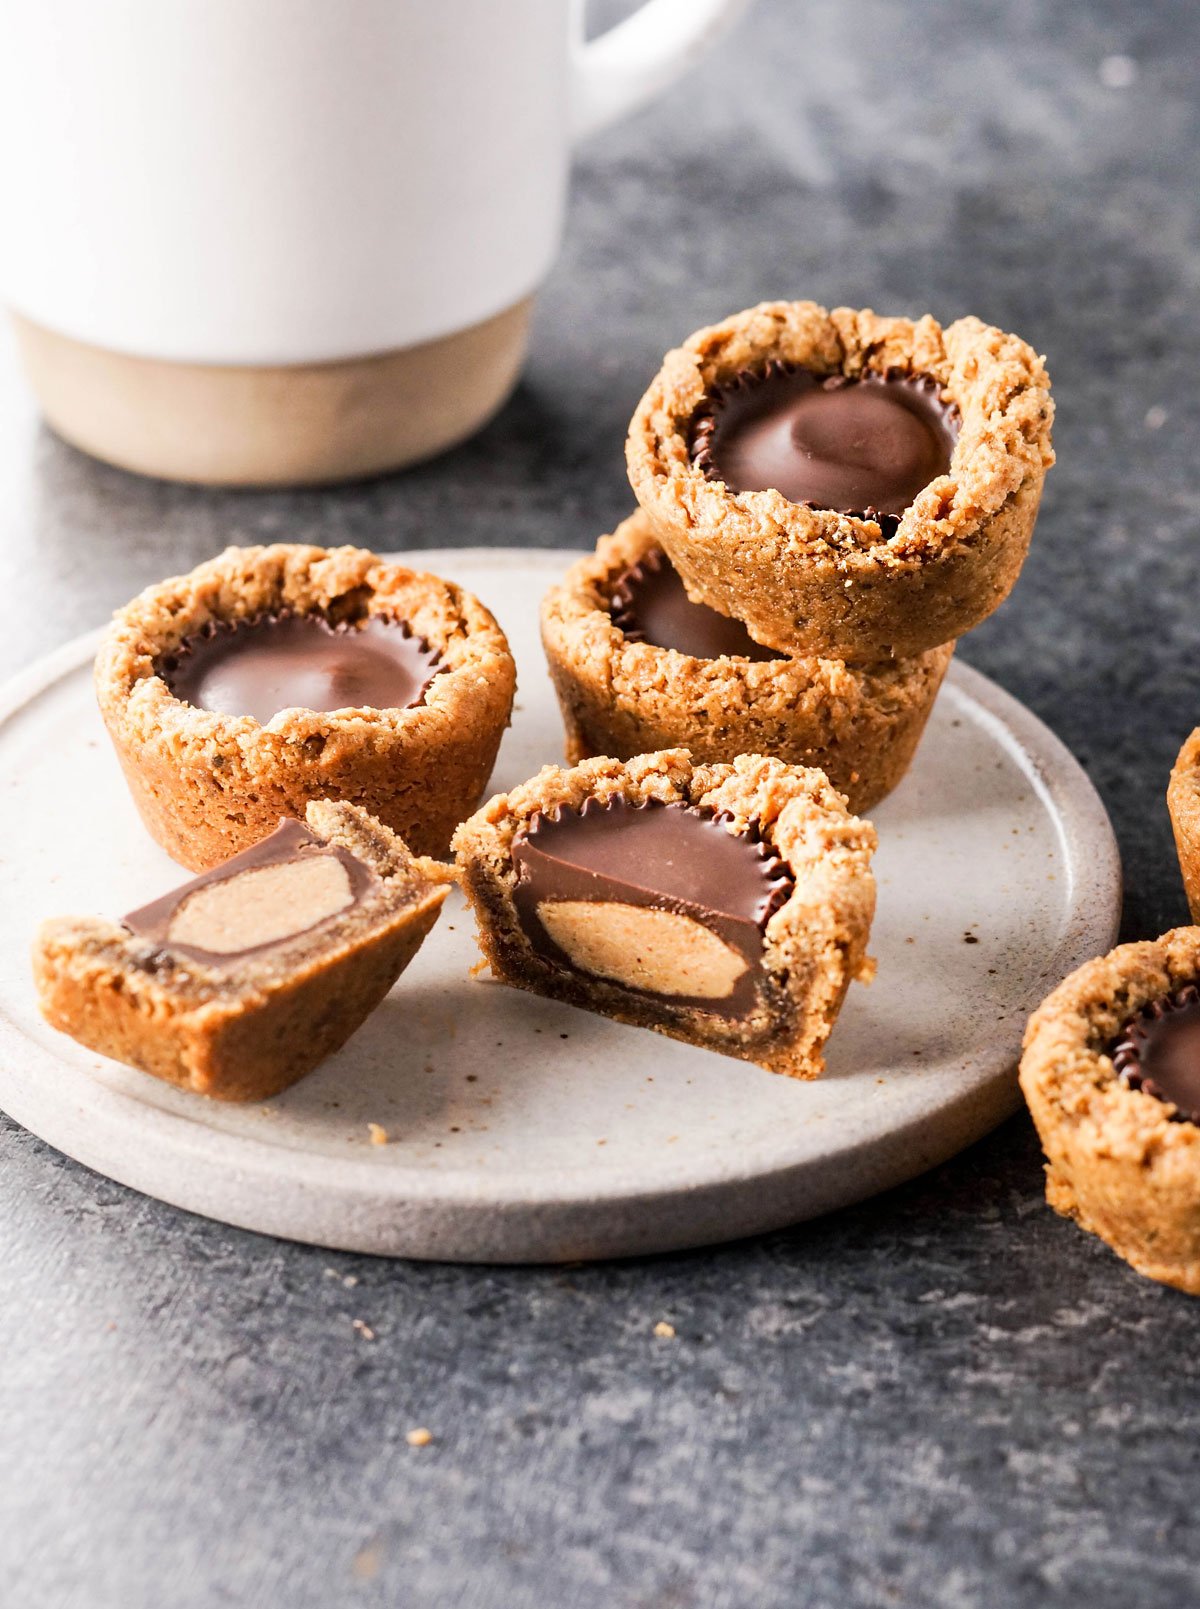
They’re called Peanut Butter Temptations, and the original recipe is found on the back of the bag of Reese’s mini peanut butter cups. As soon as I tried one of these cookies, I was hooked. How can a soft peanut butter cookie stuffed with a chocolate covered peanut butter cup be anything but delicious?
Early on in our relationship, these cookies would grace every birthday and holiday we could think of. The only problem was, I couldn’t stop eating them! (And Austin has WAY more self control than I do.) Once we started adopting a healthier diet, we had to stop making these cookies for our own good. I certainly couldn’t be trusted around them.
My Flourless Peanut Butter Chocolate Chip Cookies have been a pretty good alternative for the past few years, but recently Austin asked me if I could try making a “healthier” Peanut Butter Temptation for Halloween this year, because it was one of our favorite treats to enjoy while watching a good Halloween movie– like Hocus Pocus. (I’m sad my son isn’t old enough to appreciate it yet!)
I have to say, this healthier version tastes WAY better than the original. Maybe because there’s more peanut butter flavor? No flour to mute the taste? Whatever it is, I’m afraid I made cookie that is more a addictive than ever. Sorry about that.
Now, because this is the type of recipe you’d only make once or twice a year, I went ahead and used store-bought dark chocolate peanut butter cups to save time. However, you could certainly make a lower-sugar version by making your own mini vegan peanut butter cups, if you prefer. Either way, I hope you’ll enjoy these addictive cookies as much as we have.
—
Vegan Peanut Butter Temptations
Makes 24 cookies
Ingredients:
Coconut oil, for greasing
1 tablespoon ground chia seeds
3 tablespoons water
1 cup all-natural organic peanut butter
3/4 cup coconut sugar
1 teaspoon vanilla extract
1/2 teaspoon baking soda
1/4 teaspoon fine sea salt
2 teaspoons apple cider vinegar
24 mini vegan peanut butter cups
Directions:
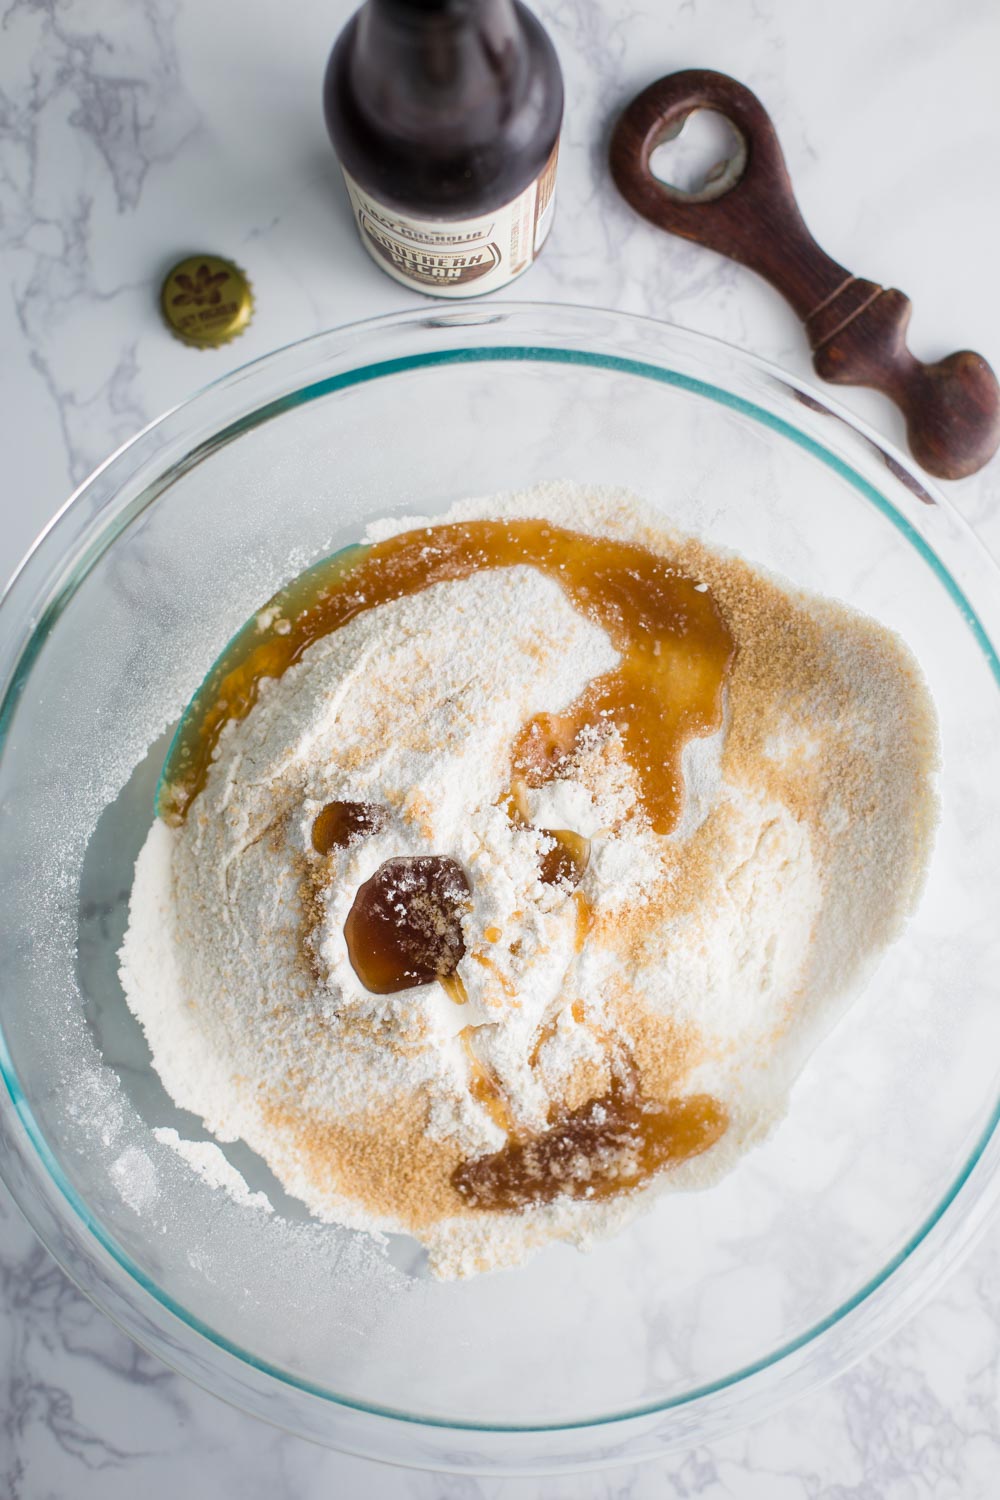
Preheat the oven to 350ºF and grease a mini muffin pan with coconut oil. In a large bowl, stir together the ground chia seeds and water to make a “chia egg.” It will gel together and thicken as you measure out the peanut butter. To the chia egg, add in the peanut butter, coconut sugar, vanilla, baking soda and sea salt and mix to form a thick batter. Stir in the vinegar last, which will react with the baking soda to help the cookies rise.
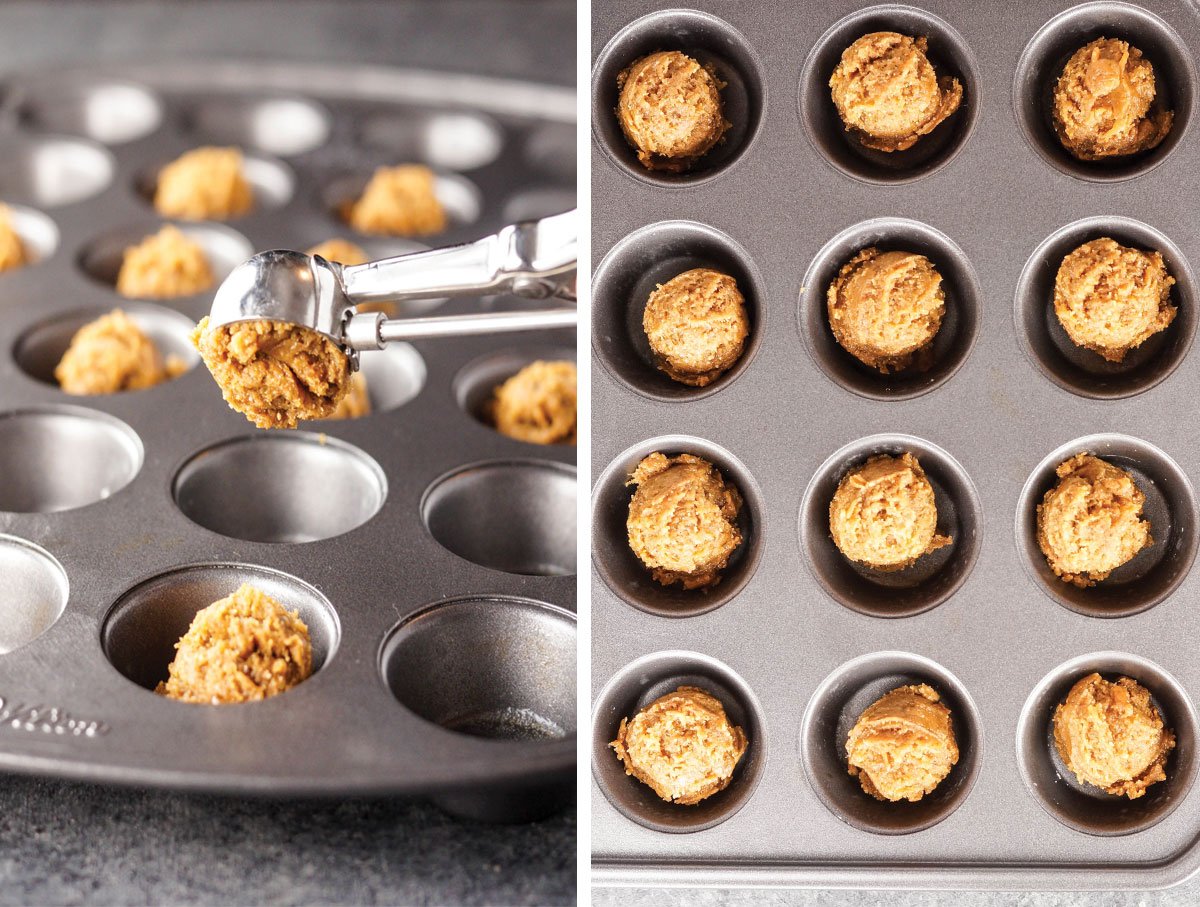
Use a tablespoon to drop the batter into each mini muffin well. I like to use a cookie scoop like this so that all of the cookies have the same about of batter. Bake at 350ºF until the cookies rise and are lightly golden on top, about 10 to 12 minutes.
While the cookies are baking, remove the peanut butter cups from their wrappers. This recipe is time sensitive so it’s imperative that you are ready to insert the peanut butter cups the moment the cookies come out of the oven. So don’t get distracted! (I’ve been known to do that…)
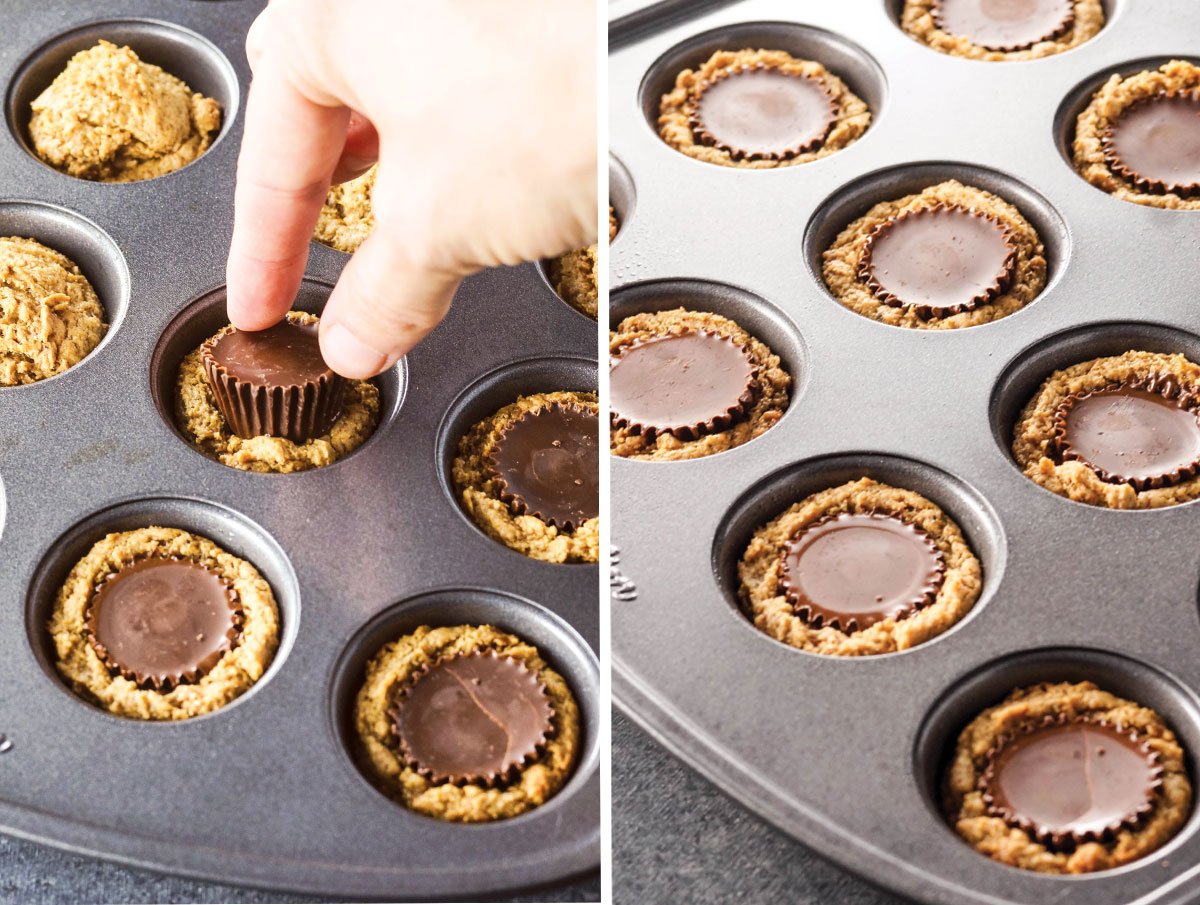
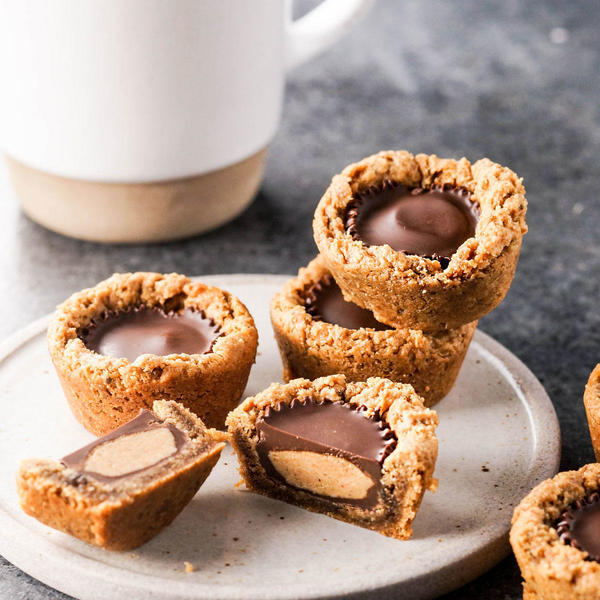
As soon as the cookies are done, immediately press a peanut butter cup into the center of each one. The cookies should be soft enough in the center that they are easily pressed into. Once all of the peanut butter cups have been inserted into the cookies, allow the cookies to cool completely. Once cool, use a knife to remove each cookie, sliding the knife around the edge of each cookie to loosen them up. They will be fragile if still warm at all.
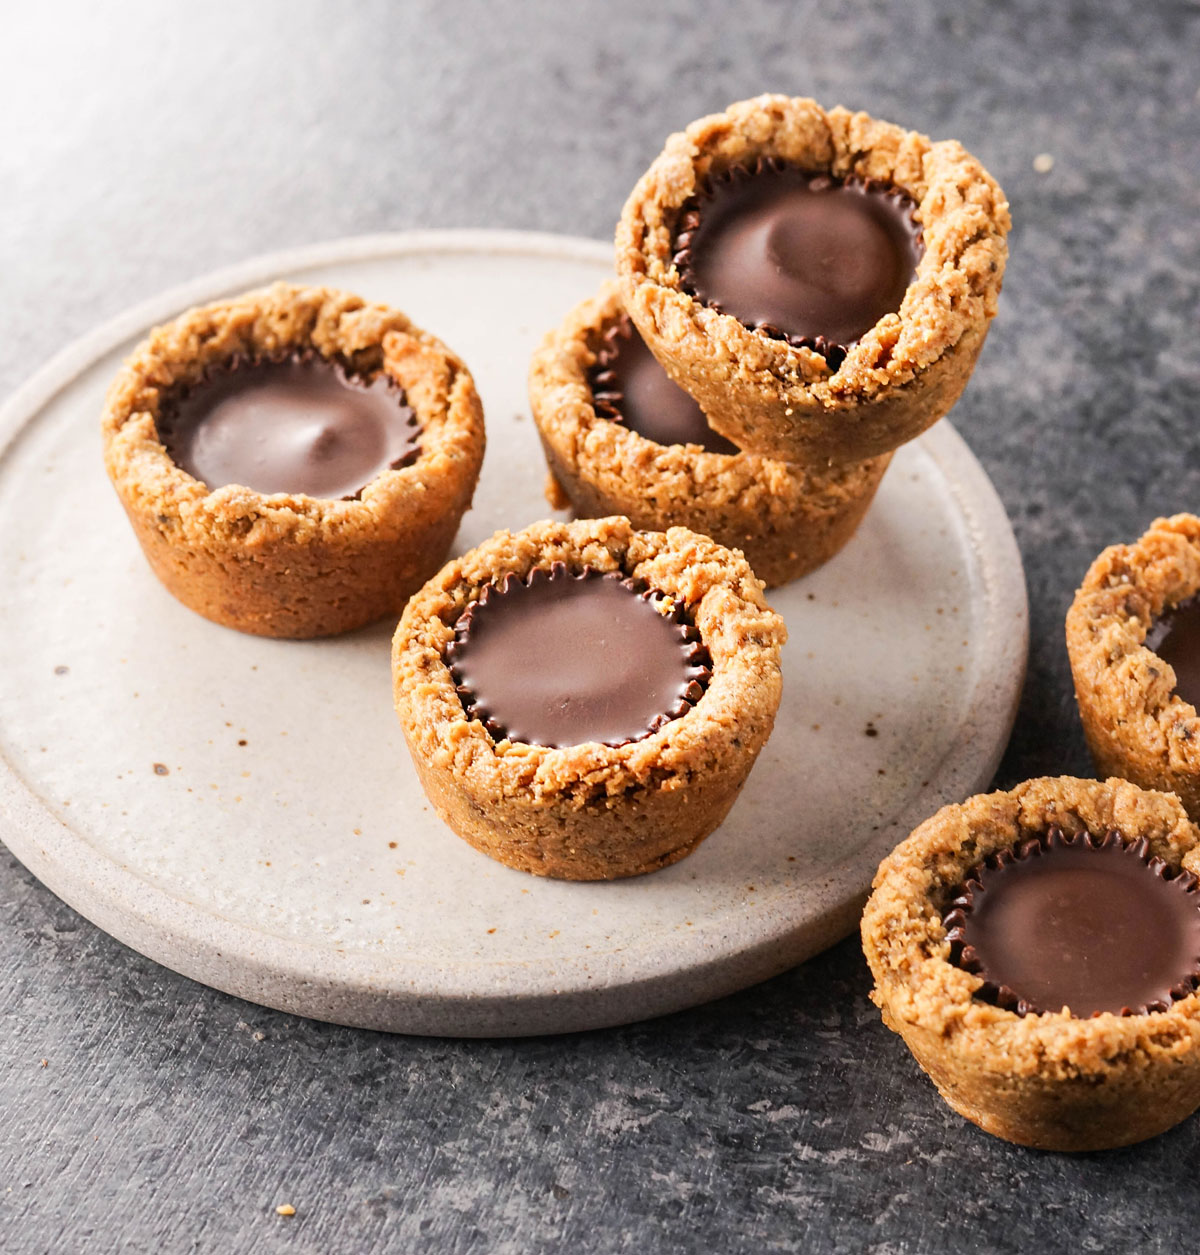
Austin and I actually prefer these cookies cold, so I place them on a plate and keep them in the fridge to serve. Store them in an airtight container in the fridge for up to a week, or in the freezer for up to 3 months. (Austin likes them directly from the freezer– but I think the peanut butter cups are too hard that way.)
-
Preheat the oven to 350ºF and grease a mini muffin pan with coconut oil. In a large bowl, stir together the ground chia seeds and water to make a “chia egg.” It will gel together and thicken as you measure out the peanut butter. To the chia egg, add in the peanut butter, coconut sugar, vanilla, baking soda and sea salt and mix to form a thick batter. Stir in the vinegar last, which will react with the baking soda to help the cookies rise.
-
Use a tablespoon to drop the batter into each mini muffin well. I like to use a cookie scoop like this so that all of the cookies have the same about of batter. Bake at 350ºF until the cookies rise and are lightly golden on top, about 10 to 12 minutes.
-
While the cookies are baking, remove the peanut butter cups from their wrappers. This recipe is time sensitive so it’s imperative that you are ready to insert the peanut butter cups the moment the cookies come out of the oven.
-
As soon as the cookies are done, immediately press a peanut butter cup into the center of each one. The cookies should be soft enough in the center that they are easily pressed into. Once all of the peanut butter cups have been inserted into the cookies, allow the cookies to cool completely. Once cool, use a knife to remove each cookie, sliding the knife around the edge of each cookie to loosen them up. They will be fragile if still warm at all.
Austin and I actually prefer these cookies cold, so I place them on a plate and keep them in the fridge to serve. Store them in an airtight container in the fridge for up to a week, or in the freezer for up to 3 months.
Calories: 176kcal | Carbohydrates: 14g | Protein: 4g | Fat: 11g | Saturated Fat: 2g | Sodium: 87mg | Potassium: 3mg | Fiber: 2g | Sugar: 10g | Iron: 0.2mg
Per Serving: Calories: 176, Fat: 11g, Carbohydrates: 14g, Fiber: 2g, Protein: 4g
Note: As always, if you’d prefer to avoid peanut butter, feel free to use any other nut or seed butter you like, such as almond, cashew, or sunflower seed. Justin’s Mini Dark Chocolate Peanut Cups have vegan ingredients, if you want to rely on those for convenience.
—
Reader Feedback: What’s your favorite treat to serve on special occasions? My No-Bake Chocolate Peanut Butter Bars are our other family favorite!

Megan Gilmore
Hi, I’m Megan. A former fast food junkie turned best-selling cookbook author. As a Certified Nutritionist Consultant (CNC), I love to make healthier food using simple ingredients. I test these recipes multiple times in my kitchen to make sure they will turn out perfectly for you.
Read More
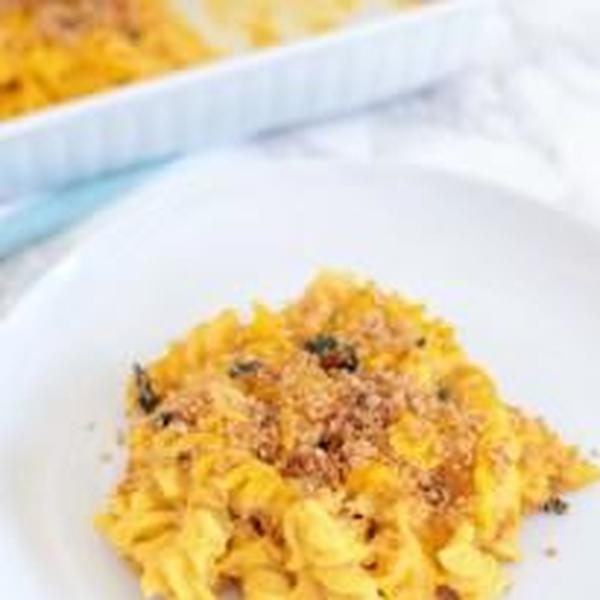

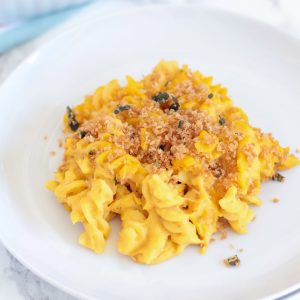
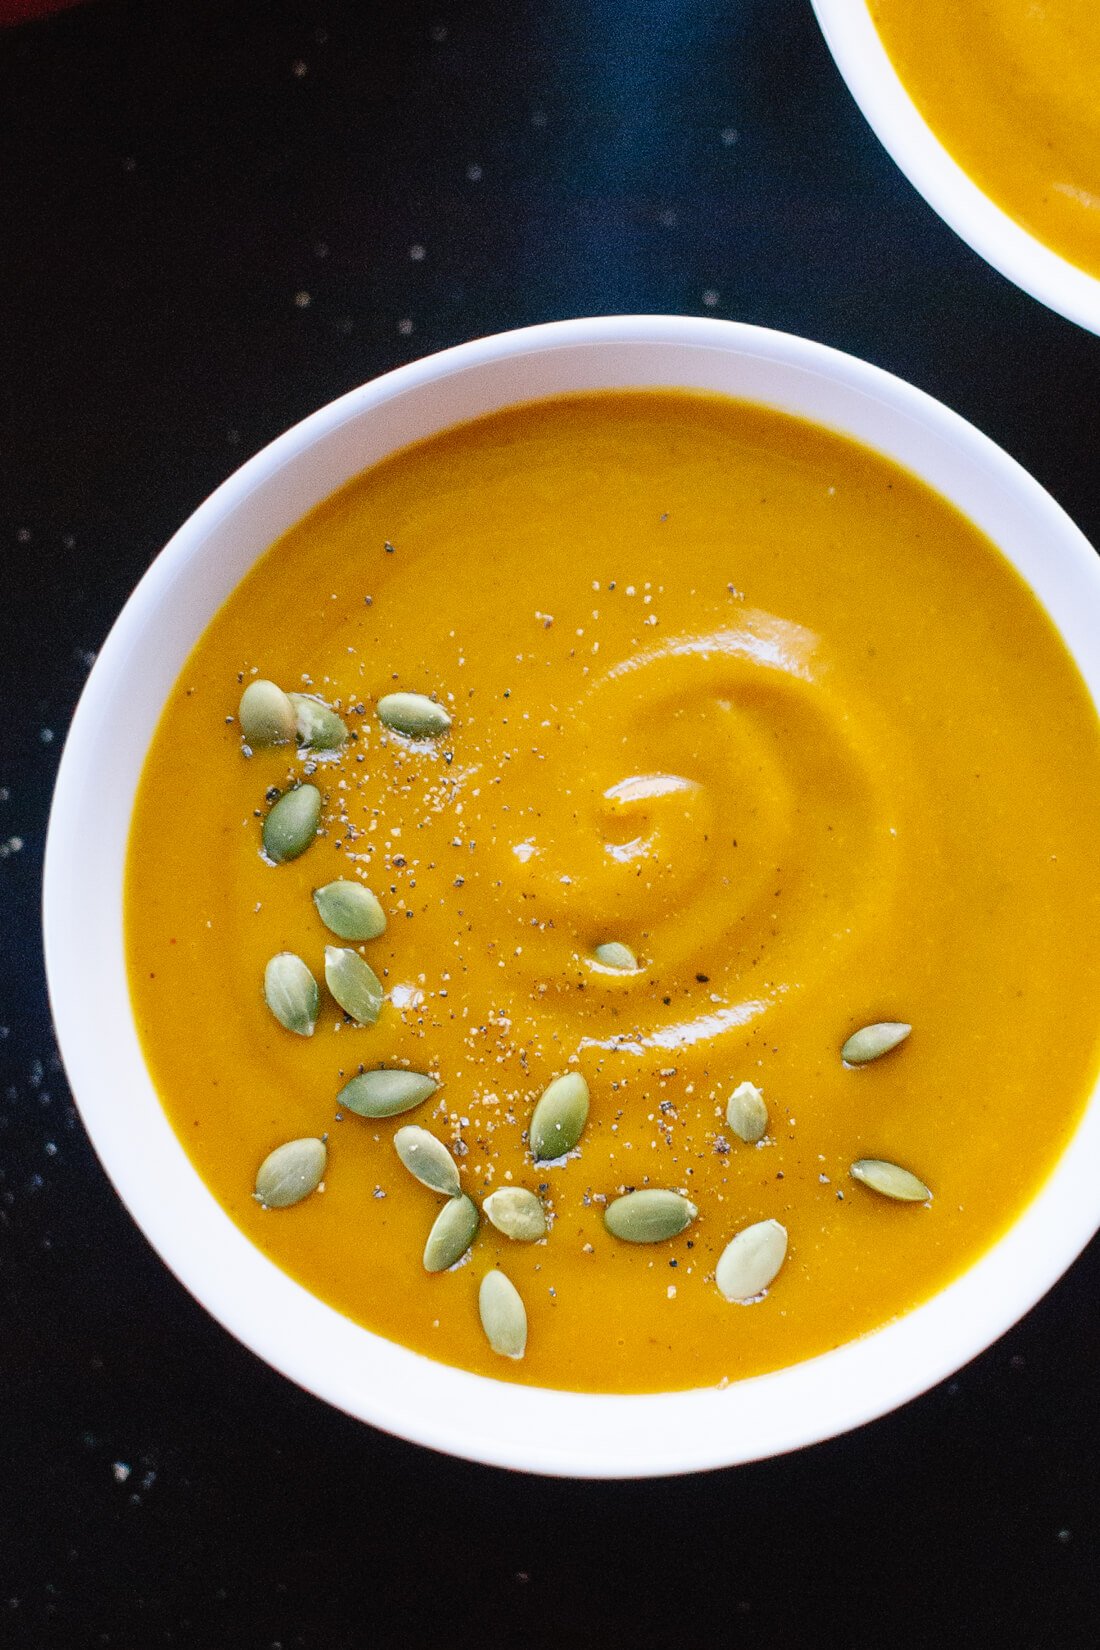
 Oh..hello, super rich, insanely creamy, incredibly comforting macaroni and cheese that does not actually contain any cheese or dairy WHATSOEVER. You are officially my new best friend.
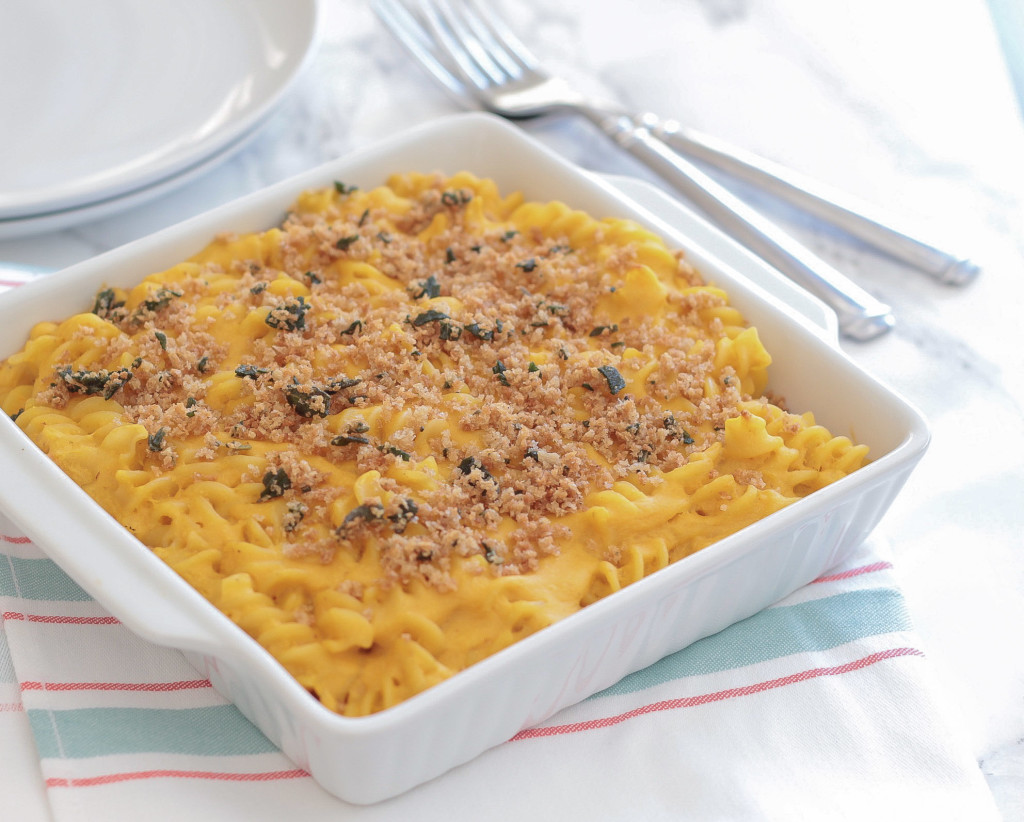 That’s right folks, this Vegan Butternut Squash Macaroni and Cheese is completely dairy free, and it doesn’t rely on a processed alternative cheese product either. Instead, this is a cashew/almond milk bechamel and butternut squash based sauce that achieves dreamy, Velveeta-like proportions (and that I would literally bathe in if it was deemed socially acceptable).
 This is actually a recipe that I’ve posted on the blog before. And it happens to be one of the most popular recipes ever on LPE ever (currently sitting pretty at #2, thankyouverymuch). You can check out that recipe here– it’s great! But because it’s been so well-received I wanted to revisit it, update it with some prettier photos and see where I could make some minor improvements to an already awesome recipe. Here’s what I did differently this time:
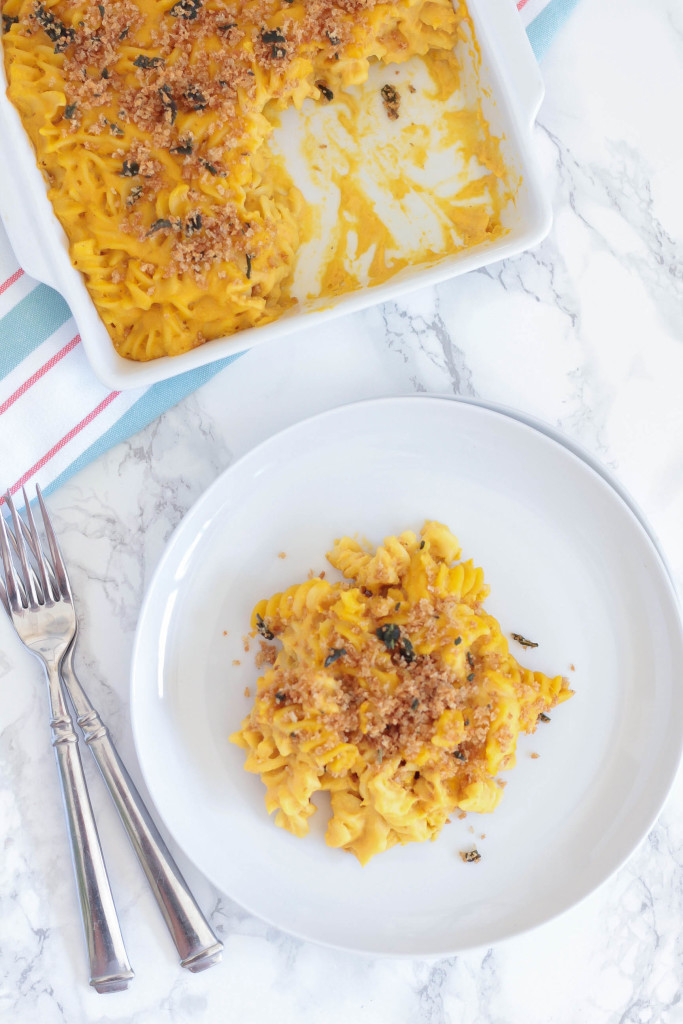 I soaked the cashews for about an hour to help them blend up a bit easier, and I also strained the cashews after blending to remove any solid particles that remained. These two tiny tweaks allow for maximum smoothness factor in the sauce.
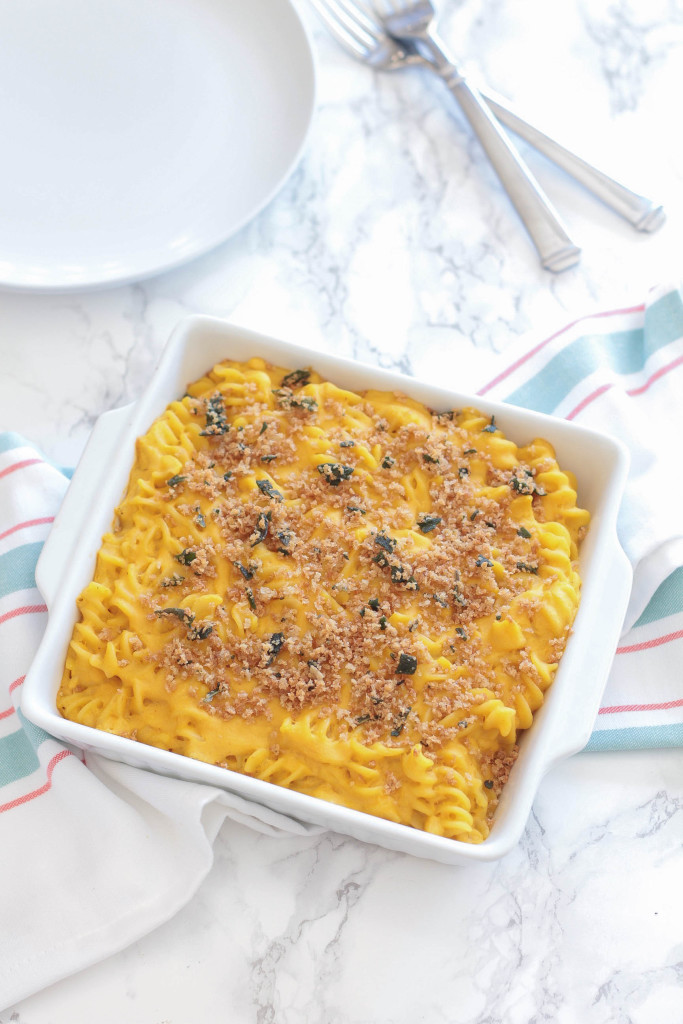
 Oh, and let us not forget about the epic-ness of the crispy sage breadcrumb topping, because butternut squash and sage are like two peas in a pod. So are mac and cheese and panko. I didn’t touch this part of the recipe because it’s perfect just the way it is. Adding a little contrast of crunch to soft noodles enrobed in a lusciously silky sauce is ALWAYS a good idea. I advise you never to skip this step lest the quality of your mac and cheese suffer!
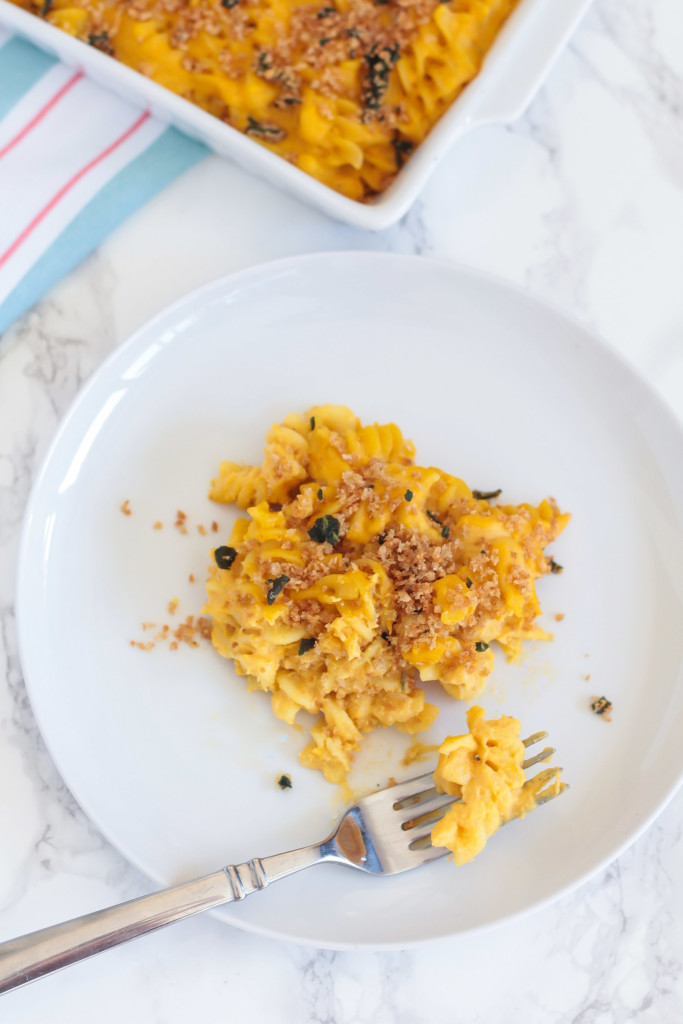 If you make this Vegan Butternut Squash Macaroni and Cheese, share a pic with the hashtag #LePetitEats on Instagram, so we can be vegan mac and cheese buddies forever!