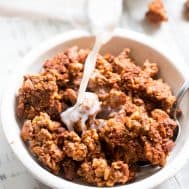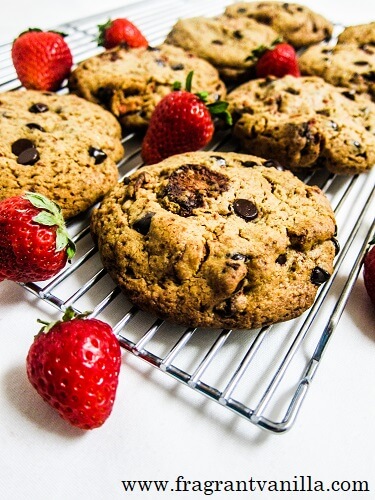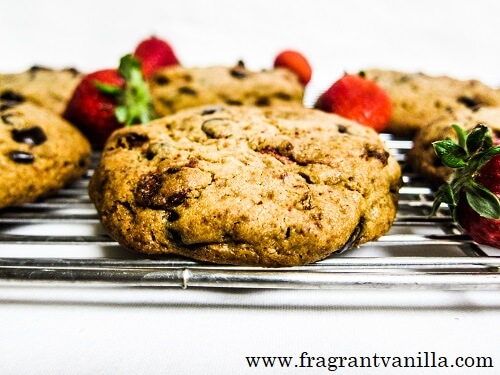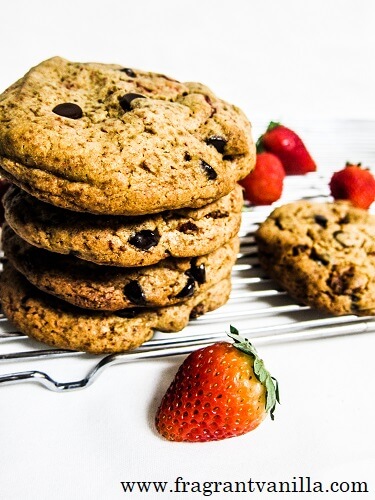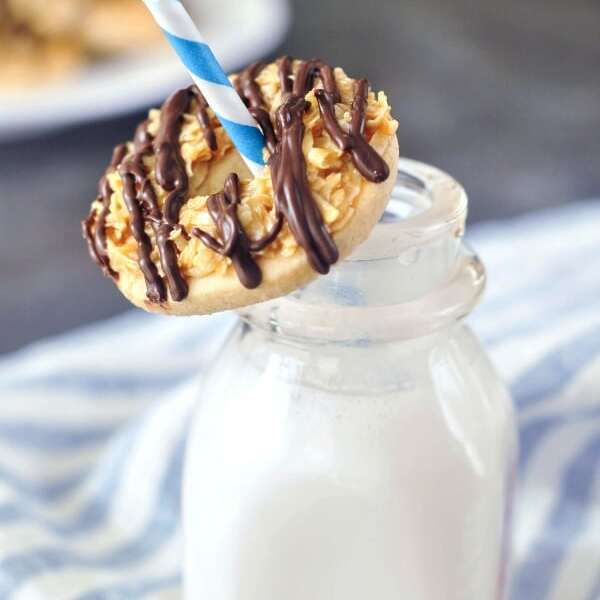

You can have these gluten free vegan Samoa Girl Scout cookies all year long! crunchy gluten free shortbread with sweet coconut caramel and chocolate.
recipe originally published March 7, 2012

Vegan Girl Scout Cookies
I was a Girl Scout.
First, a brownie. I wore the uniform (even though brown and orange are not my best colors), earned badges, sold cookies. Fun stuff.
As a brownie, I looked forward to graduating to a Junior. New uniforms – in green and more choices! I had visions of camping and all the fun adventures we would have. and camping. I really wanted to go camping.
I remember the “graduation ceremony” like it was yesterday. We had to “walk the bridge” from Brownie to Junior status, and… well… ours was a makeshift bridge.
A bridge made from magazines, over a reflective river of aluminum foil.
We rarely went camping. Those few camping trips are still the best scouts memories I have. After participating in events and earned badges for another year as a junior, I became a girl scout dropout.
If I could still earn badges, I’d try to earn all the cooking and baking badges.
My mom would still have to sew them for me – I never did earn a sewing badge.

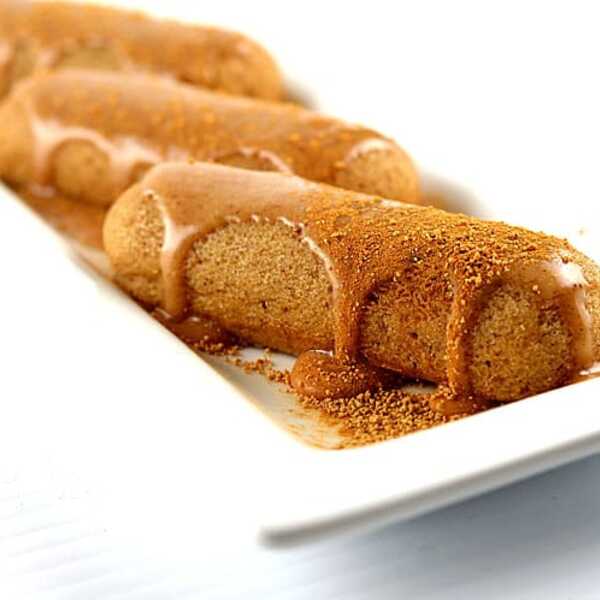
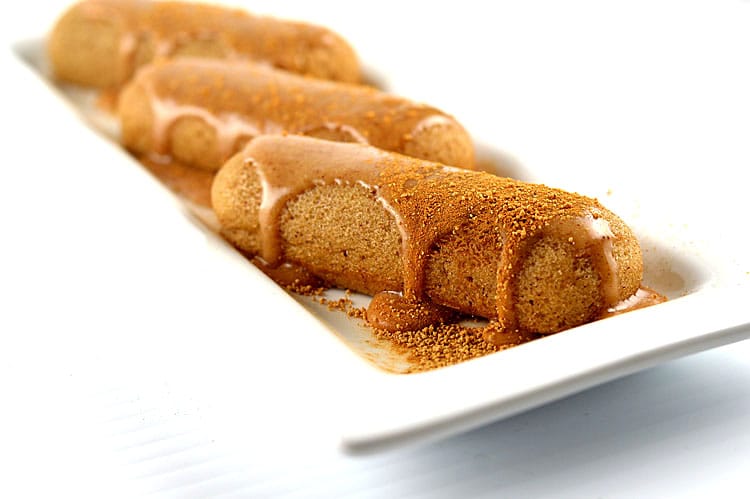
Sweet Caramel Coconut Cookies
As any good childhood cookie salesman would attest, girl scout cookie season is a glorious time of year.
In recent years, the two bakeries handling the regional demand each year have also begun to answer the alternative diet question. Whether their aim is to fill an allergy demand or a lifestyle, there are more vegan and gluten free choices each year.
However…
My own favorite cookie has yet to surface on the vegan list. OR the gluten free list.
What is a cookie enthusiast to do?
Make their own vegan gluten free girl scout cookies.
These cookies really are easy. Several steps, yes – but easy and oh so worth it.
and you don’t have to wait for girl scout cookie season.


More vegan dessert recipes
- Sugared Vanilla Snickerdoodle Bread
- Raspberry Lemon Cheesecake Cookies
- Vegan Vanilla Crescent Cookies
- Vegan Caramel Twix Cookie Bars
- Caramelized Almond Rocky Road Bark
- Frosted Soft Sugar Cookies
- Pumpkin Caramel Chocolates

Were you a Scout?
What is your favorite Girl Scout cookie?
Did you make this recipe?
Follow spabettie on Instagram and tag us with #spabettie
We love seeing your recipe photos and remakes – thank you!
Yield: 24 cookies
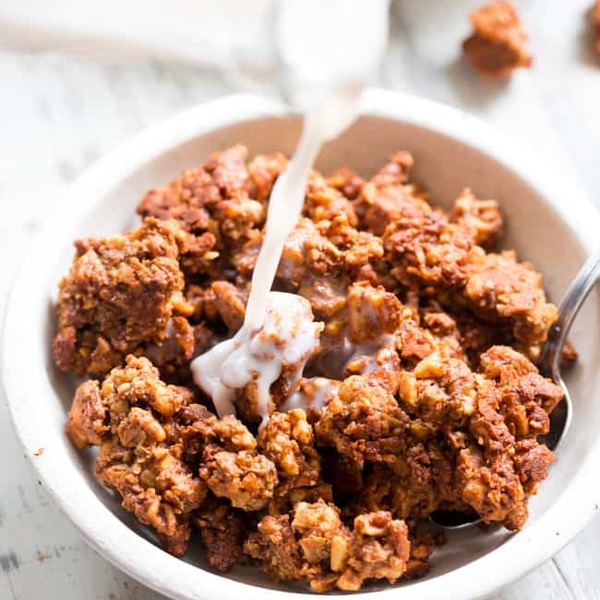
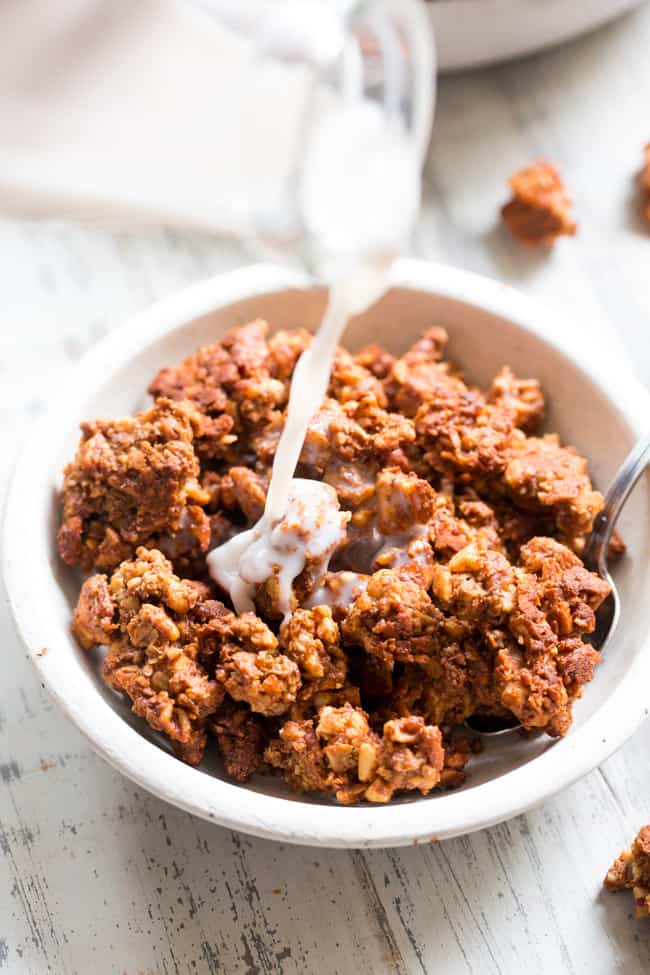
Vegan Samoa Girl Scout Cookies
You can have these gluten free vegan Samoa Girl Scout cookies all year long! Crunchy gluten free shortbread with sweet coconut caramel and chocolate.
Prep Time
25 minutes
Cook Time
20 minutes
Additional Time
30 minutes
Total Time
1 hour 15 minutes
Instructions
Preheat oven to 350 °F. Line baking sheets with parchment, set aside.
Shortbread Cookie
- Cream together butter, sugar and vanilla.
- Stir in flour ½ cup at a time. Add salt with one of the rounds of flour.
- Add milk by the tablespoon as necessary.
- Combine until dough forms, do not over mix.
- Knead dough into a ball. Wrap in plastic wrap and cool in refrigerator for 10 minutes.
- On a floured surface, roll dough to ¼ to ⅓ inch thickness.
- Cut dough into circle shapes (I used a glass about 2 ½ inches diameter). Cut a small circle in the middle of each cookie. Carefully transfer cookie rounds to prepared baking sheet.
- Bake at 350 °F for 10 – 12 minutes, until just golden brown on edges. Cool completely and set aside. Keep oven set to 350 °F.
Caramel Coconut Layer
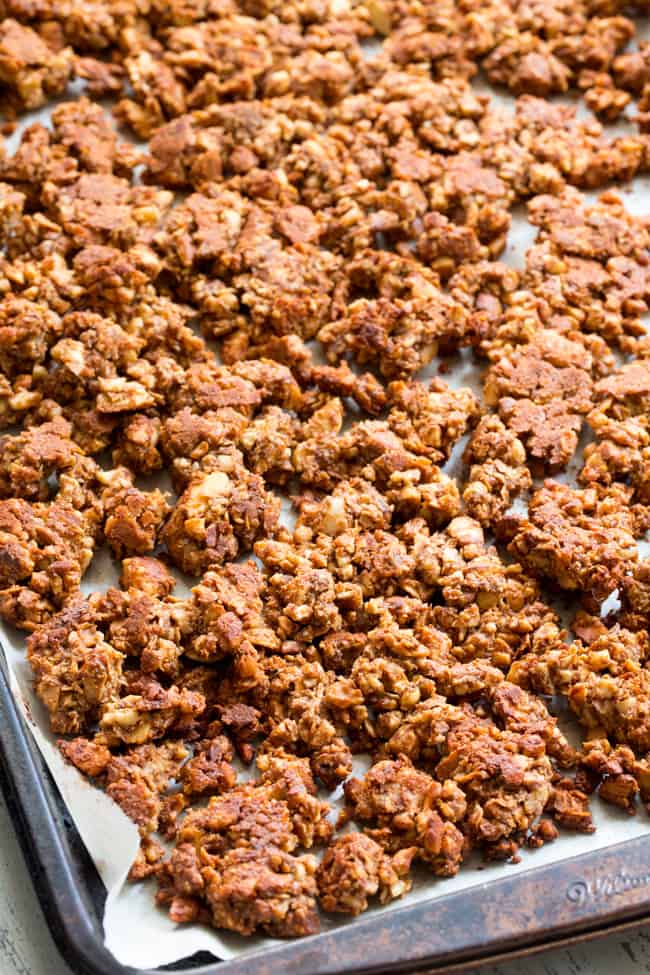
- Spread coconut in even layer on prepared baking sheet.
- Bake at 350 °F for 3 minutes. Remove from oven, stir, and return to oven. Bake for another 3-4 minutes or until toasted, watching closely so the coconut does not burn.
- In saucepan over medium low heat, combine sugar, coconut milk and cornstarch. Stir until sugar is dissolved and mixture begins to thicken. Remove from heat. Add butter, stirring until melted and combined. Let cool.
- Combine toasted coconut and caramel sauce, top each cookie with about a tablespoon.
- Transfer to refrigerator to set.
Chocolate Drizzle
- Once caramel coconut layer is set, melt chopped chocolate in a double boiler.
- Transfer to piping bag (or plastic sandwich baggie) and slice a very small hole at the tip.
- While cookies are still on parchment, drizzle melted chocolate across each cookie.
- Allow chocolate to set before storing.
Notes
Shortbread cookie recipe based on Vegan Caramel Twix Bar recipe.
Store in a covered container for up to 7 days.
Nutrition Information:
Yield:
24
Serving Size:
1
Amount Per Serving:
Calories: 86Total Fat: 8gSodium: 107mgCarbohydrates: 13gFiber: 2gSugar: 15gProtein: 2g
nutrition calculations results vary by calculator, are for informational purposes only, and are not intended to replace medical advice or treatment.
about Kristina:
 Kristina is spabettie! She found cooking at an early age, and created spabettie in 2010 to share vegan recipes. Kristina turned her culinary training into sharing vibrant vegan food! Read more…
spabettie / Kristina Sloggett is a participant in the Amazon Services LLC Associates Program, an affiliate advertising program designed to provide a means for sites to earn advertising fees by advertising and linking to Amazon.com.