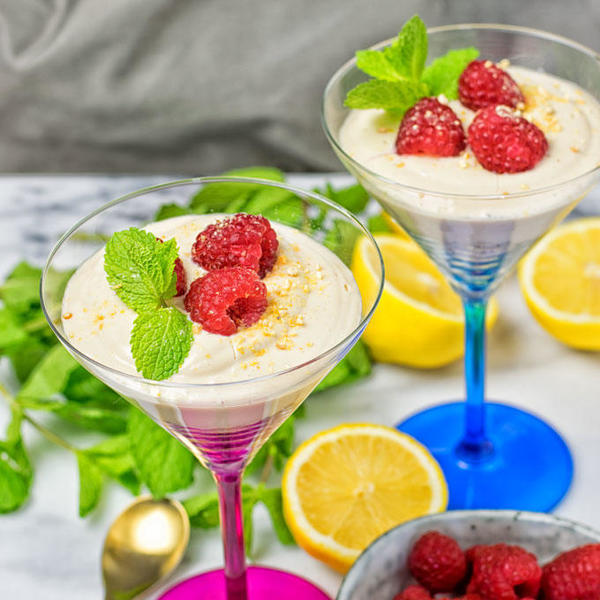
Lemon Cheesecake Mousse – my new recipe with just 5 ingredients. In 2 easy steps you treat yourself to a vegan and gluten free dessert dream coming true.

What is the one thing that completes every meal? Right on, a fantastic dessert.
I’m totally into sweet things recently and if you check out all my Vegan Dessert recipes you will spot my Nocciolato Hazelnut Cream Pie or my Stracciatella Cream Pie as newest additions.
But I won’t stop just here.
I hope you will get a soft spot for this Lemon Cheesecake Mousse. It’s incredibly creamy with a sweet and tart contrast. Easy, elegant, crowd pleasing and oh boy so delicious.
Yes I admit it, I could eat this almost every day. But I try to reserve this is for the weekends or special occasions, friends. Because it’s so good, it needs to be special.
And it’s the super dessert dream special I can add to my Cheesecake Recipes. It’s a perfect fit to my hearty Savory Cheesecake and my Raw Vegan Strawberry Peanut Butter Cheesecake.
Are you ready to make this Lemon Cheesecake Mousse with me? Get your 5 ingredients and let’s get started! As always, no complicated steps!
Get your blender or food processor going to make the bottom.
Simply combine vegan Graham crackers, lemon juice, and maple syrup. Pulse into crumbles, and fill them into your desserts jars and you have a solid foundation.
For the mousse, we go back to the blender.
Combine vegan cream cheese, cashews, lemon juice + zest, maple syrup and blend until you have smooth cream. Give it over the bottom and chill until serving.
Or just serve straight away, done.
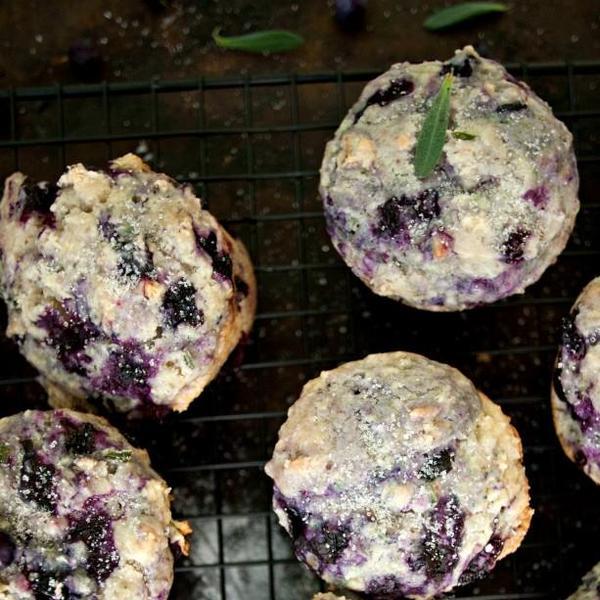
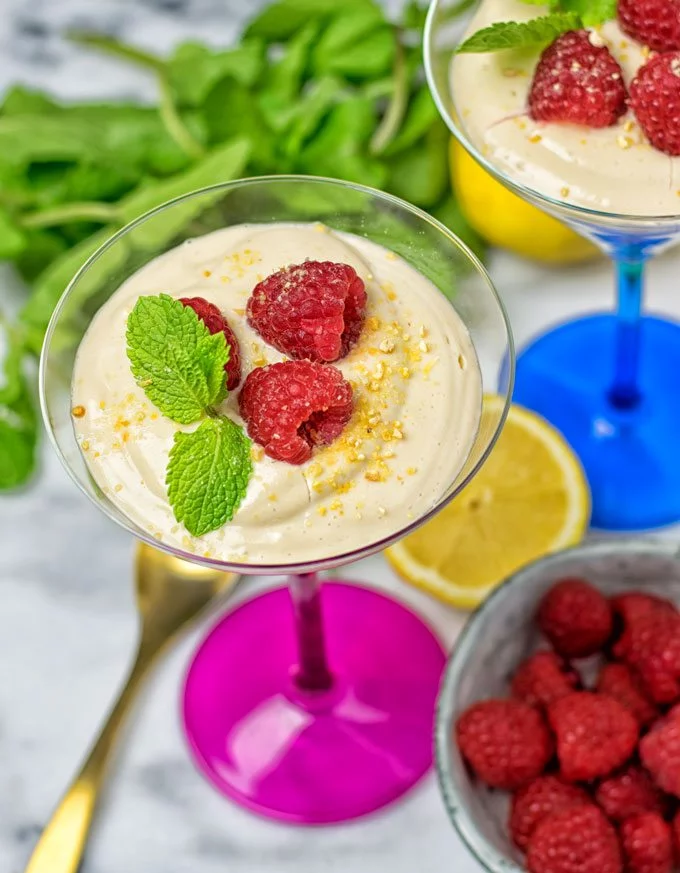
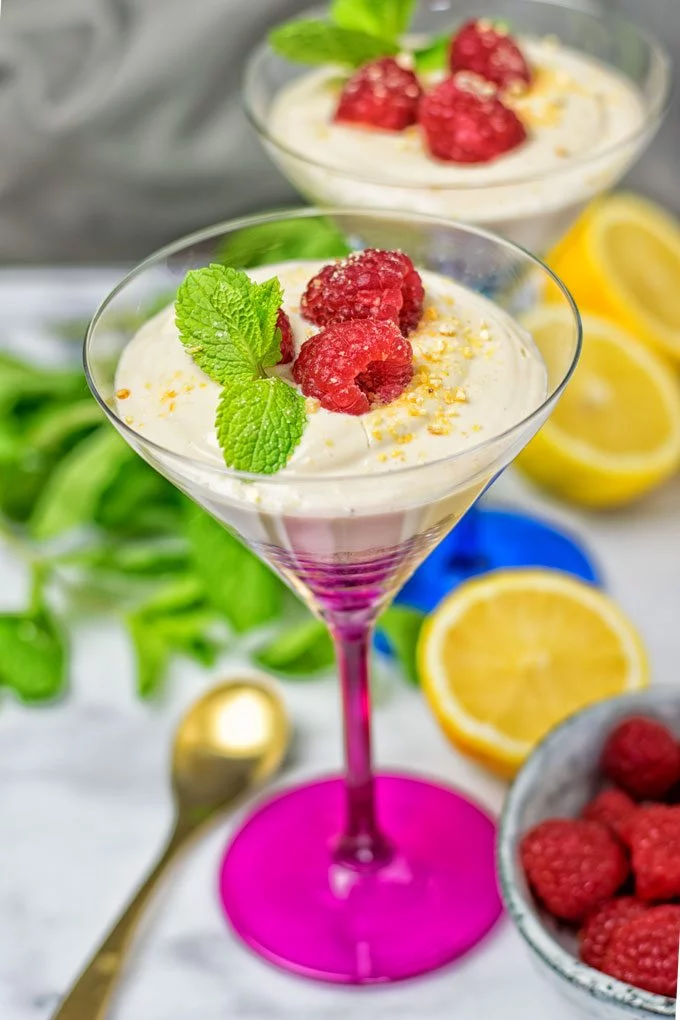
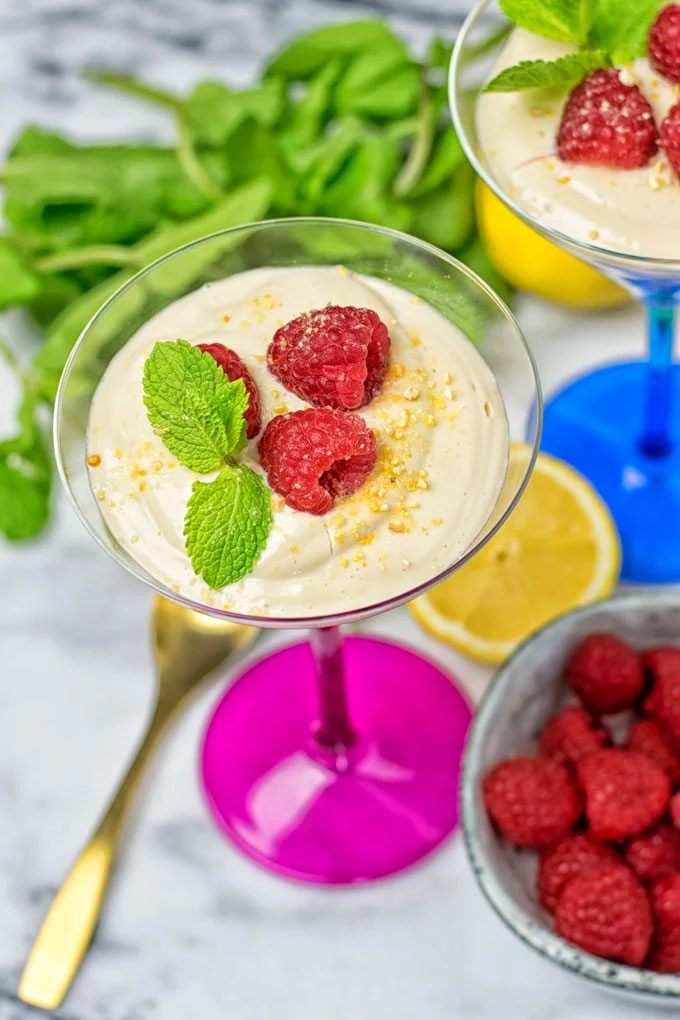
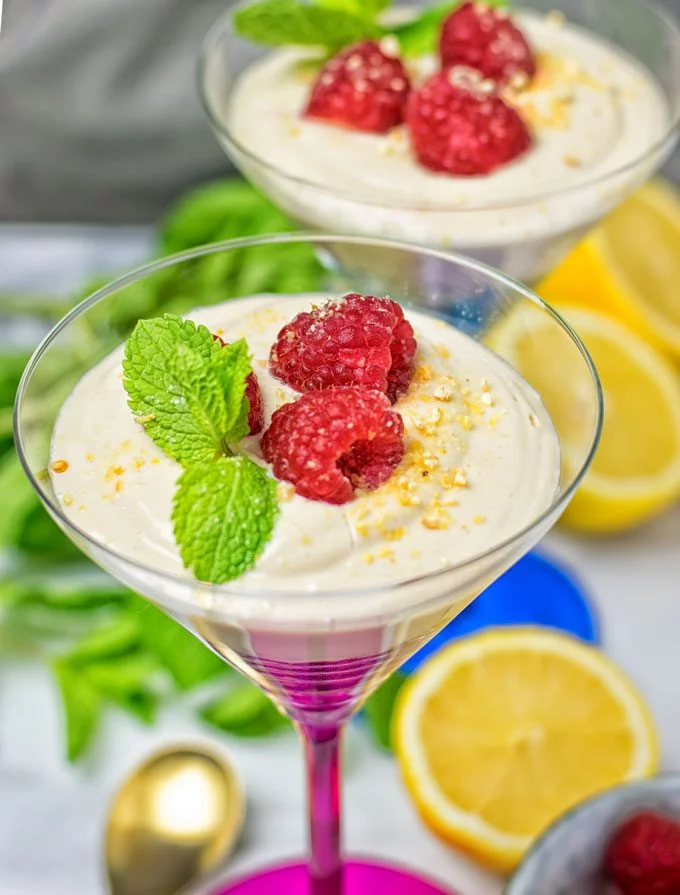
If you need it a bit fancier, garnish with some fresh raspberries and mint, sprinkle with some lemon zest. Possibilities are endless.
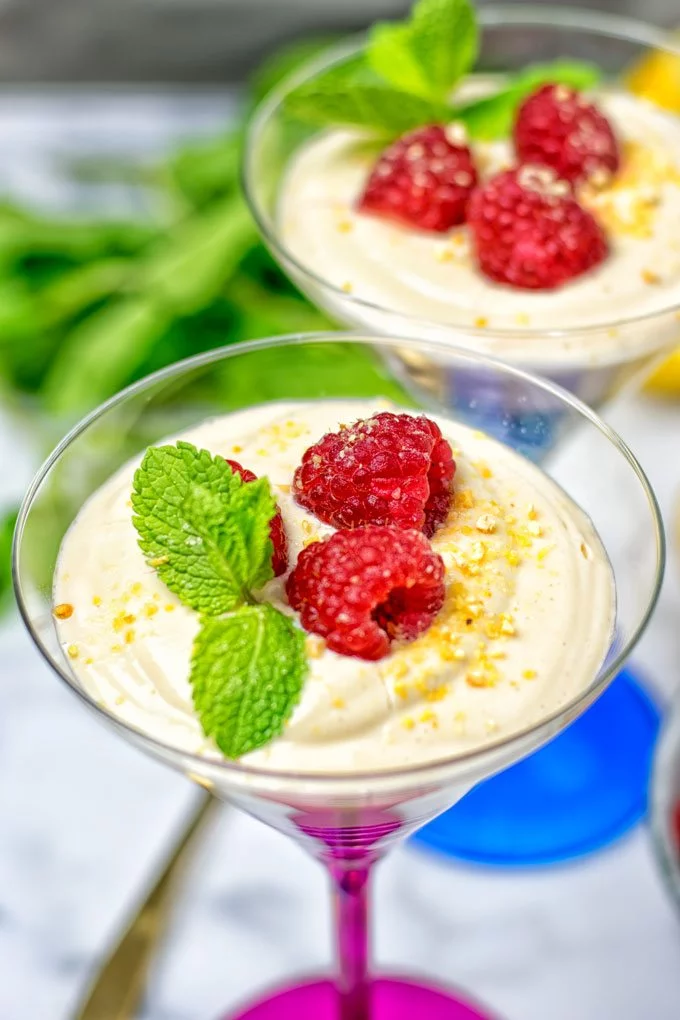
Enjoy the sweetness and tartness of my Lemon Cheesecake Mousse
I know lemons don’t come immediately to mind when we think about superfoods. But they are one and one that we should not ignore.
Did you know that lemon juice contains a ton of antioxidants? That is helps to prevent kidney stones or can support weight loss?
I recommend you check out this article, giving you additional “10 Healthy Reasons to Start Squeezing Lemons“.
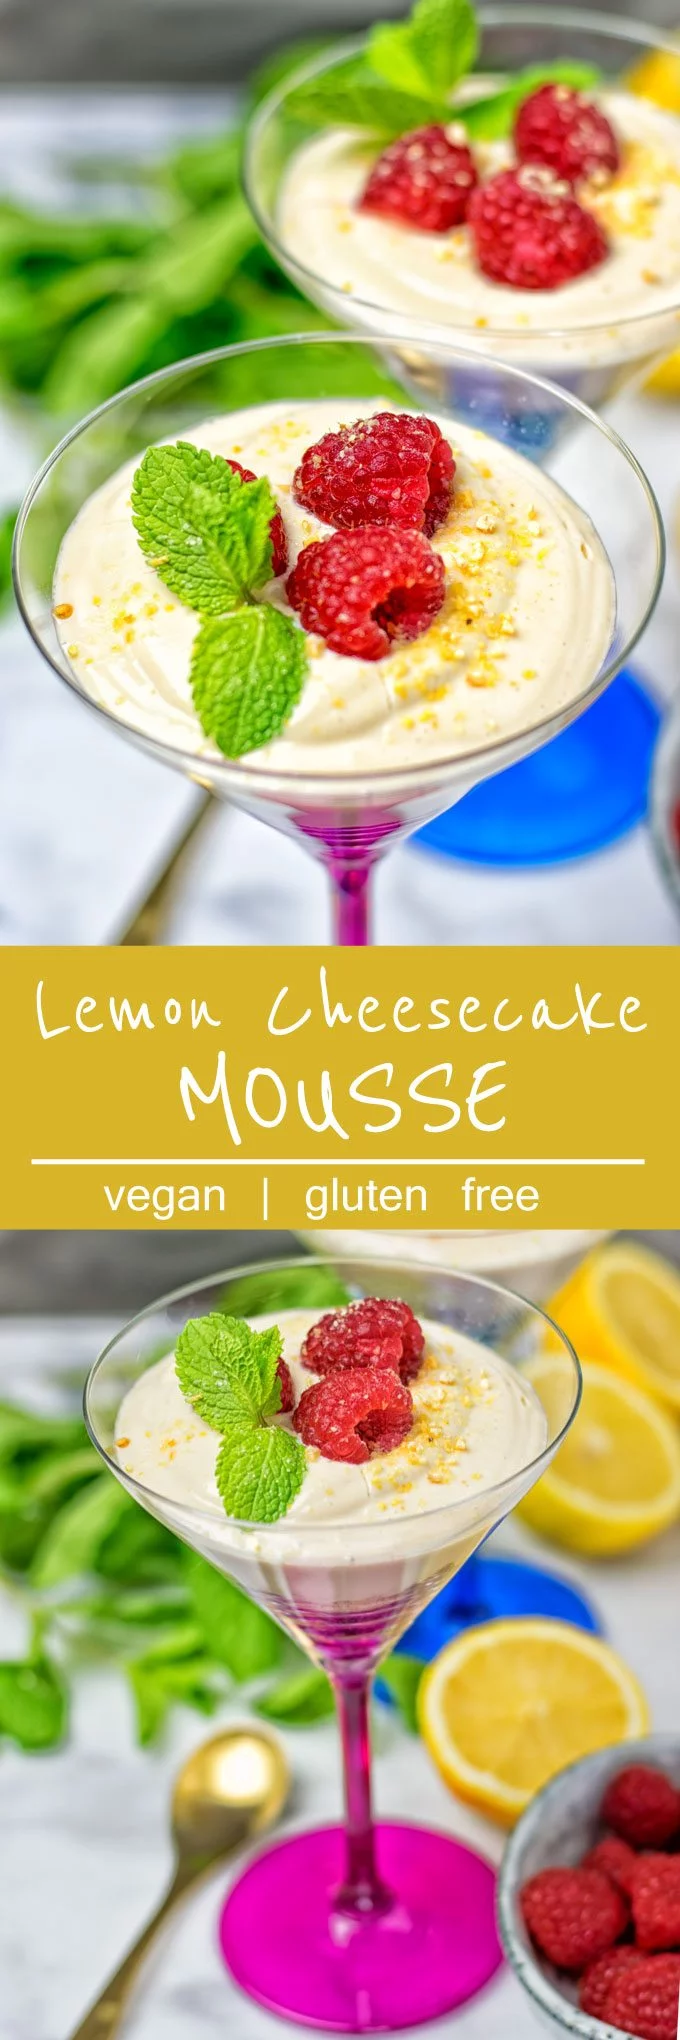
This Lemon Cheesecake Mousse is just a dream. Don’t miss it!
Enjoy it and give in to your dessert cravings, show me a tag on Facebook or Instagram, tag a picture! I love to see all your excitement.
Cheers and happy summer, Florian.
Ingredients
For the Bottom:
-
12 vegan graham crackers, crushed (I used gluten free ones)
-
1/2 lemon, juiced
-
2 Tbs maple Syrup
For the Mousse:
-
7 oz vegan cream cheese
-
1 Tbs organic lemon zest
-
1/2 cup cashews
-
1/1/2 lemons, juiced
-
4 Tbs maple syrup
Instructions
Prepare the bottom:
- Combine vegan Graham crackers, lemon juice, and maple syrup in a blender or food processor. Pulse into crumbles, and transfer them to dessert glasses.
Make the Mousse:
- Again using a blender or food processor, Combine vegan cream cheese, cashews, lemon juice + zest, maple syrup. Blend until you have smooth cream and give it over the bottom. Chill until serving.
Nutrition Information:
Yield: 6
Serving Size: 0.5 cup
Amount Per Serving:
Calories: 143Total Fat: 4.2gSaturated Fat: 1.1gTrans Fat: 0gUnsaturated Fat: 2.6gCholesterol: 0mgSodium: 156mgCarbohydrates: 25gFiber: 0gSugar: 19gProtein: 1.6g