Author: PatagoniaLlami

  • Vegan Pumpkin Pancakes

    Vegan Pumpkin Pancakes

    recipe image

    This vegan pumpkin pancake recipe takes on a hint of fall with the savory goodness of pumpkin, cinnamon, and pecans! Serve with your toppings of choice, including additional pecans and maple syrup.

    Submitted by
    thedailygourmet

    Updated on May 6, 2025


    Cook Mode
    (Keep screen awake)

    Ingredients


    Original recipe (1X) yields 6 servings

    • 2 cups almond milk

    • 2 tablespoons distilled white vinegar

    • 5 tablespoons water

    • 2 tablespoons flaxseed meal

    • 2 cups all-purpose flour

    • 2 tablespoons coconut sugar

    • 1 tablespoon baking powder

    • 1 tablespoon ground cinnamon

    • 2 teaspoons baking soda

    • 1 teaspoon salt

    • 1 cup pumpkin purée

    • 2 tablespoons coconut oil

    • ¼ cup chopped pecans, toasted

    Directions

    1. Combine almond milk and vinegar in a measuring cup; set aside for 10 minutes. Combine water and flaxseed meal in a bowl; set aside until gelatinous, about 5 minutes.

    2. Combine flour, coconut sugar, baking powder, cinnamon, baking soda, and salt in a medium bowl; stir in almond milk mixture, flaxseed meal mixture, pumpkin purée, and coconut oil until well blended. Fold in pecans.

    3. Heat a lightly oiled griddle over medium-high heat. Drop batter by large spoonfuls onto the griddle; cook until bubbles form and the edges are dry, 3 to 4 minutes. Flip and cook until browned on the other side, 2 to 3 minutes. Repeat with remaining batter.

    Nutrition Facts (per serving)

    288 Calories
    10g Fat
    45g Carbs
    6g Protein
    Nutrition Facts
    Servings Per Recipe
    6
    Calories
    288
    % Daily Value *
    Total Fat
    10g
    13%
    Saturated Fat
    4g
    22%
    Sodium
    1206mg
    52%
    Total Carbohydrate
    45g
    16%
    Dietary Fiber
    4g
    16%
    Total Sugars
    4g
    Protein
    6g
    12%
    Vitamin C
    2mg
    2%
    Calcium
    244mg
    19%
    Iron
    3mg
    18%
    Potassium
    236mg
    5%

    * Percent Daily Values are based on a 2,000 calorie diet. Your daily values may be higher or lower depending on your calorie needs.

    ** Nutrient information is not available for all ingredients. Amount is based on available nutrient data.

    (-) Information is not currently available for this nutrient. If you are following a medically restrictive diet, please consult your doctor or registered dietitian before preparing this recipe for personal consumption.

    Read More

  • Vegan Royal Icing

    Vegan Royal Icing

    recipe image

    Vegan royal icing that dries hard and is suitable to decorate sugar cookies with, can hold together a gingerbread house or decorate a cake, and is easily colored, flavored, and manipulated to suit your needs.

    Scroll down to get the recipe or just take a look at the video here if you prefer that method:

    Some gorgeous cookies I made with royal icing for a baby shower; these were actually colored with homemade Skittles vodka!

    Equipment:

    So here are the things you’ll need:

    Stand mixer with the balloon whisk attachment OR hand mixer with a large bowl

    Rubber/silicone spatula (more than one is preferred if you’ll be mixing multiple colors)

    Ingredients:

    One can of garbanzo beans

    Vegan powdered/confectioner’s sugar

    Vinegar, lemon juice, or cream of tartar

    Water or lemon juice

    Gel or powdered food coloring, if using

    The Method

    The method is really quite simple:

    1. Drain (and keep!) the water from your garbanzo beans. This is known as “aquafaba” and is our egg white substitute in this recipe. Put the beans away for something else.

    2. Add the aquafaba to your mixing bowl. The rest can be put into the fridge for up to a week or the freezer for three months.

    3. Add the vinegar (or cream of tartar or lemon juice if you don’t have it) and mix with a whisk attachment (you’ll see in my photos I have the paddle attachment connected – these photos are from before I knew better) just until frothy.

    4. Add about a pound of powdered (confectioner’s) sugar to the bowl, and mix on low until incorporated.

    5. Mixing on low, adding more sugar until the mixture is about the consistency of school glue. Add in your 1 tsp of vanilla and white gel coloring once you reach this consistency.

    6. Turn your mixer on medium high and let it go for about 8 minutes. You’ll end up with the perfect stiff consistency royal icing for piping words and fine details.

    7. Thin your royal icing with water or fresh lemon juice (my favorite) to desired consistency. Thicken it with powdered sugar if you need to pipe flowers, use stencils, or glue gingerbread. You can also add any gel or powdered food color at this stage. I’ll add another post later getting more into coloring and consistencies, so be on the lookout for that.

    That’s it! It’s that easy! You can keep the prepared icing at room temperature in a sealed container or bag for up to a week, in the fridge for a month, or in the freezer for pretty much forever. Just make sure to stir it well before you use as the water will start to separate from the marshmallow fluff you’ve created.

    Consistency Tutorial:

    This recipe will make AT LEAST a couple dozen cookies’ worth of icing. Us cookiers are always making too much icing because we really have no idea how many cookies it covers. Lol.

    Have fun and please share your creations with me on Facebook!

    Pin it for later:

    vegan royal icing cover photo

    sugar cookies decorated with royal icing foxes and florals

    Vegan Royal Icing

    An eggless royal icing made with aquafaba. It can be used in all the same ways as tradition egg white royal, including decorating cookies, gluing gingerbread houses, decorating cakes, and making sprinkles and royal icing transfers.

    Prep Time 12 minutes

    Total Time 12 minutes

    • 1/4 cup
      ish
      Aquafaba
      (the cooking or canned liquid from beans; I prefer garbanzo)
    • 1 lb
      to start
      Powdered/Confectioner’s Sugar
      (up to one pound more depending on your needs)
    • 1 tsp
      ish
      Vinegar
      (may be substituted with cream of tartar or lemon juice)
    • 1 tsp
      ish
      Vanilla
      (I use clear for bright white icing, but you can use natural)
    • 1.5 tsp
      ish
      Gel or Powdered Food Coloring
      (optional, though I always add AmeriColor Bright White to mine)
    • Water or Lemon Juice to thin prepared icing

    1. Add about a teaspoon of vinegar to your mixing bowl

    2. Pour in about a 1/4 cup of aquafaba

    3. Mix on medium to high speed with a whisk attachment just until the top of your aquafaba is frothy/foamy

    4. Turn off the mixer and add in a couple of cups of the powdered sugar.

    5. Turn the mixer on low until the sugar is mostly incorporated into the aquafaba

    6. Turn the mixer off and lift the whisk to check the consistency of your icing. We are trying to get a school-glue type consistency. If it’s not there yet, add more powdered sugar about a cup at a time until you achieve it

    7. Once you achieve the school-glue consistency, add about a teaspoon of vanilla and a teaspoon and a half of white gel coloring (if you’re using it)

    8. Turn the mixer up to medium-high speed and let it go for about eight minutes

    9. After eight minutes or so, turn the mixer off. You should have nice, stiff royal icing! It’s perfect for coloring and thinning out to decorate cookies or thickening up for flowers, or using as is for writing and other fine detail work.

    10. Store the icing in an airtight container right away – it dries out very quickly – at room temperature for up to a week, in the fridge for a month, or the freezer for pretty much as long as you want

    Find a video tutorial on our YouTube channel!

    Read More

  • Vegan Southwest Queso

    Vegan Southwest Queso

    recipe image
    This vegan queso dip will surprise and delight…it tastes amazing!

    Ingredients:

    • * 1/2 head of cauliflower
    • * 1/4 onion (optional)
    • * 3/4 to 1 c water
    • * 1/2 to 1 c nutritional yeast
    • * 1 tsp mustard powder
    • * 1 tsp paprika
    • * 2-3 tsp sea salt
    • * 3 heaping tbsp of salsa

    Instructions:

    1. Chop the cauliflower and onion and place in a steamer basket.
    2. Add water and the steamer basket to a pot on the stove; steam until fork tender.
    3. Dump the steamed veggies into the pot of water.
    4. Using an immersion blender, puree until smooth. You may need to add more water to achieve the consistency you want.
    5. Add your seasonings (except the salsa) and blend with the immersion blender.
    6. Add the salsa and mix together with a spoon.
    7. Pour into a bowl and dig in with some chips!

    Read More

  • Vegan Peanut Butter Banana Shake

    Vegan Peanut Butter Banana Shake

    recipe image

    Be the first to rate & review!

    2 Photos

    This is great as a midday treat or after dinner for dessert. No need to feel guilty because it’s fat free and low in calories.

    Submitted by
    Yoly

    Published on August 2, 2019


    Cook Mode
    (Keep screen awake)

    Ingredients


    Original recipe (1X) yields 1 servings

    • 1 cup soy milk

    • ¾ cup ice

    • ½ frozen banana

    • 1 tablespoon sugar-free peanut butter-flavored syrup (such as Torani®)

    • 2 tablespoons powdered peanut butter (such as PB2®)

    Directions

    1. Combine soy milk, ice, banana, peanut butter syrup, and PB powder in a blender; blend until smooth.

    Cook’s Note:

    Any milk, nut or animal, can be used for this shake, though if dairy product is used it is no longer vegan.

    Nutrition Facts (per serving)

    229 Calories
    5g Fat
    35g Carbs
    13g Protein
    Nutrition Facts
    Servings Per Recipe
    1
    Calories
    229
    % Daily Value *
    Total Fat
    5g
    7%
    Saturated Fat
    1g
    3%
    Sodium
    203mg
    9%
    Total Carbohydrate
    35g
    13%
    Dietary Fiber
    4g
    14%
    Total Sugars
    17g
    Protein
    13g
    25%
    Vitamin C
    5mg
    6%
    Calcium
    69mg
    5%
    Iron
    2mg
    9%
    Potassium
    500mg
    11%

    * Percent Daily Values are based on a 2,000 calorie diet. Your daily values may be higher or lower depending on your calorie needs.

    ** Nutrient information is not available for all ingredients. Amount is based on available nutrient data.

    (-) Information is not currently available for this nutrient. If you are following a medically restrictive diet, please consult your doctor or registered dietitian before preparing this recipe for personal consumption.

    Read More

  • Vegan Creamed Spinach

    Vegan Creamed Spinach

    recipe image

    Published: · Updated: · Post may contain affiliate links

    Nutritional yeast lends a cheesy, creamy flavor for an easy, inexpensive, and flavorful vegan side dish

    Vegan Creamed Spinach from Living Well Kitchen

    Do you ever find a great recipe that calls for an ingredient that you aren’t very familiar with? Or maybe you get really excited about an ingredient and you buy a giant bag of this ingredient…

    That happened to me with nutritional yeast.

    Ok yes, I do actually use it often. I love making kale chips with it as well as cheezy bean dip. However, it’s something that gets shoved in the back of my pantry and I totally forget about it.

    Despite the fact that I don’t love cleaning, this year I’ve done a pretty good job with spring cleaning. I donated like 8 bags of clothes; yet my kitchen is another story.

    That is until I realized I can no longer allow my freezer to be so full.

    When you open the freezer door, you shouldn’t have to immediately jump out of the way for fear that a bag of frozen fruit or veggies or a chicken breast is going to fall on your foot (which hurts surprisingly bad fyi).

    Vegan Creamed Spinach from Living Well Kitchen

    I had nine bags of frozen spinach in my freezer yesterday. Nine. Now I’m down to eight thanks to this vegan creamed spinach.

    Can you guess what ingredient I used to make this creamy without adding cheese? Did you guess nutritional yeast since I just talked about it? ha, you’re right!

    Vegan Creamed Spinach from Living Well Kitchen

    I actually started making this for a quick side dish when I was in grad school. It is inexpensive, incredibly easy, and quite nutritious.

    Just boil the spinach, add a few spices, and then stir in your nutritional yeast. Ta da! You’re done and you have a tasty side dish that pairs well with lots of different things.

    It’s actually a really good snack too since it has a nice amount of protein.

    And there you have it. An easy, healthy side that uses up that nutritional yeast you have in your pantry that you just don’t know what to do with it.

    Vegan Creamed Spinach from Living Well Kitchen

    Oh and can someone please give me tips for how to make creamed spinach look pretty?!

    The best I could do was sprinkle it with a few sesame seeds and hope for the best.

    Vegan Creamed Spinach from Living Well Kitchen

    Vegan Creamed Spinach

    Nutritional yeast lends a cheesy, creamy flavor for an easy, inexpensive, and flavorful vegan side dish

    Print

    Rate

    Prep Time: 1 minute

    Cook Time: 10 minutes

    Total Time: 11 minutes

    Servings: 4 cups

    Author: Meme

    Ingredients

    • 16 ounce bag frozen spinach
    • 1 ½ cups water
    • ½ teaspoon garlic powder
    • ¼ teaspoon salt
    • ¼ teaspoon onion powder or onion flakes
    • teaspoon cayenne pepper
    • teaspoon nutmeg optional
    • 1 cup nutritional yeast

    Instructions

    • Put the spinach and water in a saucepan or skillet with sides. Cook over medium-high heat for 5-7 minutes, until spinach is cooked and most of the water has absorbed.

    • Stir in garlic powder, salt, onion powder, cayenne pepper, and nutmeg if using. Add nutritional yeast and stir well to completely combine. Remove from heat.

    • Serve as a side dish or as a snack. Enjoy!

    Did you try this recipe?Be sure to leave a comment & recipe rating below. Bonus points for tagging @memeinge & #livingwellkitchen on Instagram! THANK YOU! xo

    Vegan Creamed Spinach Nutrition Facts

    Nutrition Facts

    Vegan Creamed Spinach

    Amount per Serving

    % Daily Value*

    * Percent Daily Values are based on a 2000 calorie diet.

    Meme

    Here are some of my favorite nutritional yeast recipes:

    Kale Chips

    Balsamic Chickpeas and Spinach

    Cheezy Black Bean Dip

    Reader Interactions

    This site uses Akismet to reduce spam. Learn how your comment data is processed.

    Read More

  • Cookies with Pitted Organic Cherries Recipe – Healthy Selfie By Christine Bou Sleiman, Top Los Angeles Nutritionist, Weight Loss Dietitian, Online Consultation

    Cookies with Pitted Organic Cherries Recipe – Healthy Selfie By Christine Bou Sleiman, Top Los Angeles Nutritionist, Weight Loss Dietitian, Online Consultation

    recipe image

    Cookies with Pitted Organic Cherries Recipe

    Cookies with Pitted Organic Cherries Recipe

    It will be hard to keep your cookie jar full if you fill it with these delicious vegan cherries cookies!

    • 2/3 cup refined coconut oil, melted
    • 2/3 cup vegan granulated sugar
    • 2/3 cup packed vegan brown sugar
    • 1/2 cup unsweetened vanilla almond milk
    • 2 teaspoons vanilla
    • 2 1/2 cups all-purpose flour
    • 1 teaspoon baking soda
    • 1 teaspoon baking powder
    • 1/2 teaspoon salt
    • 1 bag (10 oz) pitted organic cherries (1 1/2 cups)

    Steps

    1. Heat oven to 350°F. In large bowl, mix coconut oil, granulated sugar and brown sugar until well mixed. Stir in almond milk and vanilla.
    2. Stir in flour, baking soda, baking powder and salt until dough forms. Drop dough by slightly rounded tablespoonfuls 2 inches apart onto ungreased cookie sheets.
    3. Bake 11 to 14 minutes or until edges are light brown and tops look set. Cool 1 minute on cookie sheets. Remove to cooling rack; cool completely. Store in tightly covered container.
    4. Decorate by adding the pitted organic cherries on top.

    Post your food pictures on Facebook, Instagram, or Twitter and tag @HealthySelfieByChristine to be featured on our page.


    Looking for Los Angeles Top Nutritionist? call (844) 314-1432 or by email Christine@HealthySelfie.com. This is a chance for us to get to know each other. We will evaluate your needs and goals, while I will guide you on the right track. I can work one-on-one in person, by phone or video chat for out-of-area clients.

    BOOK AN APPOINTMENT TODAY!

    Read More

  • Easy Vegan Pancakes

    Easy Vegan Pancakes

    recipe image

    “You won’t miss the eggs in these vegan pancakes.”

    Ready In:
    20mins

    Ingredients:
    7

    • 2 12

      cups all-purpose flour
    • 2

      tablespoons sugar
    • 2

      tablespoons baking powder
    • 1

      tablespoon vegetable oil
    • 1

      teaspoon salt
    • 2 12

      cups soymilk or 2 1/2 cups water
    • 1

      dash cinnamon (optional)

    directions

    • In a large bowl, lightly mix all ingredients until just combined.
    • Overmixing will make the pancakes tough.
    • Leave mixture on the counter to rest for 3-5 minutes and then fold it onto itself two or three times, lightly to make sure that the batter is fairly well incorporated.
    • Cook on a greased skillet or griddle over medium to medium high heat until golden.
    • If there are large lumps, carefully break them apart with the spatula while the pancakes are cooking.
    • Serve immediately.

    Questions & Replies

    Want a Second Helping?

    Sign up for our newsletter to get recipes, easy dinner ideas, tasty treats and more delivered straight to your inbox.

    To withdraw your consent or to learn more about your rights, see the Privacy Policy.

    RECIPE SUBMITTED BY

    I am a wife and mom of 2 vibrant little boys. They love to create and cook in the kitchen… I love their curiosity and willingness to try new foods and techniques as I introduce them.

    I love to cook… always have. Thanks to my father for this culinary passion! While I am addicted to collecting cookbooks, my dad taught me to experiment in the kitchen and gave me the gift of knowing that creative cooking doesn’t have to come from a book.

    View Full Profile

    Read More

  • Banana Bread Biscotti

    Banana Bread Biscotti

    recipe image

    “Have a loaf of banana bread that didn’t quite bake all the way through, or just have some leftovers that are going stale? Slice them up and make a delicious biscotti!”

    Ready In:
    35mins

    Ingredients:
    2

    Serves:
    24

    • 34

      loaf banana bread (use your favourite recipe, I had a fail from Quick and Easy Low-Cal Vegan Comfort Food)
    • 1

      teaspoon raw sugar (optional, adds crunch)

    directions

    • Preheat the oven to 325F and line a baking sheet with parchment or silicone.
    • Slice the loaf into “sticks” (I cut slices, then cut those in half width-wise) and place on the sheet.
    • Sprinkle evenly with sugar.
    • Bake for 20-30 minutes, depending on how moist the banana bread was originally. Cool on the sheets.

    Questions & Replies


    Got a question?


    Share it with the community!

    Want a Second Helping?

    Sign up for our newsletter to get recipes, easy dinner ideas, tasty treats and more delivered straight to your inbox.

    To withdraw your consent or to learn more about your rights, see the Privacy Policy.


    Have any thoughts about this recipe?


    Share it with the community!

    RECIPE SUBMITTED BY

    Read More

  • INSTANT POT CHICKEN MARINARA

    INSTANT POT CHICKEN MARINARA

    recipe image

    INSTANT POT CHICKEN MARINARA is another great time-saving week night meal that is both budget conscious and crowd-pleasing as well!


    INSTANT POT CHICKEN MARINARA

    Yes, that’s gluten free rice based pasta under that chicken. Since some of you will be very distracted by said noodles, let’s just get that on out there. Fortunately my family tolerates gluten free grains and while I tend to limit corn (the actual devil), rice is a pretty innocuous grain for my tribe. Add that to the fact that my kids are Active with a capital “A” and you understand I gotta keep those carbs coming!

    Now that THAT’S out of the way, let’s talk about the most delicious chicken sitting atop that pasta. So tender, so juicy, so FREAKIN’ FAST Y’ALL! I had 2 pounds of boneless chicken breasts, a jar of marinara, my PALEO CHEESE recipe, and a package of gf pasta and BOOM, dinner.

    INSTANT POT CHICKEN MARINARA

    You can cook your pasta in less time than the chicken takes to prepare and you’ve got a full meal on the table in about 20 minutes. It’s seriously insane. Don’t forget you can use a paleo friendly pasta like THIS homemade one I wrote a few years ago or THIS one that is almond flour based.  

    If you haven’t been counting down like I have, my new book, AFFORDABLE PALEO COOKING WITH YOUR INSTANT POT is only a few months away! It has 74 new recipes for your IP that are all paleo, 90% 21 Day Sugar Detox compliant, 100% nut free, 90% egg free, and completely free of sweeteners and paleo flours! I can’t even wait to share it with you, but in the meantime, make this Instant Pot Chicken Marinara to tide you over. Got it? Mkay. So stop stressing over dinner and make it in a snap. Your people will thank you and you’ll have more time for Real Housewives. 

    Print

    5 Stars 4 Stars 3 Stars 2 Stars 1 Star

    No reviews

    • 2 pounds boneless chicken breasts
    • 1, 24 ounce  jar no sugar marinara sauce
    • 1 tablespoon minced garlic
    • 1 batch Vegan Cheese if desired
    • Parsley to garnish
    • Zoodles or Paleo pasta noodles if desired

    Instructions

    1. Pour the marinara sauce into your Instant Pot and place your chicken breasts directly into the sauce
    2. Add in the garlic and secure the lid of your Instant Pot, closing off the pressure valve
    3. Press the Pressure Cook/Manual button and adjust the time with your +/- buttons until 15 minutes is reflected
    4. Allow the chicken to cook while you prepare your pasta (if desired), and have your “cheese” ready to roll
    5. Once the cooking cycle completes, quick release the pressure valve and remove the lid once safe to do so
    6. Serve the chicken and sauce over your noodles (or zoodles) right away OR ALTERNATIVELY… if you are using the “cheese” recipe, transfer the pasta, chicken, then sauce into a casserole dish and spoon some of the “cheese” on top
    7. If you’d like, slide your plate into a conventional oven to quickly bake the cheese under your broiler for just a couple minutes and then serve hot, garnished with parsley

    INSTANT POT CHICKEN MARINARA

    Print Friendly, PDF & Email

    Read More

  • Vegan Sour Cream

    Vegan Sour Cream

    recipe image

    vegan sour cream recipe

    It’s about time I shared my vegan sour cream on the blog. I developed this recipe for my cookbook as a dairy-free sour cream substitute. I ended up using it to replace a variety of other dairy-based ingredients: goat cheese, ricotta, even mozzarella and cheddar cheese.

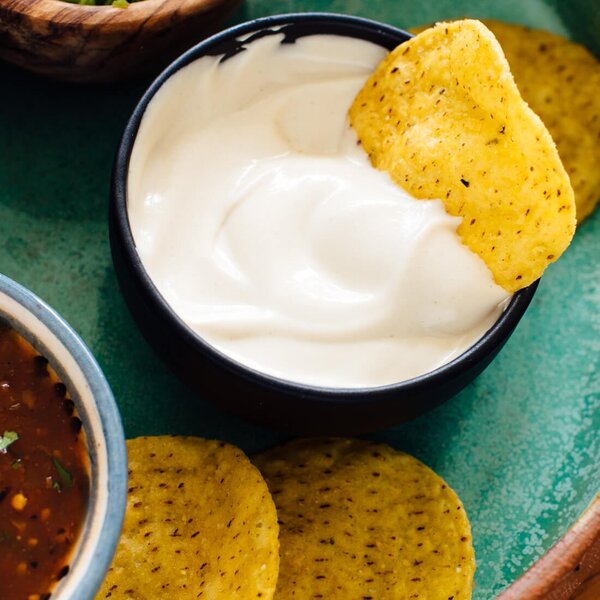
    As a dairy eater myself, I was both surprised and pleased to find a non-dairy substitute that I enjoy so much. It’s creamy, rich, and tangy, just like regular sour cream.

    vegan sour cream ingredients

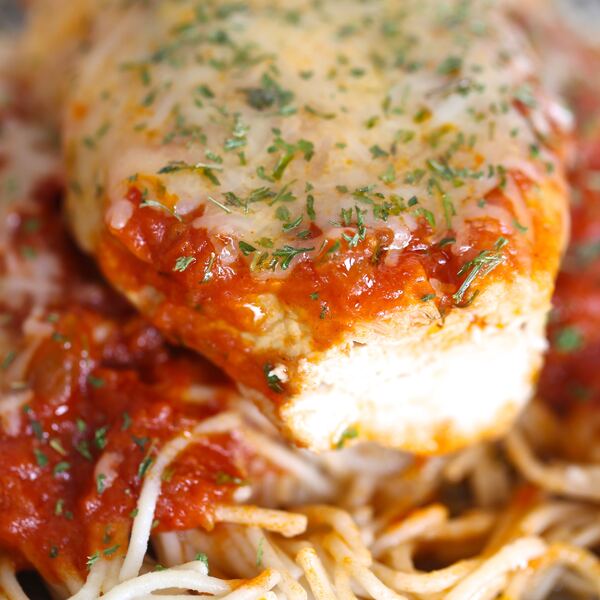
    In the book, I offered vegan and dairy-free options whenever possible, and this vegan sour cream came in quite useful. I used it to replace the dairy-rich layers in lasagna, and we mixed it into the enchilada filling for a creamy element.

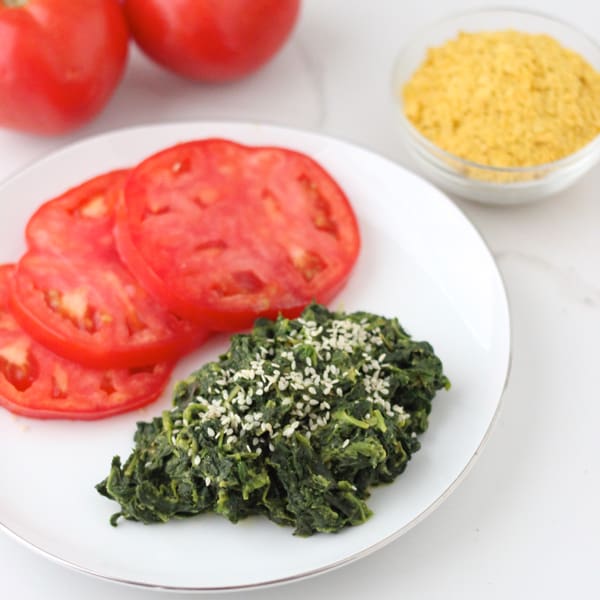
    It’s a great substitute for the goat cheese in the stuffed sweet potatoes recipe, and it easily replaced the cheese in my beans and greens quesadillas. I love the regular and dairy-free versions of those recipes!

    creamy vegan sour cream

    Vegan Sour Cream Tips

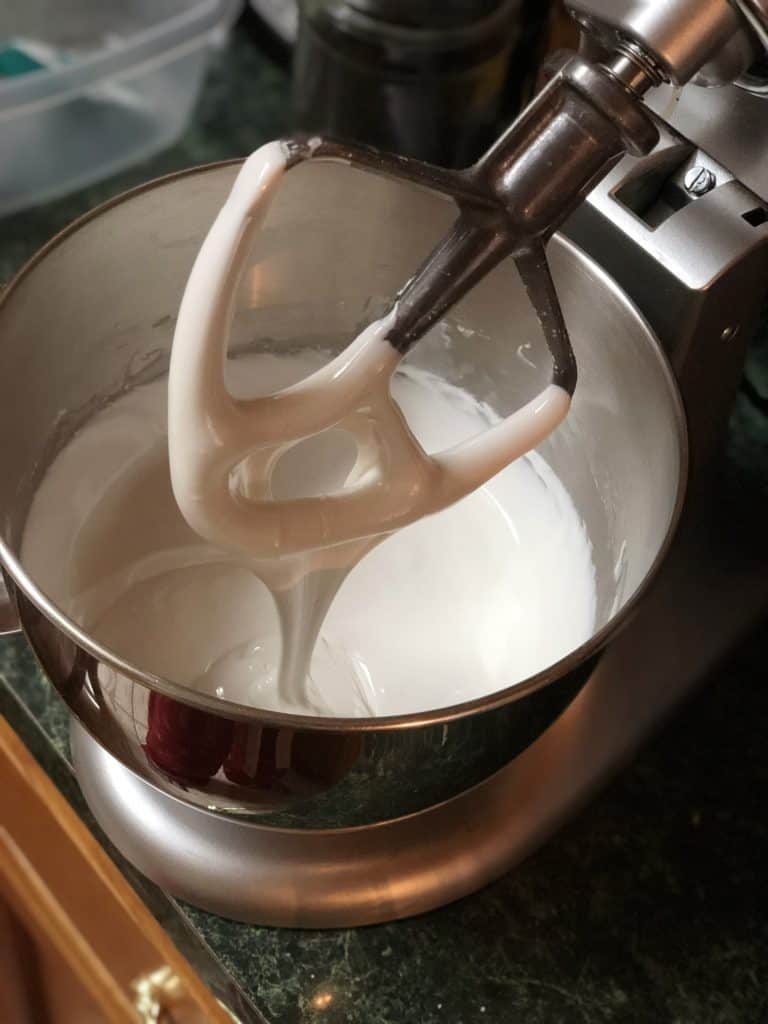
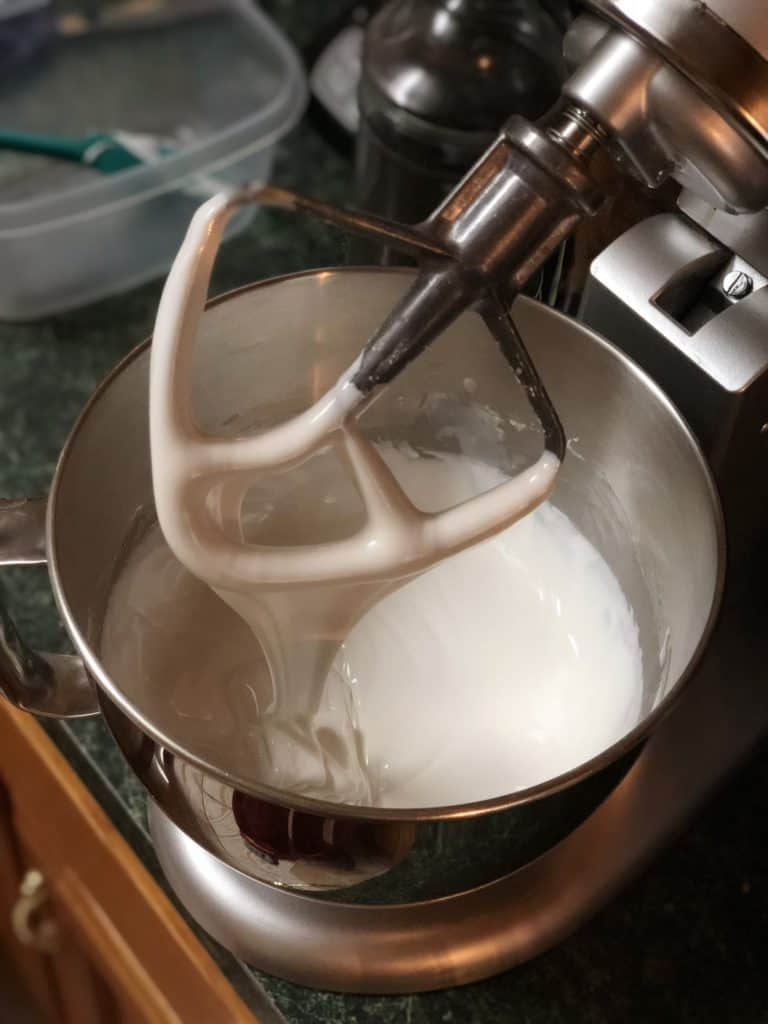
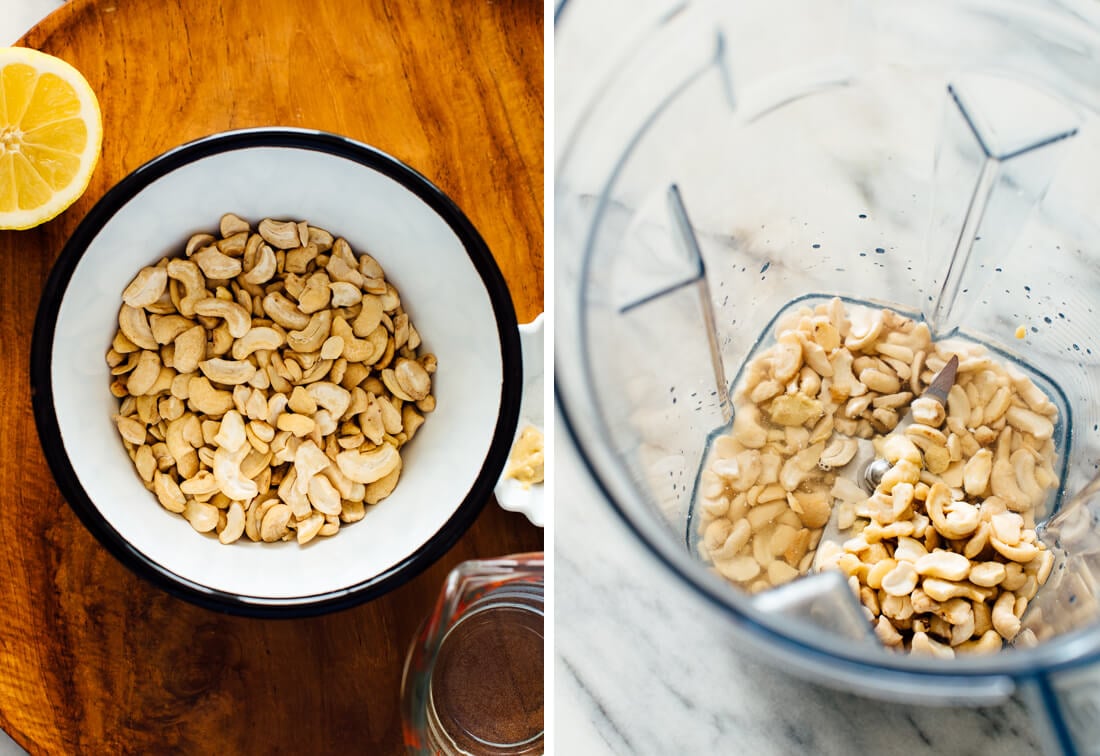
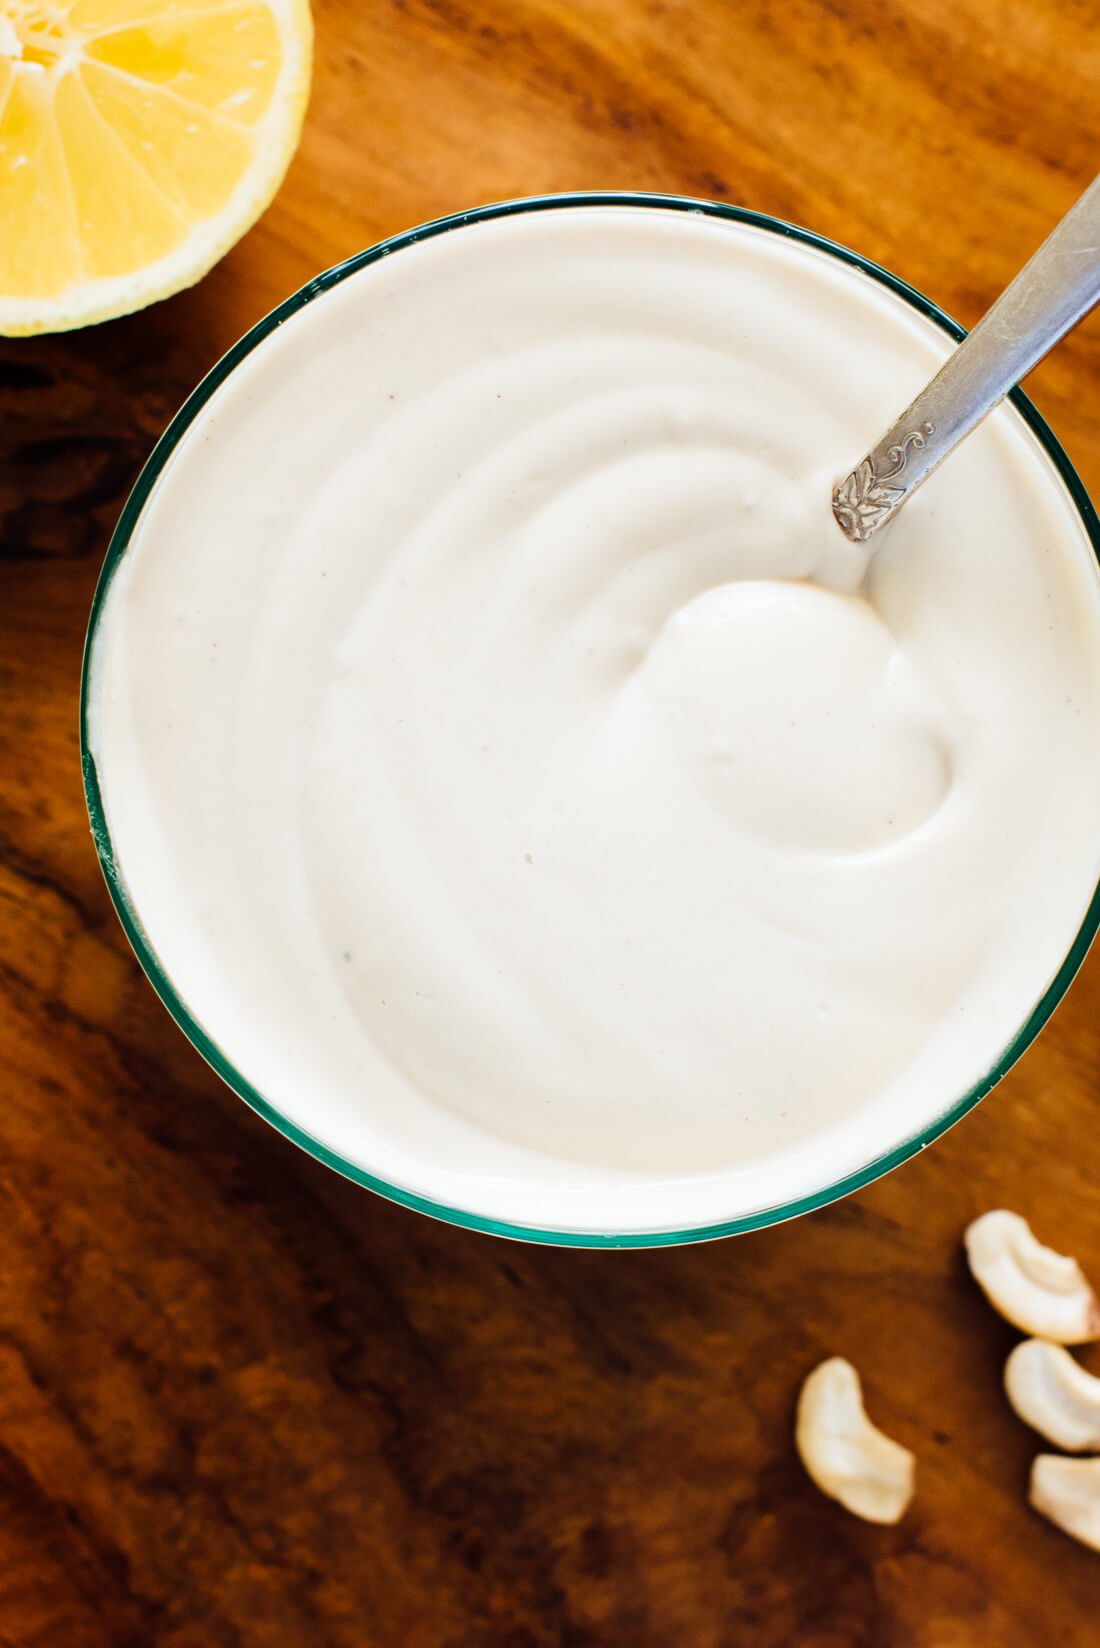
    This dairy-free sauce is made with rich and creamy raw cashews, water, lemon juice and apple cider vinegar for tang, salt, and a dab of Dijon mustard for intrigue.

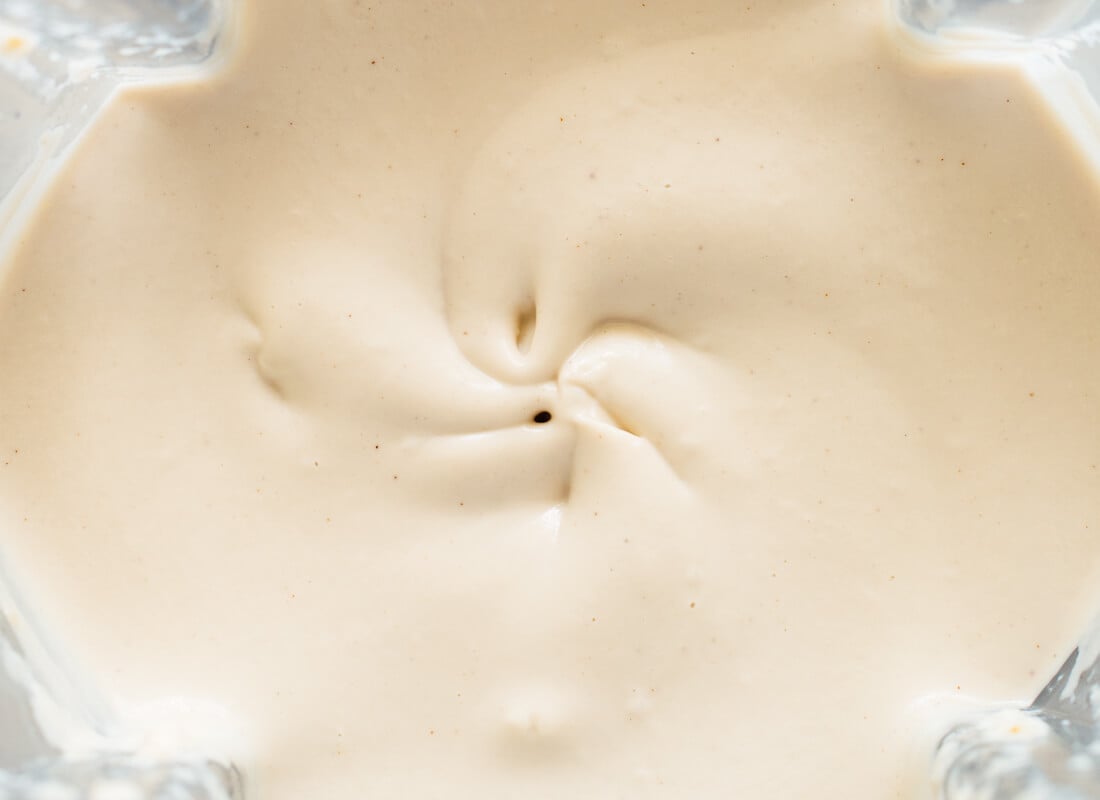
    This sour cream is easy to make in a blender. If you have a Vitamix (affiliate link) or Blendtec, or another blender of equal power, you don’t necessarily need to soak the cashews before blending. If you don’t, you will want to soak the cashews for about four hours before using.

    Depending on the application, you might want to use this vegan sour cream differently than the ingredient you’re replacing. Since it’s water-based, it will dry out a bit during baking.

    For example, if you want to use it in place of mozzarella on a pizza, you might be better off baking the pizza without it, then drizzling it generously on top once it’s out of the oven.

    Or, you might want to incorporate some in the dish (like inside enchiladas) and then add an extra dollop once it’s done baking.

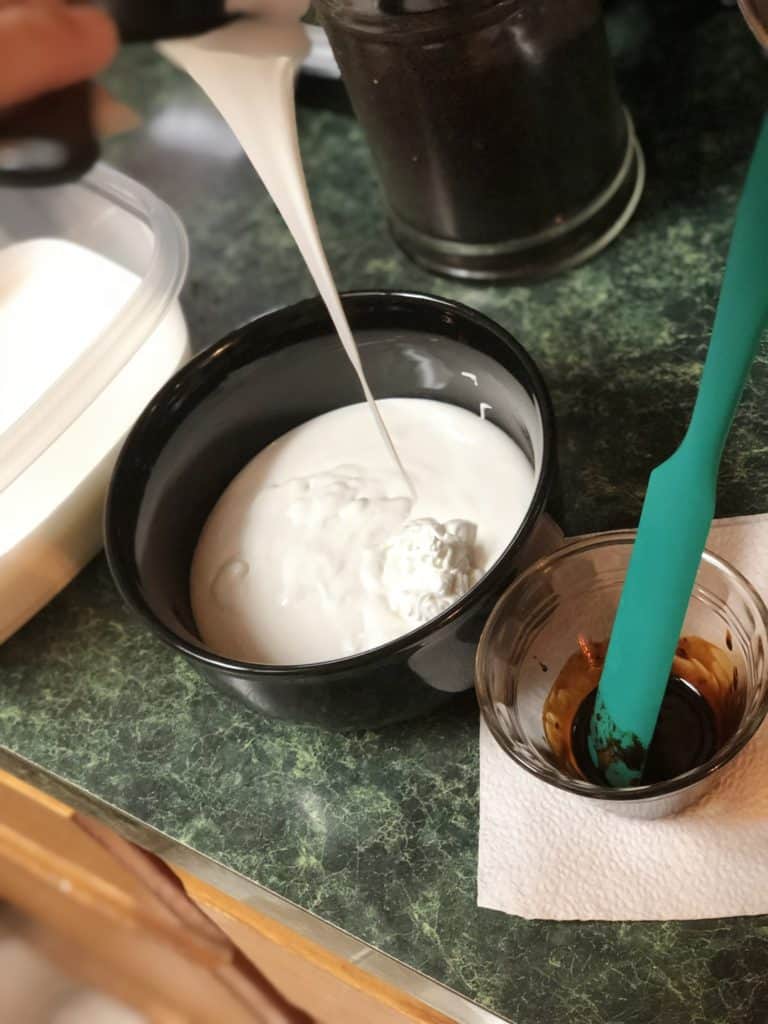
    This sour cream will thicken up as it chills in the refrigerator. If you’d like a thinner consistency, simply whisk in a small splash of water.

    vegan sour cream

    Uses for Vegan Sour Cream

    • Regular dairy-based sour cream or crema
    • Goat cheese
    • Ricotta
    • Mozzarella on pizza (drizzle this on top instead)
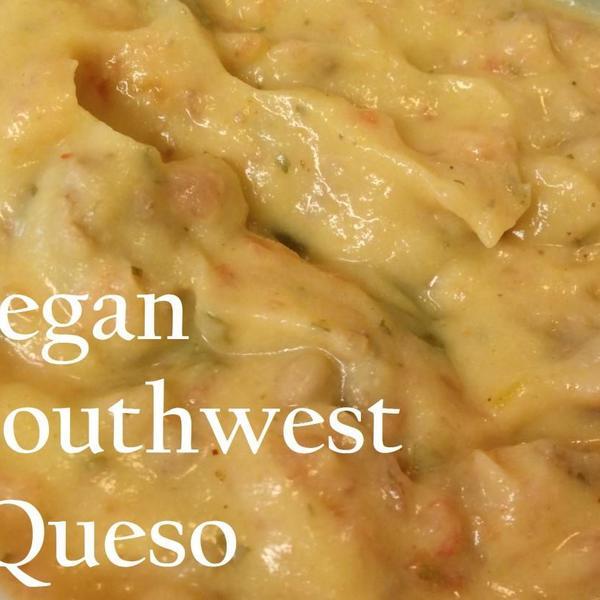
    • Cheddar or Jack cheese in quesadillas
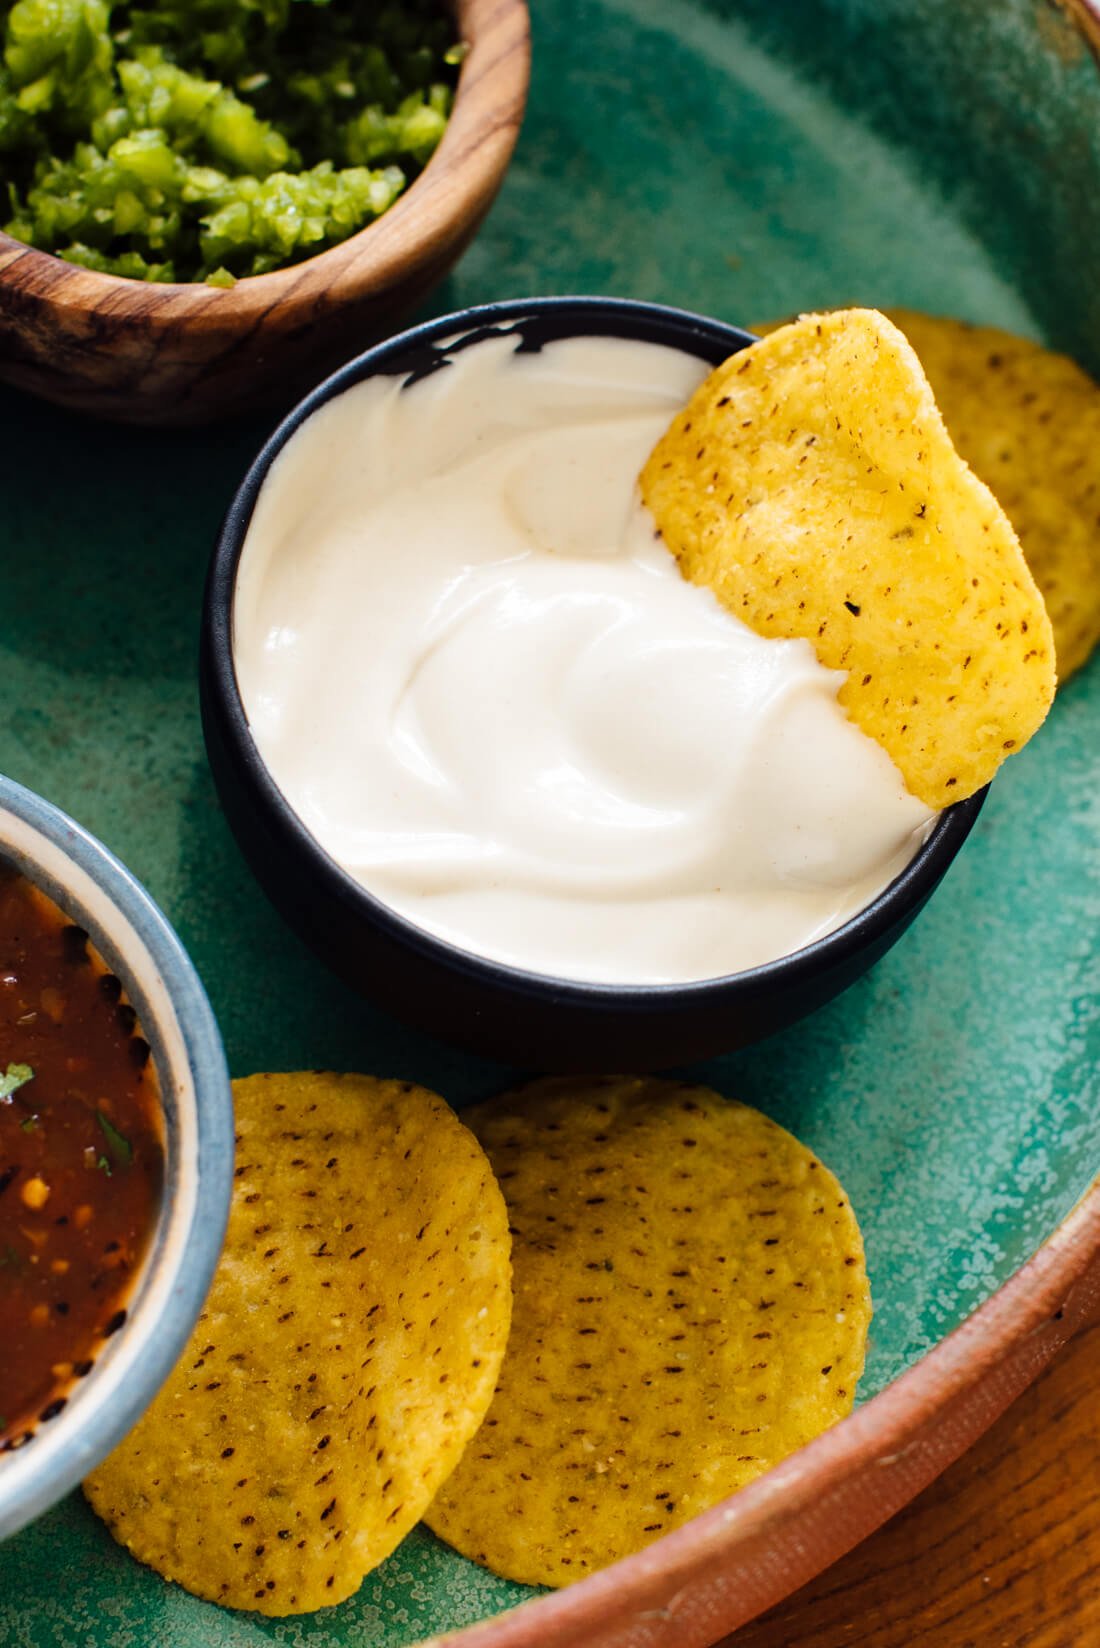
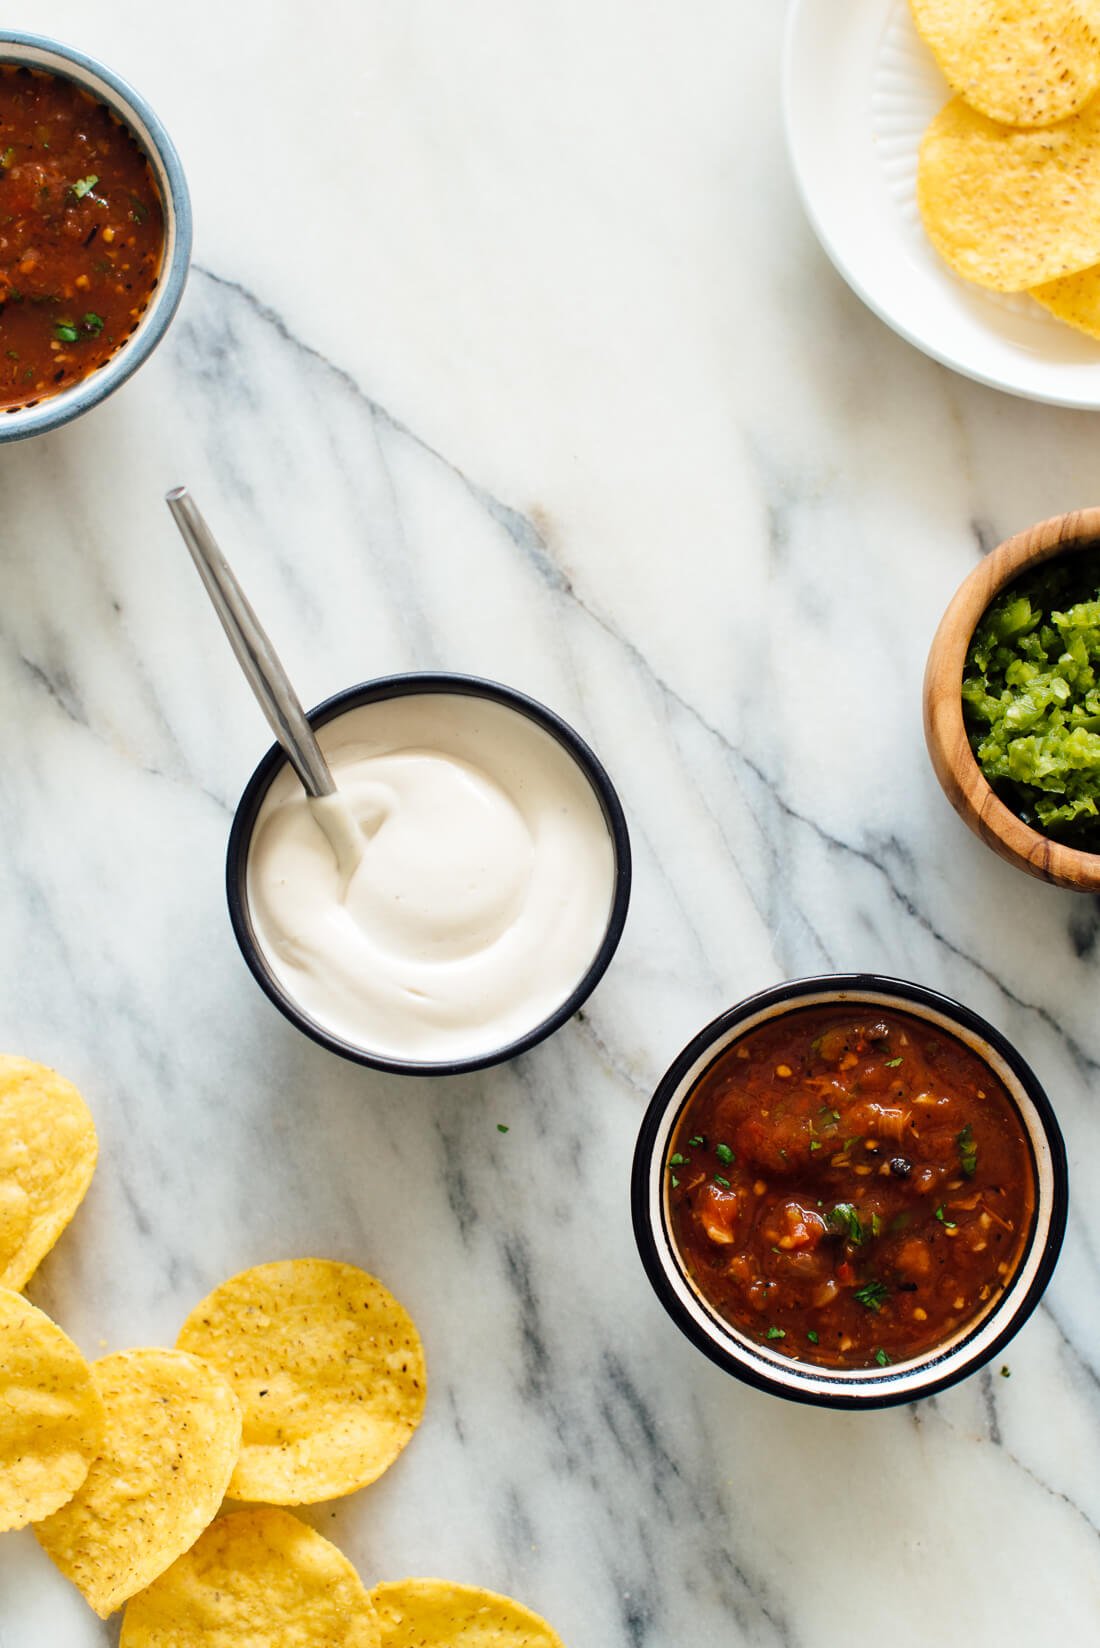
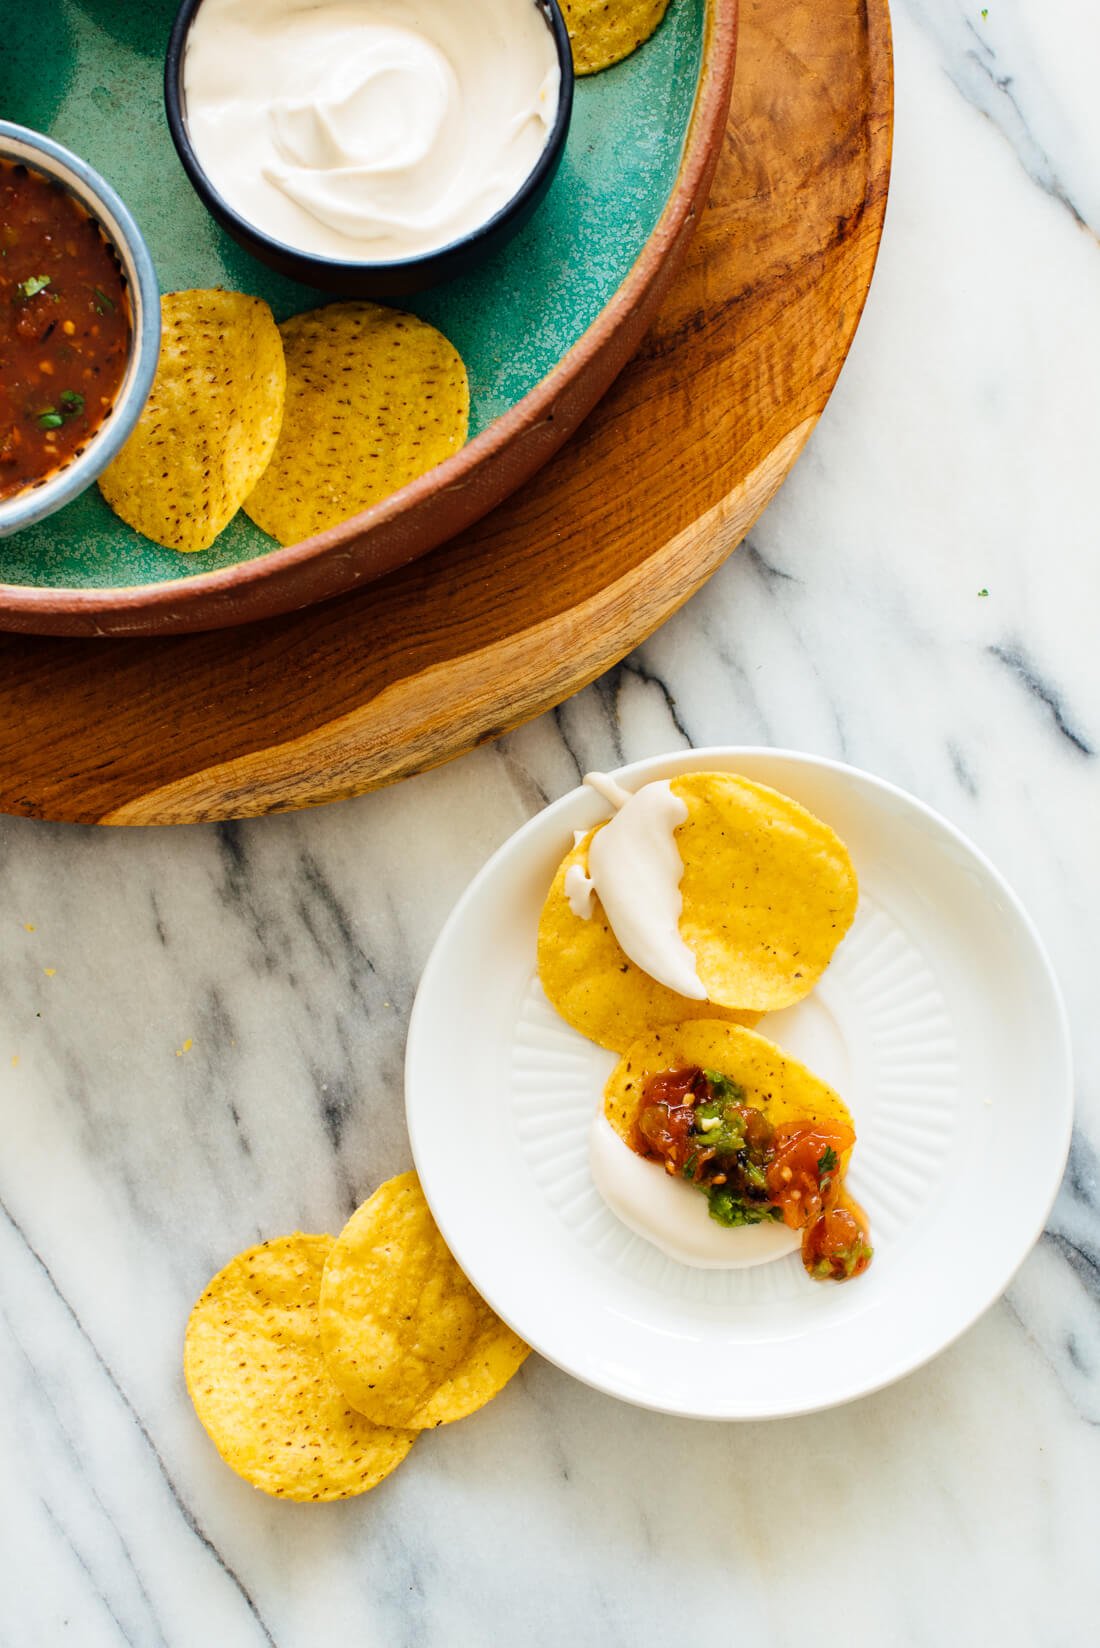
    • Cotija or feta on tacos, nachos or tostadas
    • Any other instance in which you crave some creamy texture and rich flavor!

    dairy-free sour cream recipe

    I hope this recipe becomes a staple in your repertoire, whether you’re dairy-free yourself, serving dairy-free guests, or simply looking to reduce the amount of dairy in your diet. Please let me know how this recipe turns out for you in the comments!

    If you haven’t gotten a copy of my cookbook, Love Real Food, I wholeheartedly recommend it, along with over 475 five-star reviewers on Amazon. Your feedback really means the world to me. ♥

    vegan sour cream with chips and salsa

    Print

    Vegan Sour Cream

    • Author: Cookie and Kate
    • Prep Time: 10 minutes
    • Cook Time: 0 minutes
    • Total Time: 10 minutes (plus 4 hours soaking time if needed)
    • Yield: 1 cup
    • Category: Sauce
    • Method: Blender
    • Cuisine: Mexican

    This vegan sour cream recipe is the best! This creamy dairy-free sauce can also replace goat cheese, ricotta and even mozzarella. It’s easy to make, too. Recipe yields about 1 cup.

    Ingredients

    • 1 cup raw cashews, soaked for at least 4 hours if you do not have a high-powered blender
    • ½ cup water
    • 1 tablespoon lemon juice, or more if needed
    • 1 teaspoon apple cider vinegar
    • Heaping ¼ teaspoon fine sea salt
    • ¼ teaspoon Dijon mustard

    Instructions

    1. If you soaked your cashews, drain and rinse them until the water runs clear.
    2. In a blender, combine the cashews, water, lemon juice, vinegar, salt, and mustard. Blend until the mixture is smooth and creamy, stopping to scrape down the sides as necessary. If you’re having trouble blending the mixture, or would prefer a thinner consistency, slowly blend in up to ½ cup additional water, as needed.
    3. Taste and add an additional teaspoon of lemon juice if you would like more tang, or additional salt if a more intense flavor is desired. Serve immediately or chill the sour cream for later.
    4. Leftovers keep well, chilled, for about 5 days. The sour cream will thicken up a bit more as it rests; you can thin it by whisking in a small amount of water later, if necessary.

    Notes

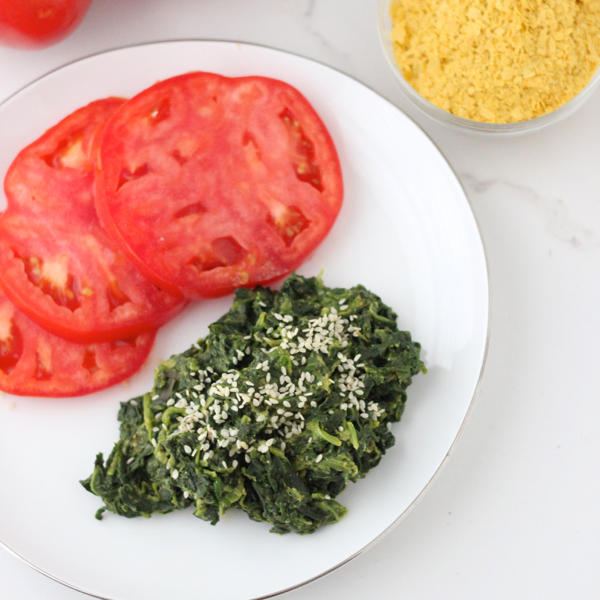
    Change it up: Add 1 tablespoon nutritional yeast to give the cashew cream a more cheese-like flavor.

    ▸ Nutrition Information

    The information shown is an estimate provided by an online nutrition calculator. It should not be considered a substitute for a professional nutritionist’s advice.

    Did you make this recipe?

    Read More